WARNING: Check there are no hidden
cables or pipes before drilling holes for wall
plugs. Use great care when using power
tools near water. The use of a residual
current device (RCD) is recommended.
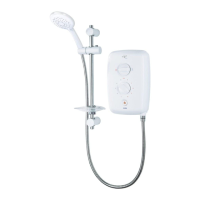
FITTING THE RISER RAIL ASSEMBLY
(Aire, Exe and Nene)
Decide on the position of the rail on the wall
within the shower area. Proceed as follows:
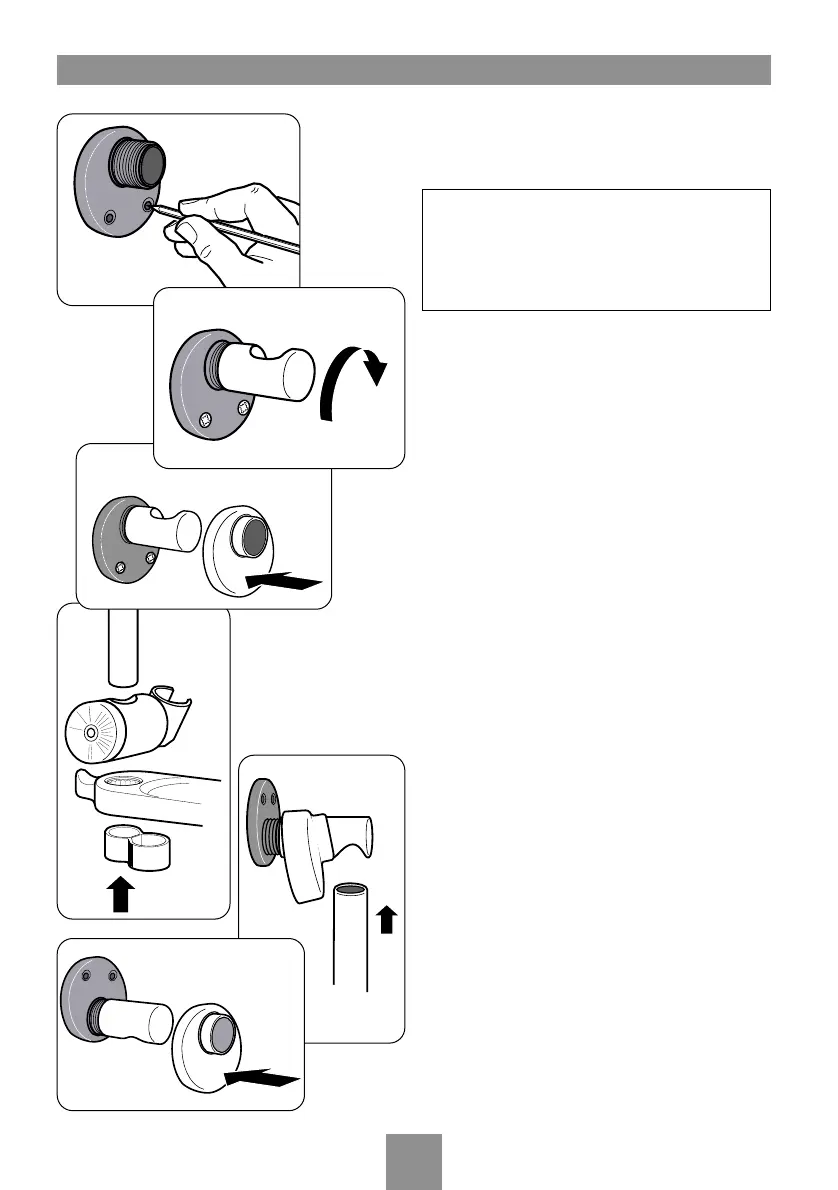
Offer one of the two brackets to the wall for the
lower position only. Using the bracket as a
template mark the location of the holes
(fig.26). Drill and plug the wall. Replace the
bracket to the wall and secure with the screws
supplied.
Screw the lower rail support onto the bracket,
ensuring that the recess faces upwards
(fig.27). Note that the lower support DOES
NOT have a locating pin in the recess. Push the
bracket cover into place over the bracket and
support (fig.28).
Fit the handset holder, soap dish and hose
retainer onto the rail (fig.29). When fitting,
note that the rail has a notch in the top.
Screw the top support into the top bracket and
then slide the cover over the support but do
not push the cover onto the bracket
(fig.30).
Fit the top support and cover onto the rail,
ensuring that the notch correctly aligned
(fig.31).
Fit the rail onto the installed lower support.
Ensure the rail is vertical and the top bracket
positioned correctly. Mark the position of the
holes. Remove the rail assembly. Drill and plug
the wall. Refit the rail assembly to the lower
support and secure the top bracket using the
screws supplied.
Push the cover into position over the bracket.
Feed the flexible hose through the retainer so it
acts as a retaining ring (Water Regulations).
Screw the flexible hose to the shower outlet
and sprayhead ensuring the supplied washers
are in place at both ends of the flexible hose.
 Loading...