Assigning triggers
To assign a trigger to a resident, press the 'Assign' button on the View / Assign screen. The SCP will
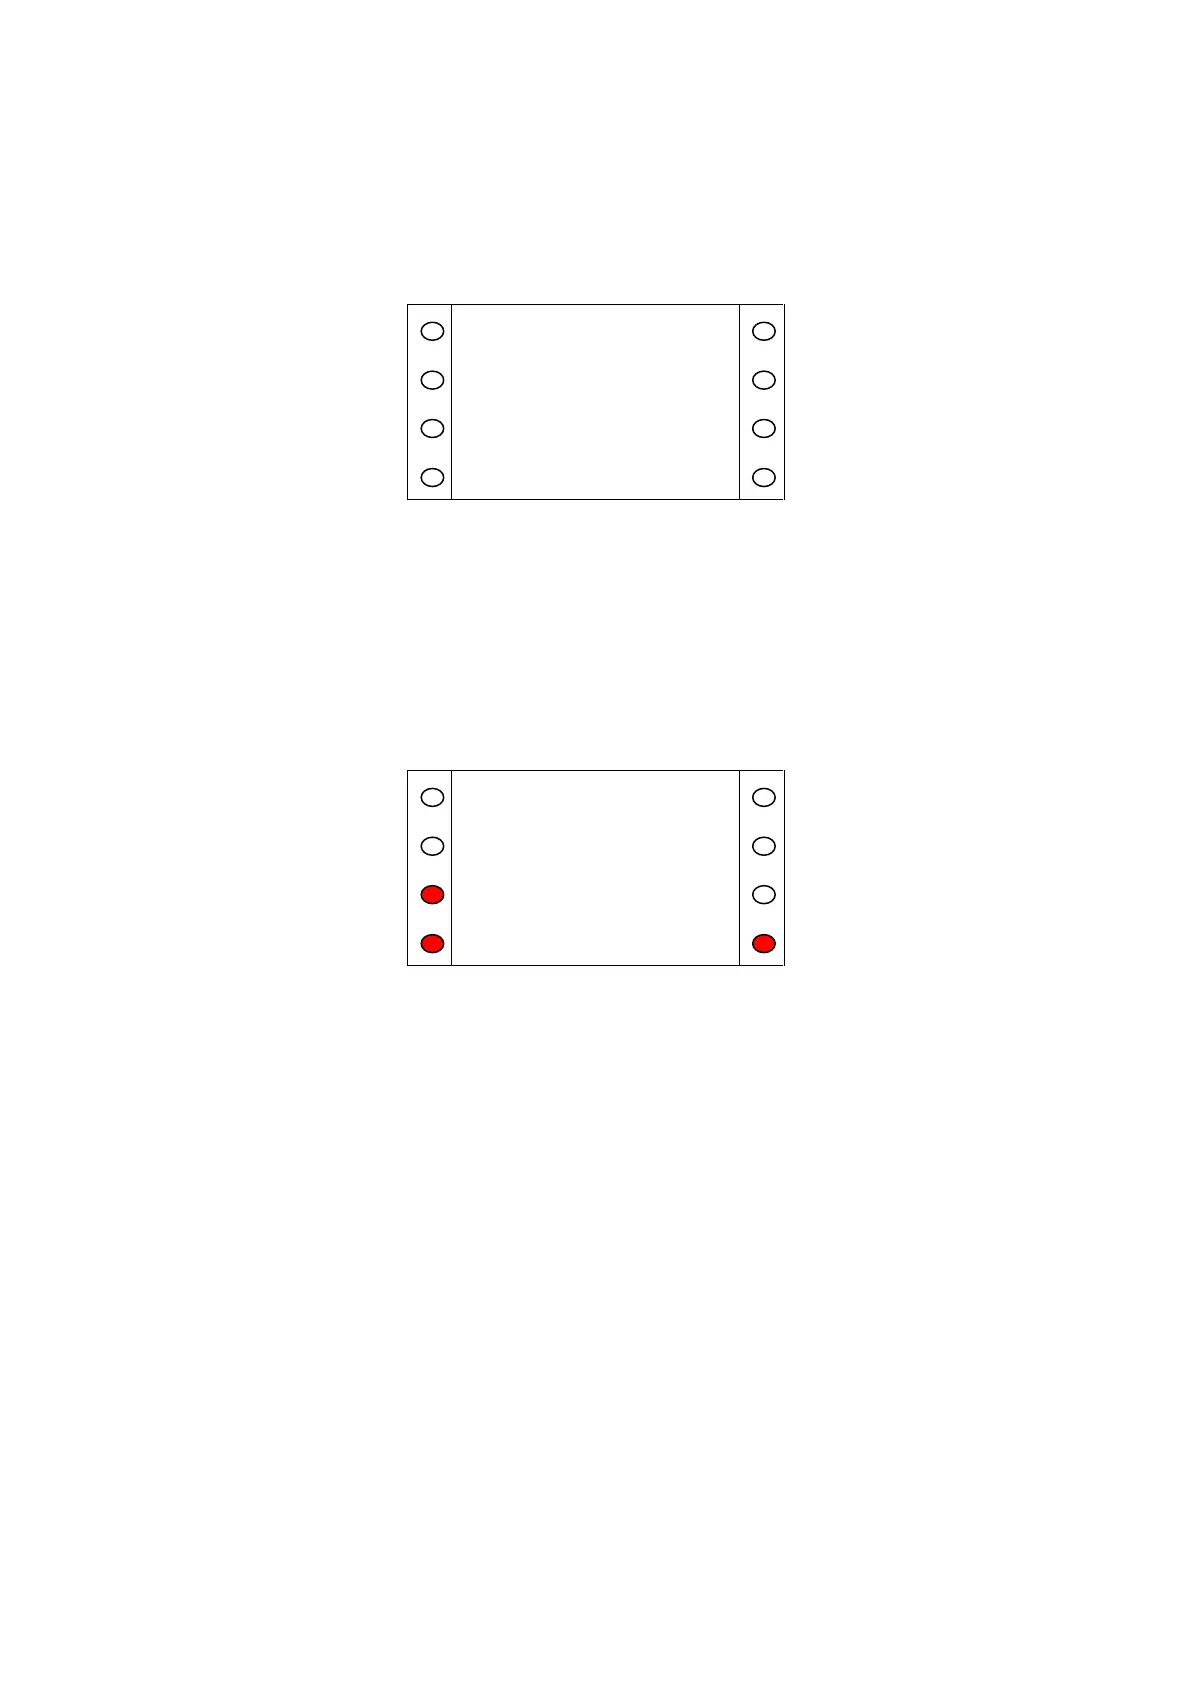
prompt to activate the trigger with the text shown in (Fig. A.12).
Figure A.12
When the trigger activation is received by the system, which may take several seconds, the trigger
number (The trigger number displayed on the SCP will not match what is printed on the rear of the
trigger). and type will appear. Pressing the illuminated key by 'Location' displays a list of Location
codes and descriptions which can be assigned to the trigger. Press '<' and '>' to scroll up and down the
list respectively. For ease of navigation, numeric keys jump to the starting digit of the Location codes.
E.g. pressing '8' will scroll the list down to Location code 80. Press the illuminated key by the desired
location to select that location. Press 'Yes' to assign the trigger, or 'No' to discard the trigger (Fig.
A.13) or press 'Exit' to return to the previous screen.
Figure A.13