Manual 2007 Rev B p/n 2007
18
05
Installation
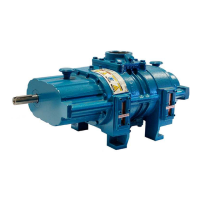
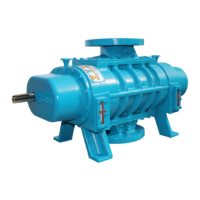
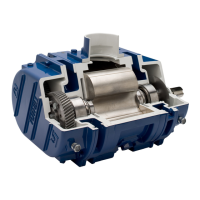
Lubrication (Integral Pressure)
Before starting the blower, fi ll the oil reservoirs as
follows:
1. Remove the oil fi ll plug.
2. Pour oil through the fi ll hole until oil appears in
the sight glass.
OTE: N The front and back oil reservoirs are
connected. However, it may take a few
minutes for the oil to travel to the front of
the blower.
3. Bring the oil level up to the center of the sight
glass.
OTE: N Again, allow time for the oil level to
equalize between the front and back of
the blower.
4. Reinstall the fi ll plug.
Oil Filter on Integral Lube Blowers
Change the oil fi lter element at every oil change.
The oil fi lters (P/N 70248) are available from
Tuthill Vacuum and Blower Systems in Springfi eld,
Missouri, or from any authorized distributor or
service center.
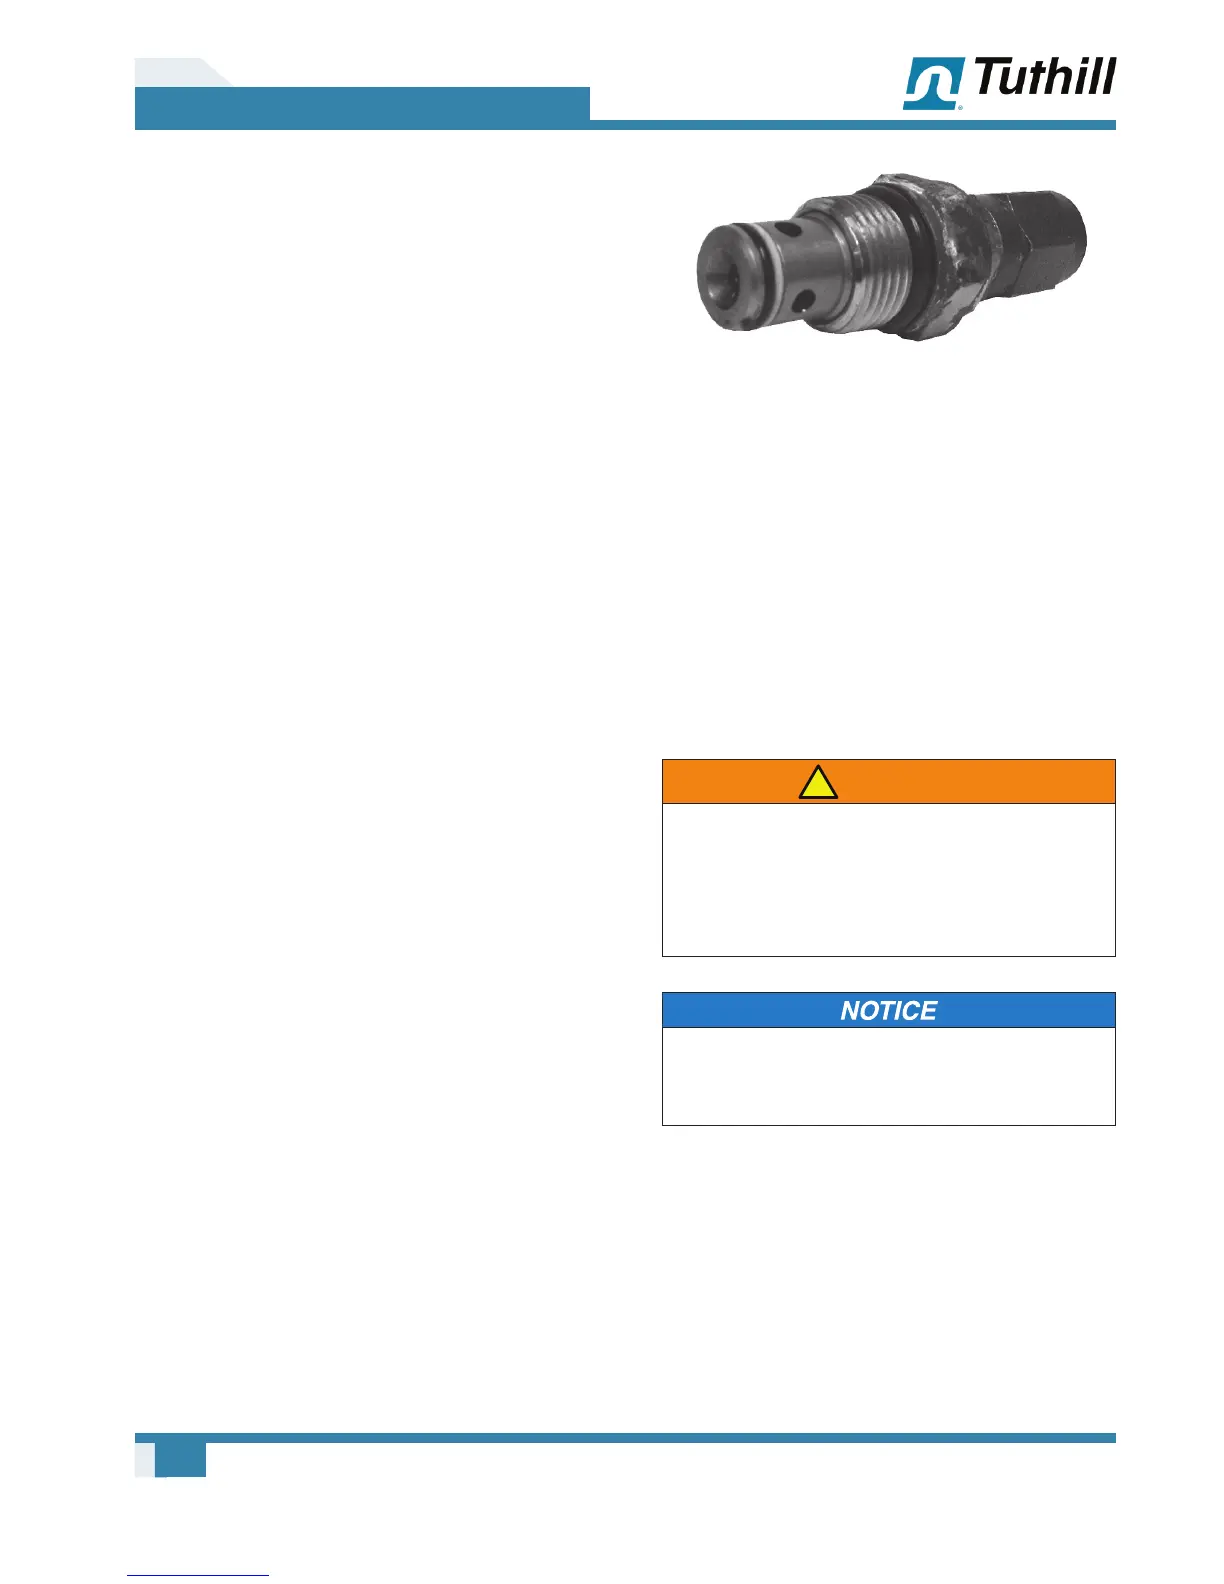
Integral Lube Oil Pressure Adjustment
The oil pressure on each blower has been preset
at the factory during the load testing. The oil
pressure should not require adjustment once the
blower is installed and in operation. However, in
rare cases, some adjustment may be needed due
to speed and oil temperature.
Once the blower reaches operating temperature,
the oil pressure can be adjusted to the proper
range. The oil pressure should be set to 15 psig
(103 kPa).
To adjust the blower to the proper oil pressure:
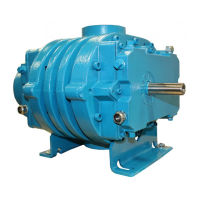
1. Remove the hex cap (see Figure 5-5).
Figure 5-5 – Oil Pressure Adjustment Hex Cap
2. Loosen the lock nut.
3. Turn the set screw clockwise to increase the
pressure or counterclockwise to decrease the
pressure.
4. Tighten the lock nut and replace the cap.
5. Read the oil pressure. Repeat the process to
re-adjust the pressure if necessary.
PIPING CONNECTIONS
WARNING
!
Pipe loading on the blower should be
negligible as pipe loading can cause
distortion of the blower. Use proper supports
and pipe hangers to assure that there is no
loading.
Remove the protective covers from the inlet
and outlet ports and inspect for dirt and foreign
material.
Inlet and outlet connections on all blowers are
large enough to handle maximum volume with
minimum friction loss. Maintain same-diameter
piping. Do not support silencers by the blower.
Avoid stress loads and bending moments.
Be certain all piping is clean internally before
connecting to the blower. Place a 16-mesh wire
screen backed with hardware cloth at or near
the inlet connections for the fi rst 50 hours of use
until the system is clean. Clean the screen after