A
B
a
b
A
IncreaseIncrease
DecreaseDecrease
Screw
-6-
12
13
14
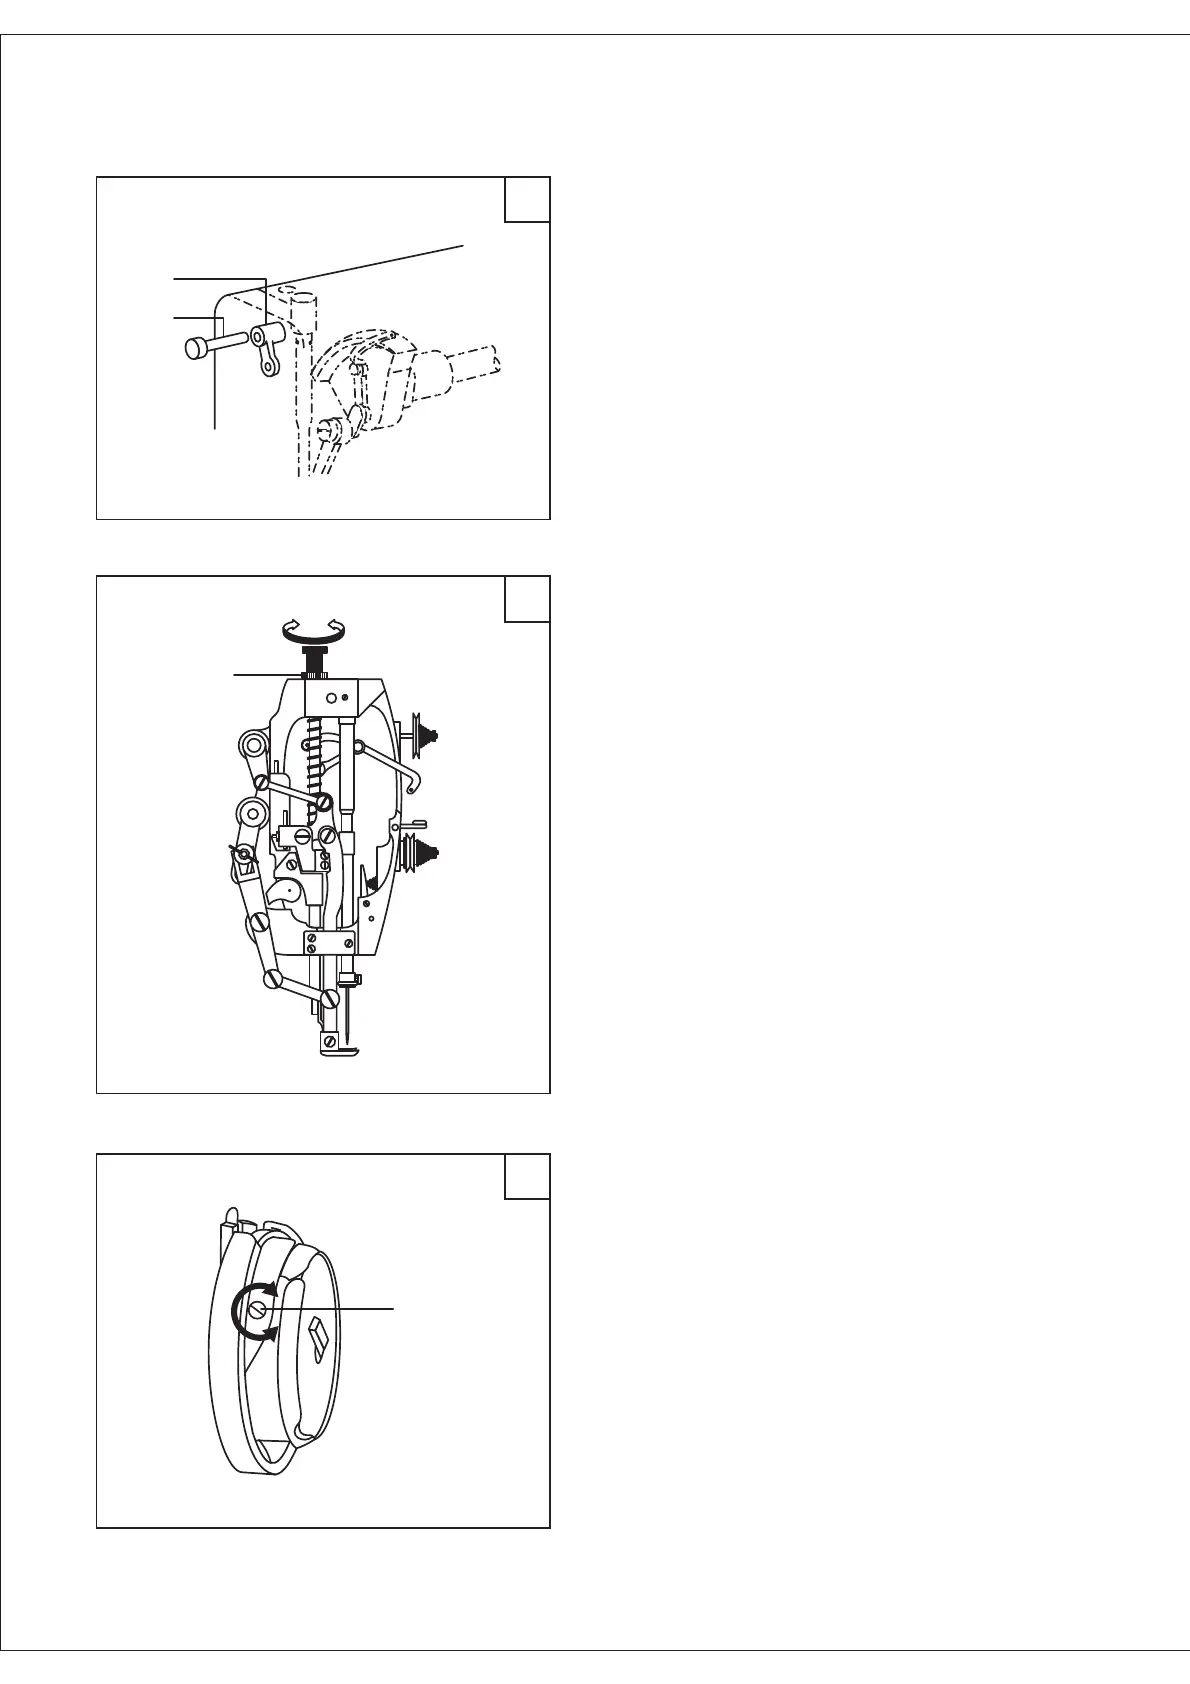
Thread take-up parts adopt woolen thread oiling.
After a long time using, its function lost. So it must
be replaced with a new one. Steps as below:
Thread take-up parts adopt woolen thread oiling.
After a long time using, its function lost. So it must
be replaced with a new one. Steps as below:
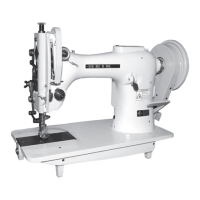
Pressur on presser foot is to be adjusted in
accordance with materials to be sewn. Loosen the
locknut (A). If heavy materials to be sewn, turn the
presser regulation thumbscrew clockwise as shown in
Fig (a) to increase the pressure. While light materials
to be sewn, turn the pressure regulating thumbscrew
counter clockwise as show in Fig. (b) to decrease the
presser on presser foot. Then tighten the lock nut (A).
The pressure on presser foot is proper as the
materials can be fed normally.
e
.
Pressur on presser foot is to be adjusted in
accordance with materials to be sewn. Loosen the
locknut (A). If heavy materials to be sewn, turn the
presser regulation thumbscrew clockwise as shown in
Fig (a) to increase the pressure. While light materials
to be sewn, turn the pressure regulating thumbscrew
counter clockwise as show in Fig. (b) to decrease the
presser on presser foot. Then tighten the lock nut (A).
The pressure on presser foot is proper as the
materials can be fed normally. .
e
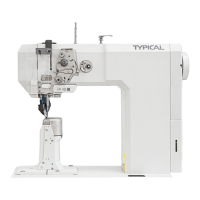
The tension on thread can be adjusted according
to the materials and different types of thread.
Normally, adjust the thread tension according to the
sewing stitches. Adjust the sewing stitches by
changing the tension on bobbin thread and needle
thread.
Increase or decrease the bobbin thread tension by
using the small screwdriver to turn the screw on
bobbin case.
Depend on the tension on bobbin case, by changing
the take-up spring tension & range, the tension of
tension spring, the position of tension disc and
thread finger to adjust the needle thread tension.
.
.
.
The tension on thread can be adjusted according
to the materials and different types of thread.
Normally, adjust the thread tension according to the
sewing stitches. Adjust the sewing stitches by
changing the tension on bobbin thread and needle
thread. .
Increase or decrease the bobbin thread tension by
using the small screwdriver to turn the screw on
bobbin case.
Depend on the tension on bobbin case, by changing
the take-up spring tension & range, the tension of
tension spring, the position of tension disc and
thread finger to adjust the needle thread tension. .
.
(1) Open the faceplate remove the pressure screw,
lock nut and adjusting bar.
(2) Remove the pin (A) and draw out the old oil
wick.
(3) Draw out the oil wick in the part (B).
(4) Change the new oil wicks.
(5) Installing is a reverse sequence.
(1) Open the faceplate remove the pressure screw,
lock nut and adjusting bar.
(2) Remove the pin (A) and draw out the old oil
wick.
(3) Draw out the oil wick in the part (B).
(4) Change the new oil wicks.
(5) Installing is a reverse sequence.
16. Oiling the thread take-up parts
(Fig. 12)
17. Adjusting the pressure of presser
foot (Fig. 13)
18. Installing the bobbin and adjusting
the thread tension (Fig. 14)