-4-
7
8
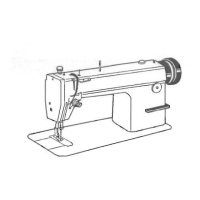
When the machine left out of operation for a quite
long time and used again or a new complete machine,
remove the rubber plug and face plate on the top of
the machine head, oil it thoroughly. Then lift the
presser foot and run the machine at a low speed of
200 400 spm. After the machine is lubricated fully,
keep t ial running the machine for 30 minutes, and
then increase the speed gradually. After months
running to prefect its performance, then increase up
to its proper sewing speed.
r
.
When the machine left out of operation for a quite
long time and used again or a new complete machine,
remove the rubber plug and face plate on the top of
the machine head, oil it thoroughly. Then lift the
presser foot and run the machine at a low speed of
200 400 spm. After the machine is lubricated fully,
keep t ial running the machine for 30 minutes, and
then increase the speed gradually. After months
running to prefect its performance, then increase up
to its proper sewing speed. .
r
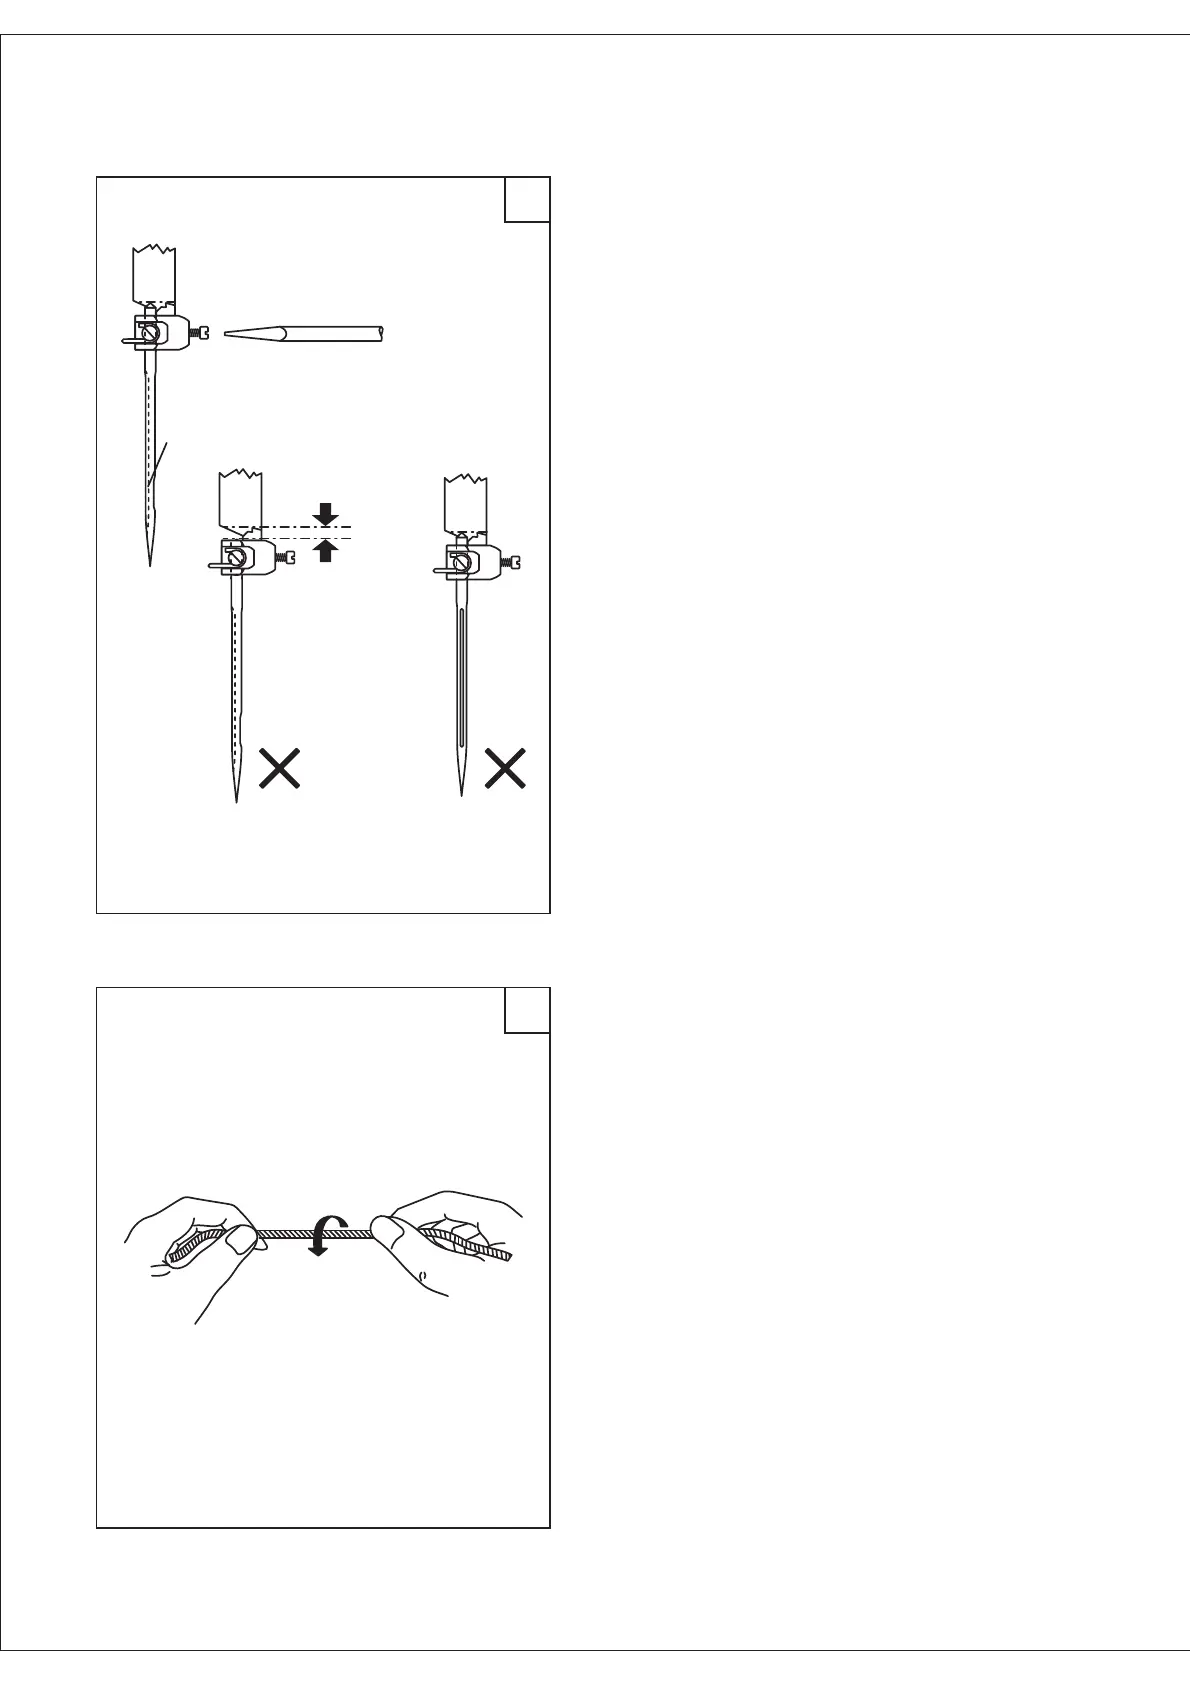
Turn the balance wheel to lift needle bar to its
highest position, loosen needle set screw (1), keeping
the long groves facing to the left side of operator, and
now fully insert the needle shank upto the bottom of
needle clamp. Last tighten the screw (1) to fix the
needle. .
Turn the balance wheel to lift needle bar to its
highest position, loosen needle set screw (1), keeping
the long groves facing to the left side of operator, and
now fully insert the needle shank upto the bottom of
needle clamp. Last tighten the screw (1) to fix the
needle. .
Please use the left-twisted needle thread and the
left-twisted or right-twisted bobbin thread. Shown as
Fig. 10, holding the thread, twist it with right hand in
the direction of arrow, if it becomes tight, it is
left-twisted thread. Otherwise, it is right-twisted
thread.
Please use the model DDX1 24# 27# needle.
The needle must be suitable for the materials. Sewing
too heavy-duty materials and using too thin needle,
the needle would be broken, thread skipping and
breaking. If the needle too heavy, it would damage
the fabric. So please choose the suitable needle
according to the materials.
.
.
Please use the left-twisted needle thread and the
left-twisted or right-twisted bobbin thread. Shown as
Fig. 10, holding the thread, twist it with right hand in
the direction of arrow, if it becomes tight, it is
left-twisted thread. Otherwise, it is right-twisted
thread. .
Please use the model DDX1 24# 27# needle.
The needle must be suitable for the materials. Sewing
too heavy-duty materials and using too thin needle,
the needle would be broken, thread skipping and
breaking. If the needle too heavy, it would damage
the fabric. So please choose the suitable needle
according to the materials. .
Note: Fig (b): no fully insertion
Fig (c): wrong direction of long groove in
insertion
Note: Fig (b): no fully insertion
Fig (c): wrong direction of long groove in
insertion
10. Trail run
11. Installing the needle (Fig. 7)
12. Coordination among the needle, the
thread and the material (Fig. 8)
Long groove leftward
Clearance
a
b
c