23
REPLACING THE BLUE TAPE
After a lot of printing, the blue tape that is on the glass plate may wear or damage a little bit. This can cause an uneven
print surface or bad adhesion to the print and it is therefore recommended to replace it once in a while. When doing
this, always make sure that the Ultimaker 2 Go is turned o.
1. Before taking out the glass plate, manually move the build plate to the bottom of the Ultimaker 2 Go. This way
damage on the print head or Z trapezoidal leadscrew is prevented.
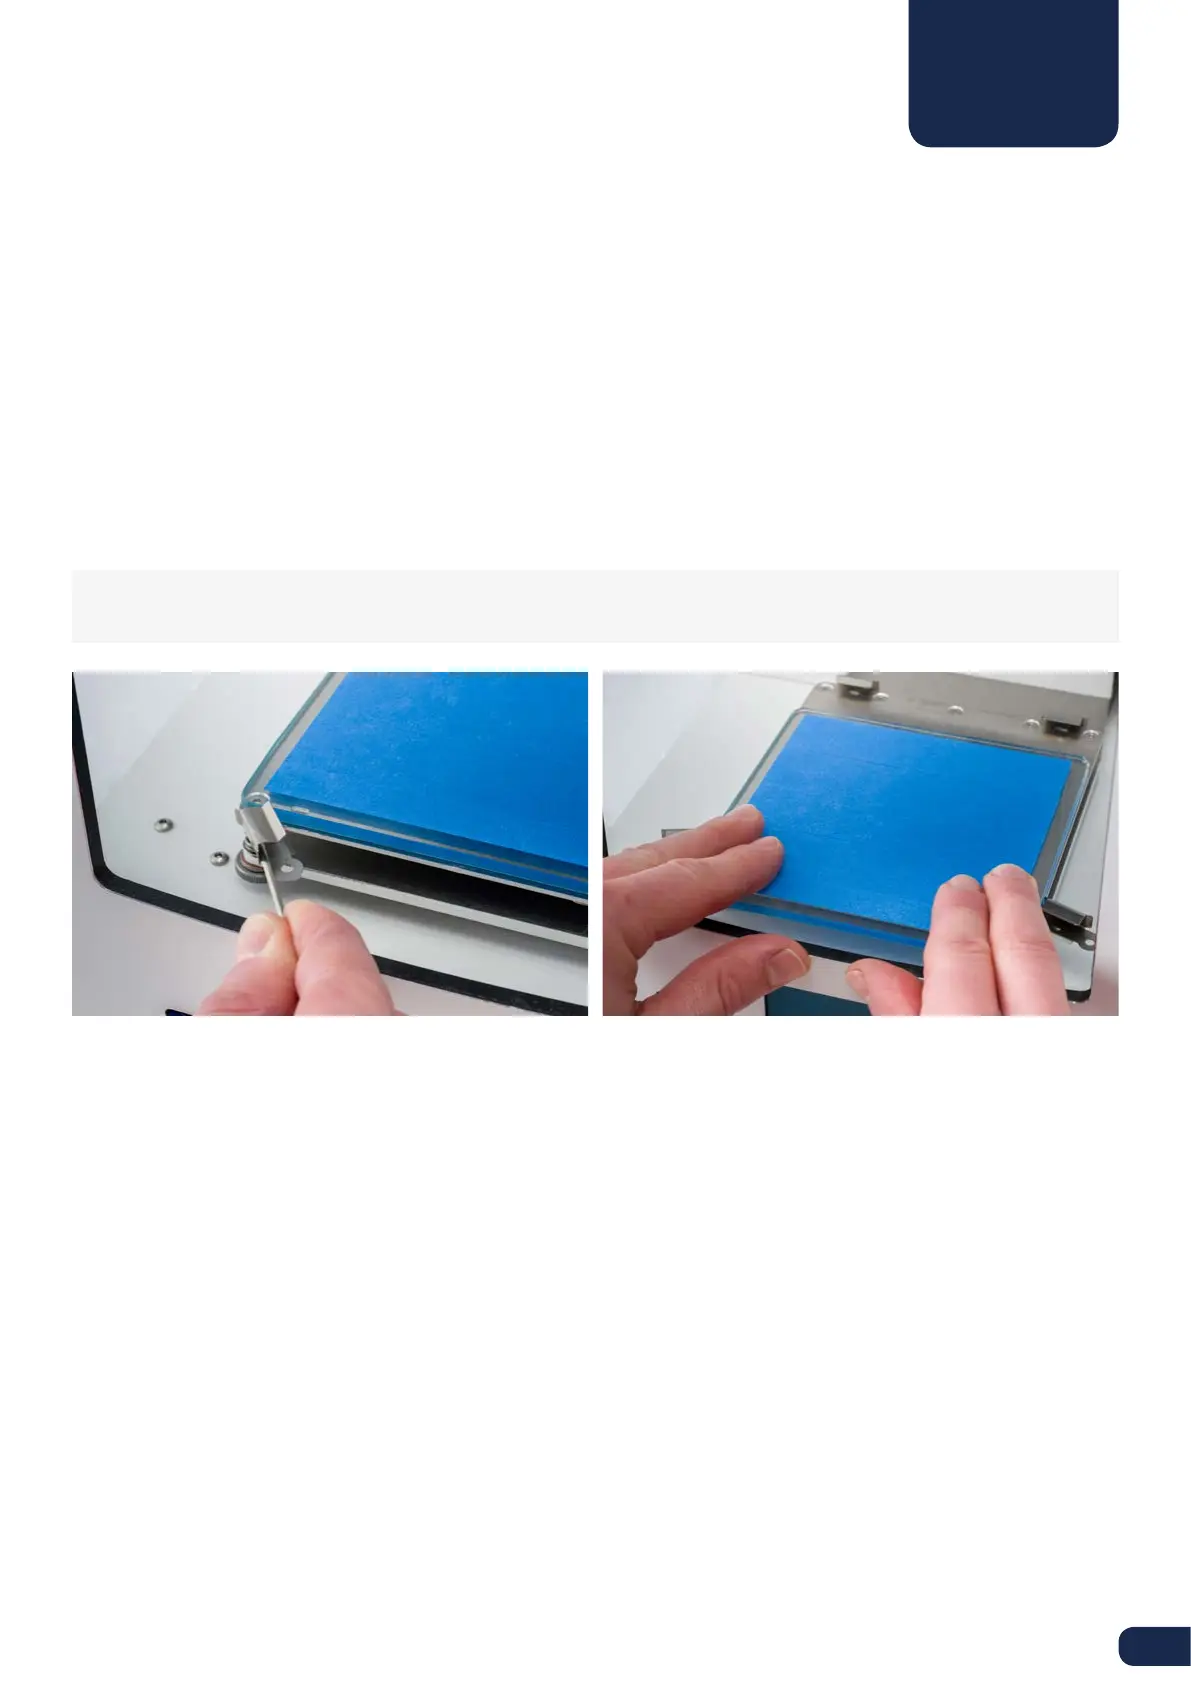
2. Open up the build plate clamps at the front side by using a hex wrench and slide the glass plate to the front of the
build plate until you can take it out of the Ultimaker 2 Go.
3. Remove the damaged tape and place new strokes of blue tape on the glass plate. Place them next to each other
and make sure they are not placed over each other. It is also advised to not put tape on the place where the build
plate clamps cover the glass plate.
4. The glass plate can simply be place back by sliding it onto the build plate until it snaps into the build plate clamps at
the back of the build plate. Close the build plate clamps at the front side by hand in order to secure it.
NOTE: In order to be sure about a successful next print we recommend to re-level the build plate after having
repositioned the glass plate.
BLUE TAPE