EN UltiMaker S7 Installation and user manual 16
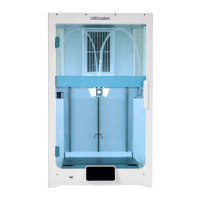
4. Insert the end of the material into feeder 2 and gently push it until the feeder grips it. Select Conrm to
continue when the material is visible in the Bowden tube.
You can straighten the end of the material a bit so it can enter the feeder more easily.
5. Wait for the UltiMaker S7 to heat up print core 2 and load the material into the print head.
6. Conrmwhenthenewmaterialextrudesconsistentlyfromprintcore2.
7. Wait a moment for print core 2 to cool down.
Load material 1
Aftercompletingthesesteps,loadmaterial1.Material1willbeputonthematerialguiderstbeforeplacingit
on the spool holder to avoid tangling of the two materials during printing. Select Material 1 from the list on the
touchscreen, select Start, and follow the steps below:
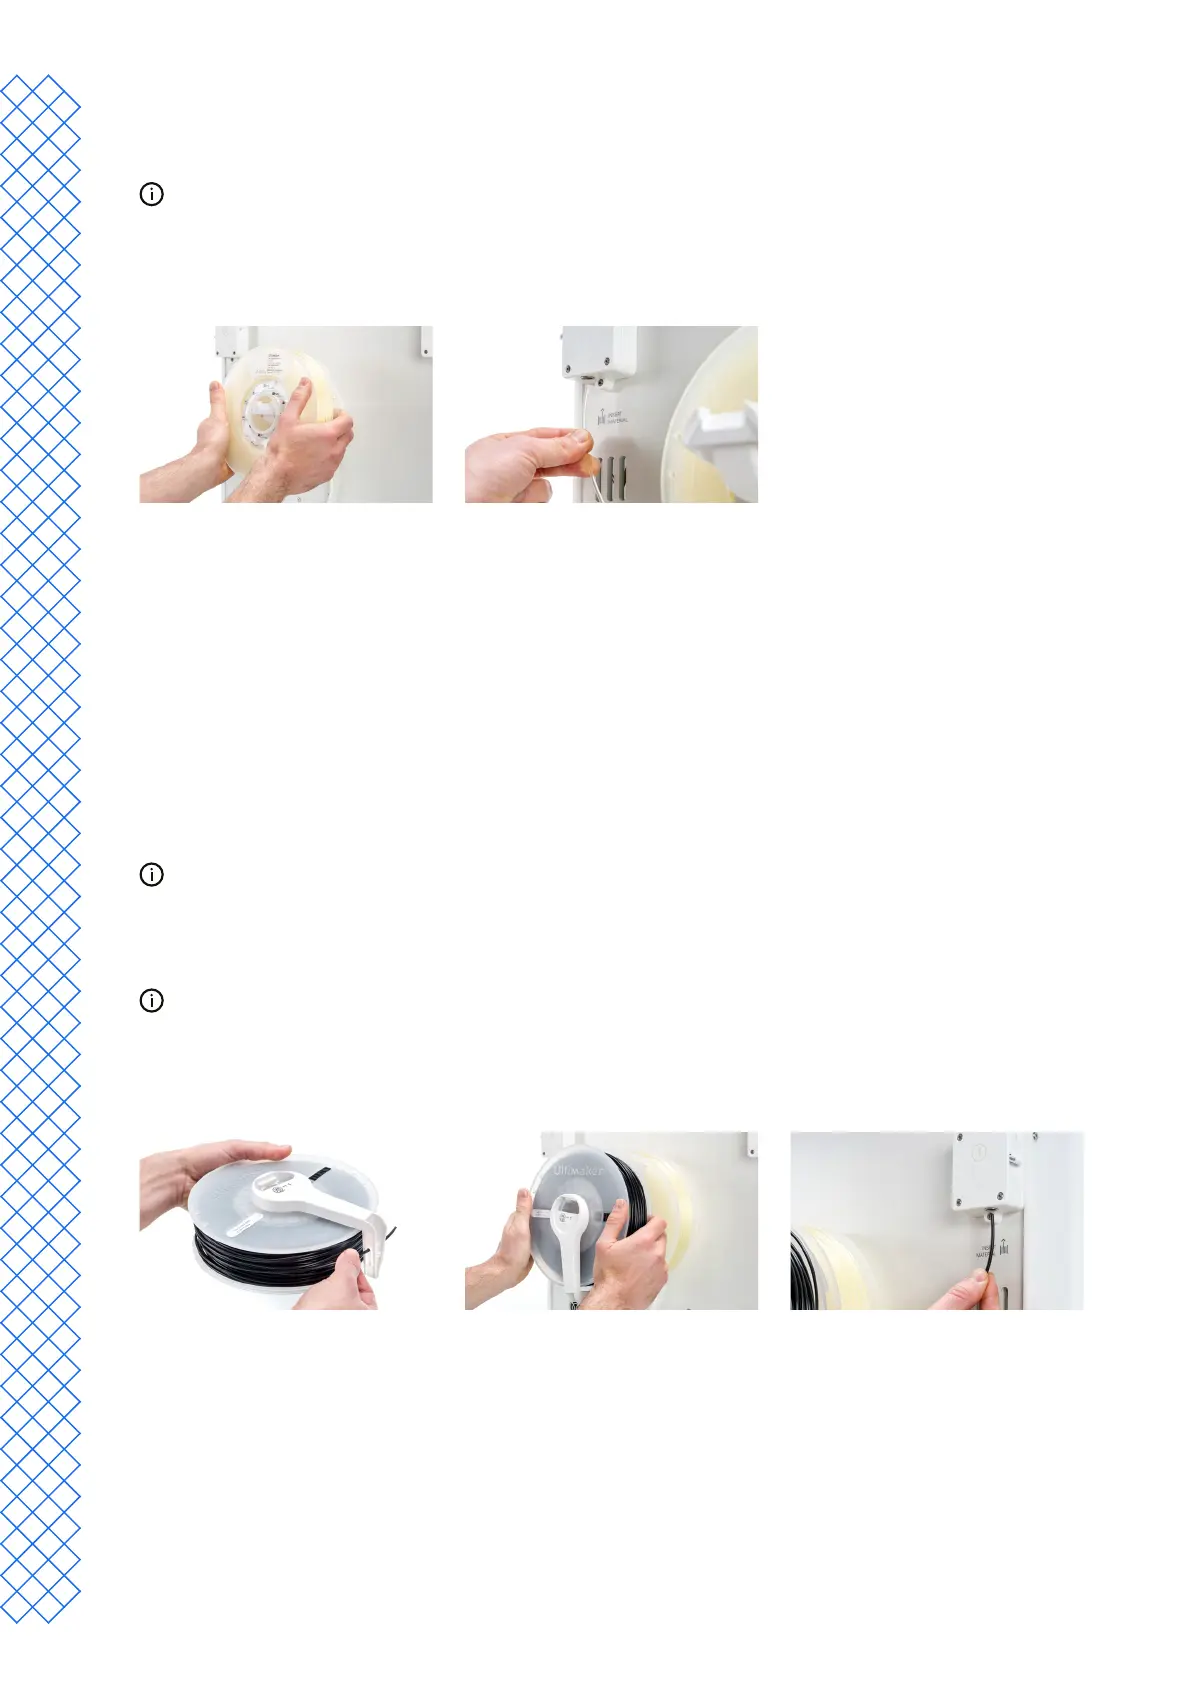
1. Unpackthematerialandcutotheend,ensuringashort,sharptip.
2. Take the material guide and hold it with the outer part towards you.
3. Place the spool on the material guide with the material in a counterclockwise direction, and put the end of the
material through the hole in the material guide.
4. Place the material guide with material 1 on it onto the spool holder behind material 2, and select Conrm.
5. Wait until the UltiMaker S7 detects the material and select Conrm.
When using a third-party material, you can select the material type manually.
6. Insert the end of the material into feeder 1 and gently push it until the feeder grips it. Select Conrm to
continue when the material is visible in the Bowden tube.
You can straighten the end of the material so it can enter the feeder easier.
7. Wait for the printer to heat up print core 1 and to load the material into the print head.
8. Conrmwhenthenewmaterialextrudesconsistentlyfromprintcore1.
9. Wait a moment for print core 1 to cool down.