35
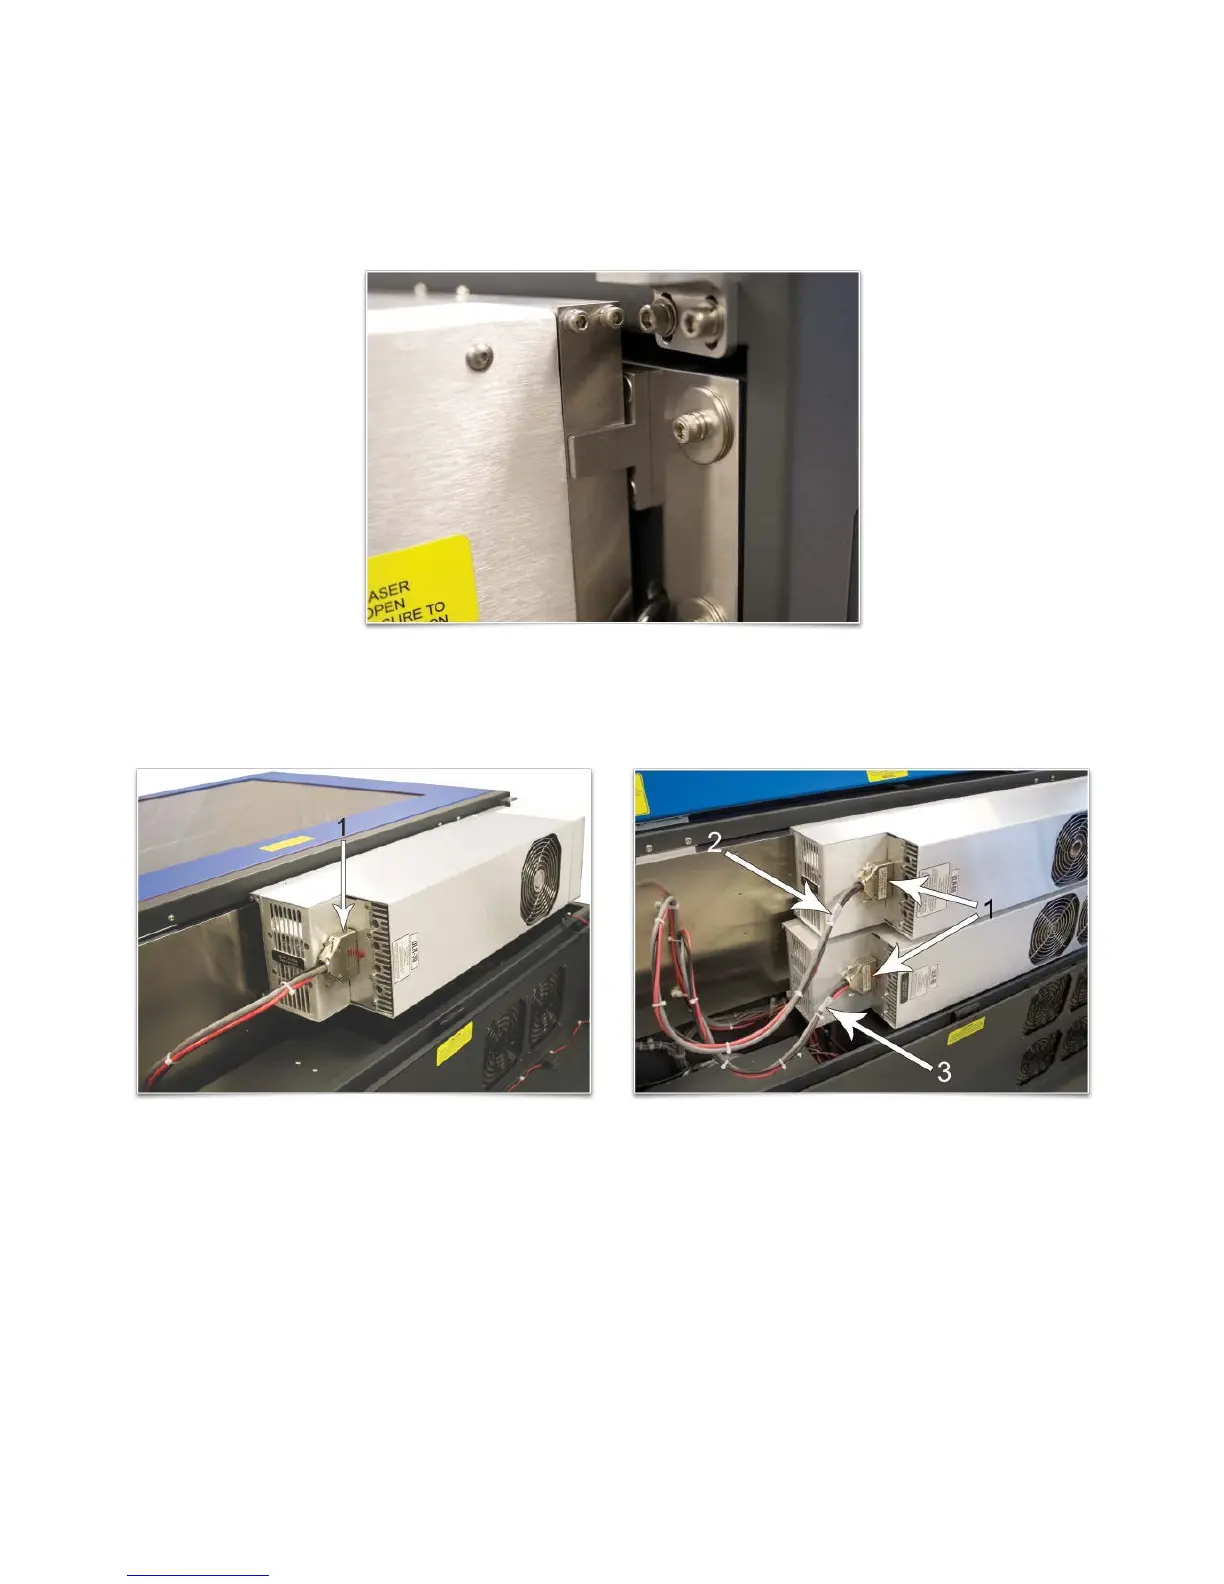
6. Slowly rotate the laser cartridge down into place, making sure that the alignment plate is centered in the
groove in the alignment fork. The laser should click onto the spring loaded laser catch shown in step 2 to
lock it in place. Never force the laser onto the laser latch. If the laser does not install smoothly, check for
obstructions such as pinched wires or hoses or a binding laser latch. Once installed, verify that the
alignment plate is centered within the alignment fork.
7. Plug in each power connector (1) to the corresponding laser cartridge. The power connectors are labeled
Top (2) or Bottom (3). Single laser cartridge users will use the top laser connector only.
8. Gently close the rear cover, making sure not to pinch any wires or hoses.
9. Once the laser cartridges have been installed, proceed to “Laser System Leveling.”