Page 29
Radial 8, 88, HT Feeders (Dispensing Heads) 49668501 Rev. D
This document supports Dual, Triple, and Quad Span Feeder Assemblies (Dispensing Heads)
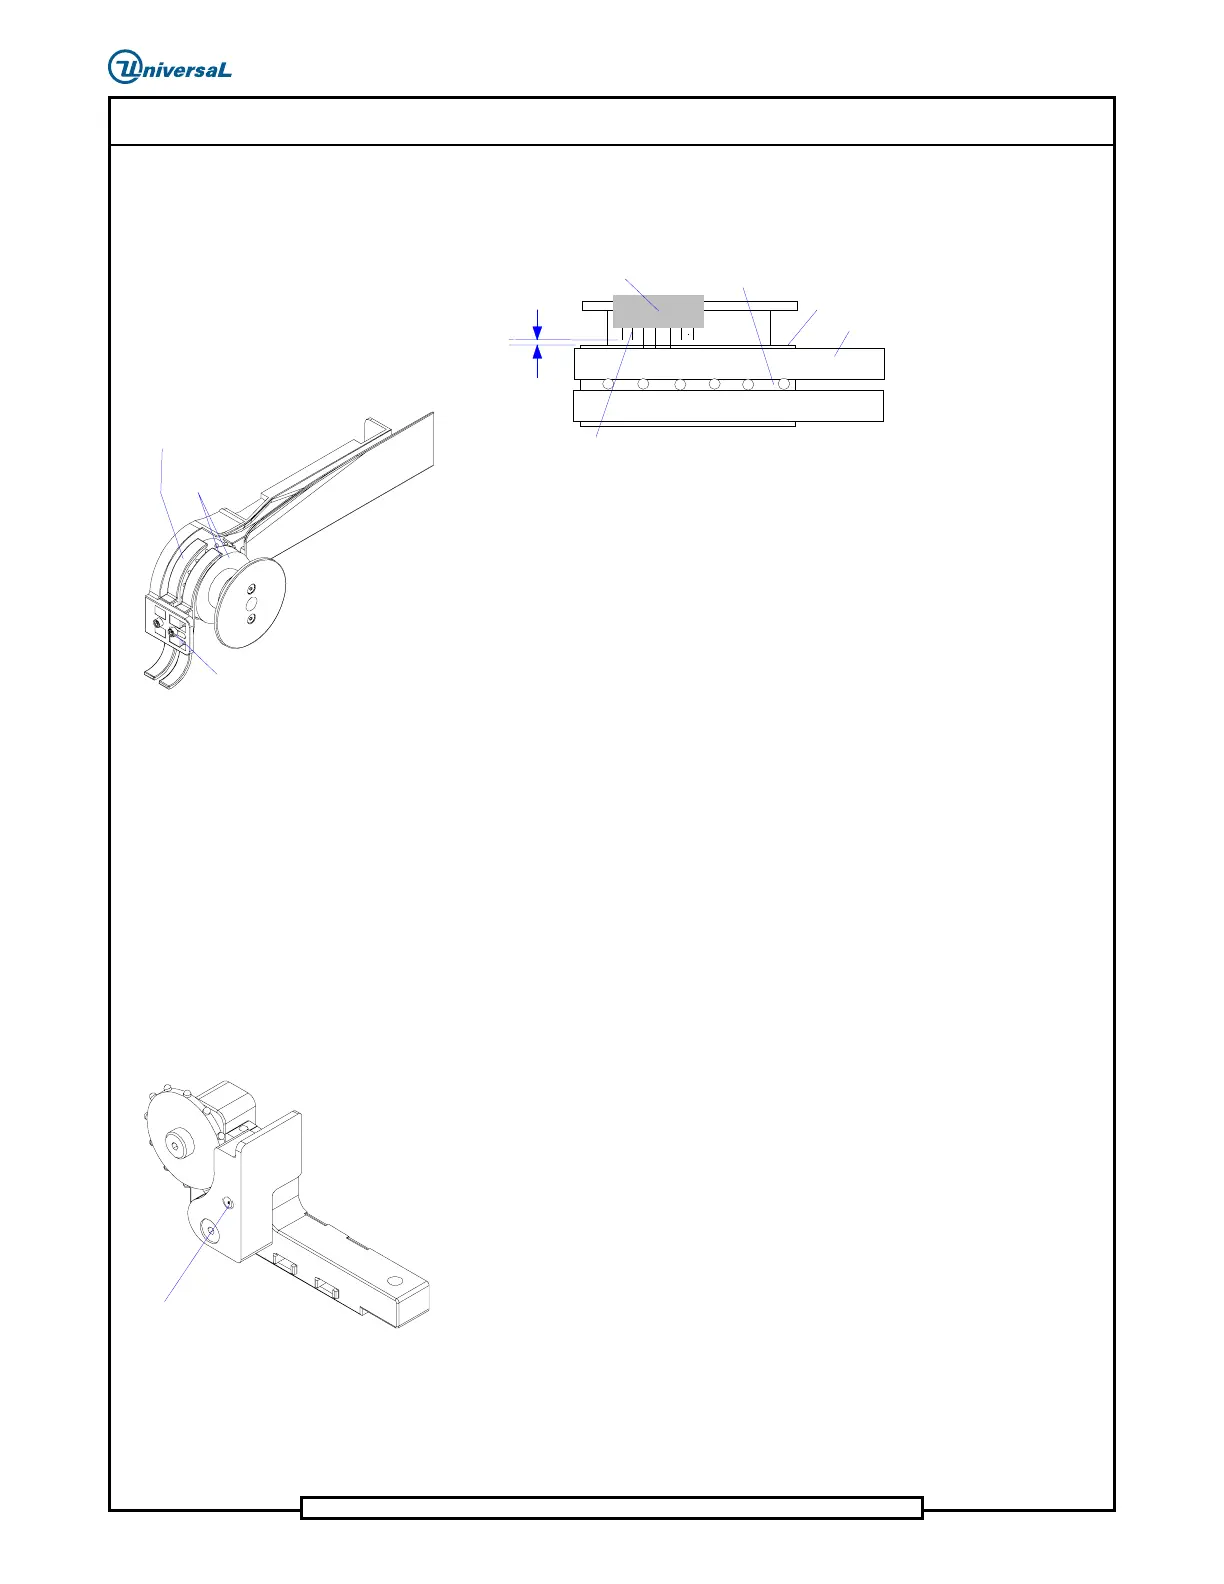
For components with unguided leads, SIPs for example, ensure that the
height of the wheel and guide is set so the unguided leads do not pass
between the wheel and guide. Refer to the illustration.
Unguided Leads
Sip
Component Tape
.030 inch
(0.76mm)
Wheel
Guide
3. When the adjustment is completed, retighten the SHCS.
Outside Tape Guide SHCS
Must be even
here
Tape Guide
4. Loosen the SHCS screw that secures the outside tape guide and slide
the guide over until it is even with the component lead conditioner
wheel. Retighten the SHCS.
End of procedure
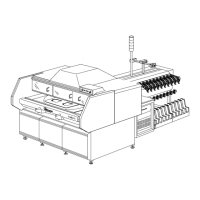
Low Parts Warning Ball Plunger Screw
Adjustment
The low parts warning assembly gate allows the removal or insertion of the
component tape when the upper end of the tape is engaged at the
feeder.
This adjustment correctly positions the ball plunger screw in the gate. If the
ball plunger screw is not adjusted properly, the gate fails to close or will not
stay closed.
It is recommended that the gate not be used unless absolutely necessary. The
correct method of loading components is to thread the tape up through the
low parts warning assembly with the gate closed.
Ball Plunger
To adjust the low part warning plunger screw, perform the following
procedure.
1. With the gate closed all the way, turn ball plunger screw in until it
bottoms out, then back the screw out one quarter turn. This completes
the adjustment of the ball plunger screw.
End of procedure