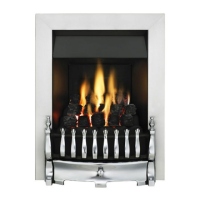
12.2 Adorn, Icon and Visage fascias
Carefully lift the fascia. Do not lift it by the slider control knob.
Remove the tape securing the control linking bar to the fascia. Slide the control knob
upwards as far as it will go. Make sure that the bottom of the linking bar is higher than
the bottom of the fascia.
12.2.1 Visag
e fascia
1. Place the fascia against the fireplace front
surface so that the two retaining plates at the
back of the fascia are directly above the two
upper retaining brackets at the top of the
convection box. Lower the fascia unit making
sure that the retaining plates locate fully over
the brackets on the convection box (See
figure 35).
Swing the bottom control linking bar towards
the centre of the fire to clear the right side of
the fascia. Slide the fascia unit sideways, if
necessary, to align the bottom fixing holes with
those in the convection box. Fix the bottom of
the fascia to the convection box with two
screws (See figure 36).
2. Fit the burner baffle to the front flanges of
the burner. To do this, place the baffle against
the front flanges of the burner and lower into
position. The return edges on the rear of the
baffle should slot over the front flanges of the
burner (See figure 34).
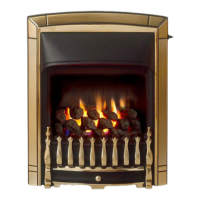
12.2.2 Adorn fascia.
Place the fascia against the fireplace front surface
so that the retaining strip at the back of the fascia is
above the two upper retaining brackets at the top of
the convection box. Lower the fascia making sure
that the rear retaining strip locates fully over the
retaining brackets on the convection box (See figure
37). If the inlet pipe runs along the front of the
fireplace, the bottom of the fascia will have to be
swung forwards to clear the pipe while lowering the
casting.
Swing the bottom control linking bar towards the
centre of the fire to clear the front casting. Slide the
© GDC Group Ltd. 2011
Page 33
INSTALLER GUIDE
Figure 36. Fascia bottom location
Figure 35. Fascia top location
Figure 37. Adorn fascia top
location.