Because of the large amount of models covered by this publication, the illustrations are typical
ones. Some details of your unit may be slightly different of the ones shown.
Please take note this manual uses the following symbols to emphasize particular information:
NOTE: Indicates supplementary information needed to fully complete an instruction.
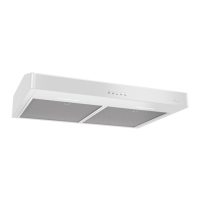
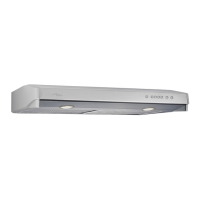
A single blower range hood can be installed either with an exterior outlet or not.
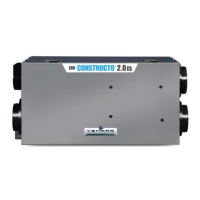
If a single blower range hood is not installed with an exterior outlet, a charcoal filter module must
be installed (sold separately).
This module must be installed prior to proceed to the hood installation. Refer to the installation
sheet included in the charcoal filter module kit.
ABOUT THIS MANUAL
HOOD INSTALLED WITH A CHARCOAL FILTER MODULE
CAUTION
Denotes an instruction which, if not followed, may severely damage the unit
and/or its components.
Identifies an instruction which, if not followed, might cause serious personal
injuries including possibility of death.
WARNING
CAUTION
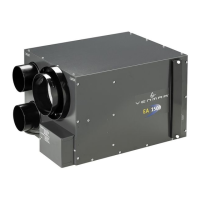
All dual blower range hoods must always be installed with an exterior outlet.
Never install a charcoal filter module with those specific range hoods.
TOOLS NEEDED TO INSTALL THE RANGE HOOD
- Phillips screwdriver no. 2 or Robertson no. 1 and no. 2
- Pair of long nose pliers (to open the horizontal or vertical discharge knockout hole)
- Hammer and flat blade screwdriver (to open the electrical knockout hole)
- Sheet metal sheers (ducted installation only, for duct adjustment)
- Pair of pliers (ducted installation only, for duct adjustment)
- Scissors (to cut metal foil duct tape)
- Pen
- Wire stripper
TABLE OF CONTENTS
- 3 -
1. INSTALL DUCTWORK . . . . . . . . . . . . . . . . . . . . . . . . . . . . . . . . . . . . . . . . . . . . . . . . . . . . . . . . . 4
2. MEASURE THE INSTALLATION . . . . . . . . . . . . . . . . . . . . . . . . . . . . . . . . . . . . . . . . . . . . . . . . . . . . 4
3. PREPARE THE INSTALLATION . . . . . . . . . . . . . . . . . . . . . . . . . . . . . . . . . . . . . . . . . . . . . . . . . . . . 5
4. PREPARE THE HOOD . . . . . . . . . . . . . . . . . . . . . . . . . . . . . . . . . . . . . . . . . . . . . . . . . . . . . . . . . 6
5. INSTALL THE ADAPTER/DAMPER . . . . . . . . . . . . . . . . . . . . . . . . . . . . . . . . . . . . . . . . . . . . . . . . . 7
6. INSTALL THE HOOD . . . . . . . . . . . . . . . . . . . . . . . . . . . . . . . . . . . . . . . . . . . . . . . . . . . . . . . . . . 8
7. CONNECT WIRING . . . . . . . . . . . . . . . . . . . . . . . . . . . . . . . . . . . . . . . . . . . . . . . . . . . . . . . . . . . 8
8. REINSTALL BOTTOM PANEL . . . . . . . . . . . . . . . . . . . . . . . . . . . . . . . . . . . . . . . . . . . . . . . . . . . . . 9
9. HALOGEN LIGHT BULBS . . . . . . . . . . . . . . . . . . . . . . . . . . . . . . . . . . . . . . . . . . . . . . . . . . . . . . . 9
10. CARE . . . . . . . . . . . . . . . . . . . . . . . . . . . . . . . . . . . . . . . . . . . . . . . . . . . . . . . . . . . . . . . . 10-11
11. OPERATION . . . . . . . . . . . . . . . . . . . . . . . . . . . . . . . . . . . . . . . . . . . . . . . . . . . . . . . . . . . . 11-14
12. S
ERVICE PARTS . . . . . . . . . . . . . . . . . . . . . . . . . . . . . . . . . . . . . . . . . . . . . . . . . . . . . . . . . 15-16