HE250 - Installation and Operation Manual 59
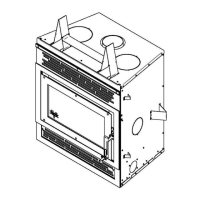
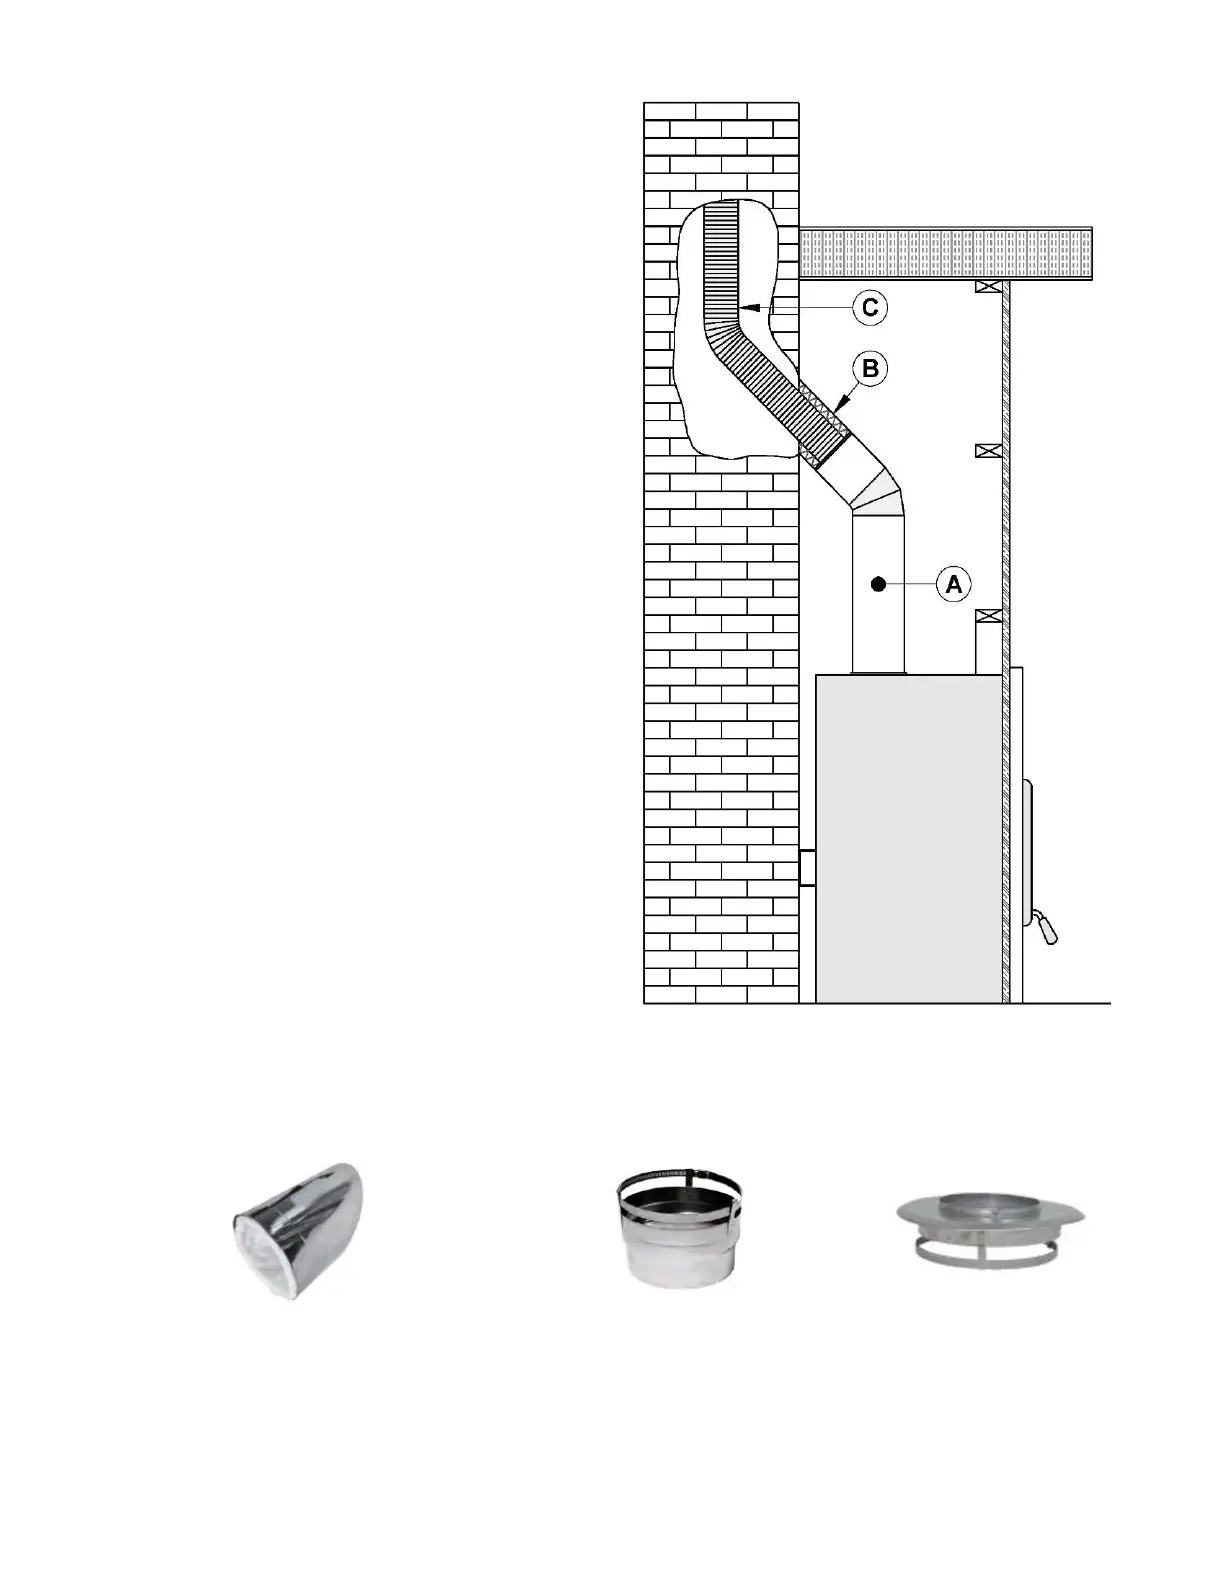
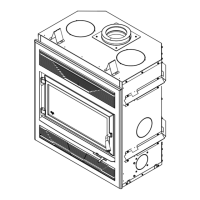
Position the fireplace in its location. Temporarily
install the elbow or chimney section (A) on the
top of the fireplace and, using a level, mark with
an oval the location where the liner will enter the
masonry chimney.
In the middle of the oval, drill a hole in the
masonry chimney at 45° or 30°.
Increase the size of the hole so that the liner with
the 45° or 30° insulated liner adapter (B) around
can be easily slipped through.
Install a CACLF6 (Forever Flex) or CUCHF6
(Hybrid) on the liner and slide the liner (C) down
from the top of the masonry chimney until you
reach the hole level.
Install the CVA-CPEC06 on the elbow or chimney
section.
Slide the liner assembled with the
CACLF6/CUCHF6 through the hole performed in
Step 2.
Install the insulation of the insulated liner
adapter over the liner.
Insert the stainless steel tube of the insulated
liner adapter over the insulation.
Connect the CACLF6/CUCHF6 to the CVA-CPEC06.
Seal the joint between the insulated liner
adapter and the CVA-CPEC06.
11. Seal the opening in the masonry chimney around the insulated liner adapter with high temperature
refractory cement.
12. To complete installation, secure the elbow or chimney section to the fireplace anchor plate.Note:
Make sure the liner exceeds at least 12” (30 cm) the top of masonry chimney.