21
Operations & Maintenance Manual: Setting Up
0900-5165 REV-00
REGIONAL
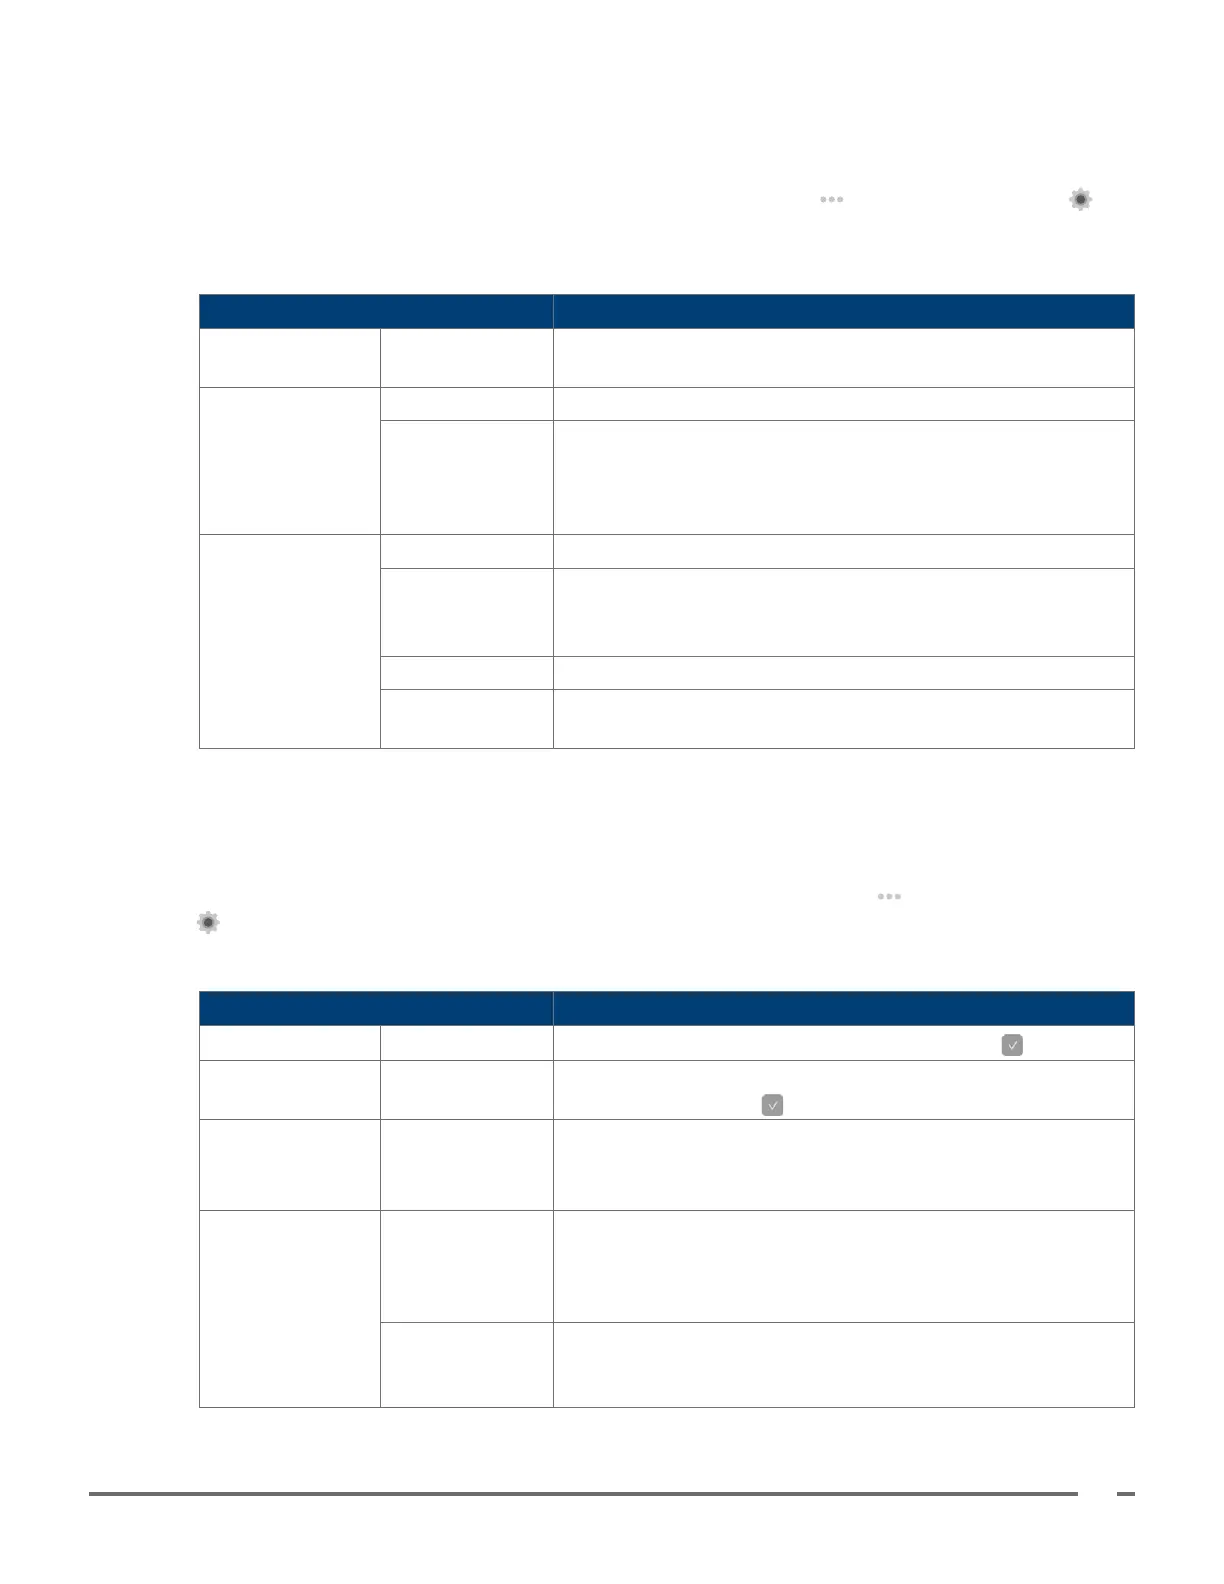
Use the Regional Settings menu to choose the system language, date, and time.
• To congure Regional settings, from the Home screen, tap the More button, tap the Settings
button, and then tap Regional.
Table 8. Regional Settings Menu
REGIONAL MENU TREE SETTING
Language Language
Select the system language. In the conrmation box, tap Yes
to save, or Cancel to discard the change.
Date
Date Today’s date.
Date Format
Select the date format:
• YYYY-MM-DD
• DD-MM-YYYY
• MM-DD-YYYY
Time
Time Today’s time.
Time Format
Select the time format:
• 12-Hour (AM / PM)
• 24-Hour
Time Zone Select the time zone.
Daylight Saving
Time
Toggle—Enables Daylight Saving Time.
ADMINISTRATION
Use the Administration Settings menu to set the device name, set a security code, reset the system settings,
import settings from another monitor with a USB drive, or export the monitor settings to a USB drive.
• To congure Administration settings, from the Home screen, tap the More button, tap the Settings
button, and then tap Administration.
Table 9. Administration Settings Menu
ADMINISTRATION MENU TREE SETTING
Device Name Device Name
Enter a device name, and then tap the Conrm button.
Security Code Security Code
Enter a 4-digit security code, enter it again to conrm, and
then tap the Conrm button.
Reset Settings Reset Settings
Tap Reset, and then tap Yes to conrm you would like to
restore all device settings to the factory settings.
Note: This does not aect media saved on the device.
Import / Export
Settings
Import Settings
Connect a USB drive to the monitor that contains settings
exported previously from another monitor, tap Import, and
then tap Import. The monitor’s settings are updated to match
the settings from the USB drive.
Export Settings
Connect a blank USB drive to the monitor, tap Export, and
then tap Export. The monitor’s settings are saved to the USB
drive.
 Loading...