23
Operations & Maintenance Manual: Setting Up
0900-5165 REV-00
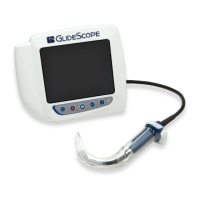
Procedure 6. Attach the Blade or Baton
The blade or video baton attaches to the monitor’s connector arm. The monitor rotates on the connector
arm, allowing you to set a starting angle to begin the intubation.
It is recommended that you leave single-use accessories in their packaging while connecting them, and that
you do not remove it until you are ready to perform the procedure. This helps ensure that the blade remains
as clean as possible until you are ready to use it.
1. Ensure the monitor’s connector is free of debris and no foreign objects are attached to the magnet.
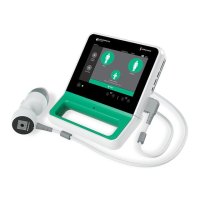
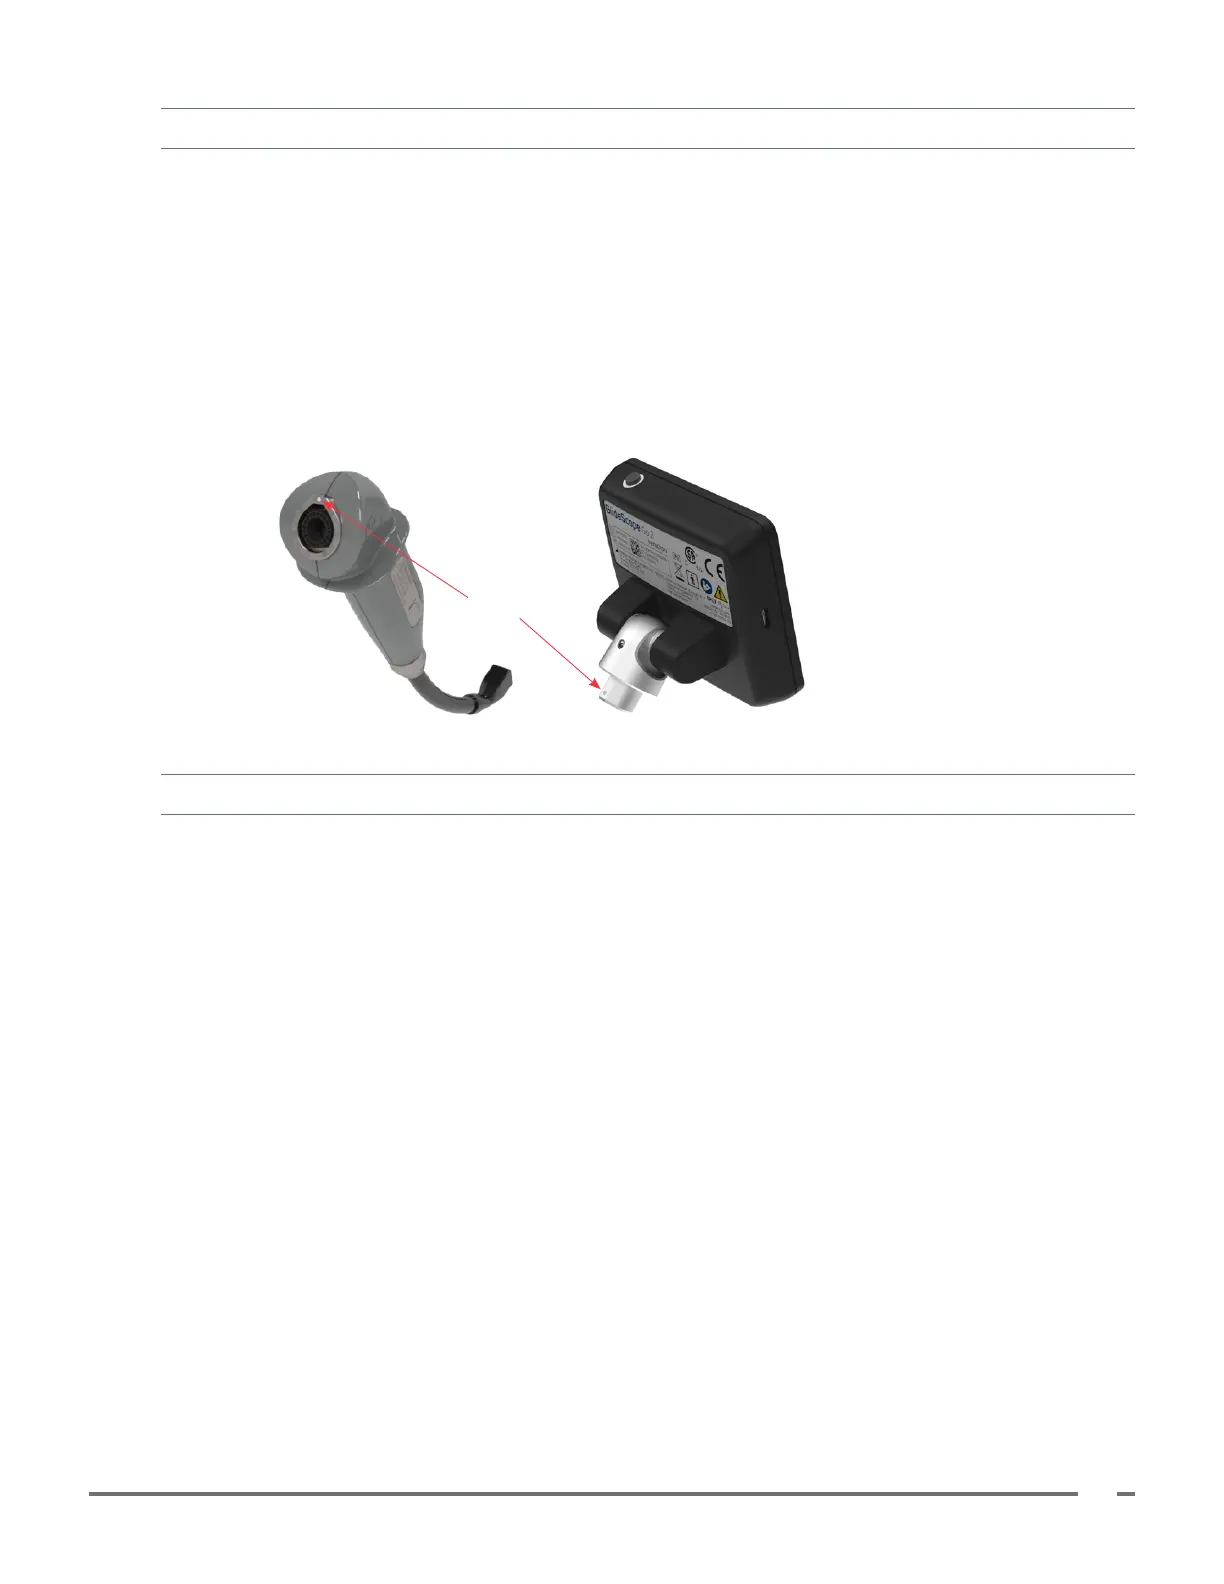
2. Align the mark on the monitor with the mark on the baton or single-use blade, and then insert the blade/
baton connector fully into the connector port on the blade or baton.
Alignment marks
Procedure 7. Perform a Functional Check
Before using the device, ensure the system is working properly.
1. Ensure the monitor battery has enough charge to complete the procedure. Fully charge battery when
possible.
2. Attach the scope to the monitor.
3. Press the Power button. The monitor turns on.
4. Look at the screen and verify that video is being received from the laryngoscope.
Note: The edges of the blade or Stat may be captured in the camera view. This image acts as a frame
of reference during the intubation process and ensures that the orientation of the image is correct in the
monitor.
 Loading...