Vertiv | Liebert® GXT5™ | Installer/User Guide 57
6. Line-up and slowly push-in each replacement battery pack. The battery is fully-inserted if the battery door
ts ush against the UPS.
7. Re-attach the battery door with the screw, and replace the front cover.
8. Activate the new battery pack(s) using the operating/display panel:
NOTE: The display menus and functions are described in Operation and Display Panel on page 43.
» From the main menu, select Settings, then the Monitoring tab and verify that the date and time are
correct. If the date or time need correction, see Setting the Date and Time on page 54.
» Select the Battery tab, use the arrows to select Replace Battery, and press Enter. The replaced battery
packs are activated.
» Use ESC to return to the main display.
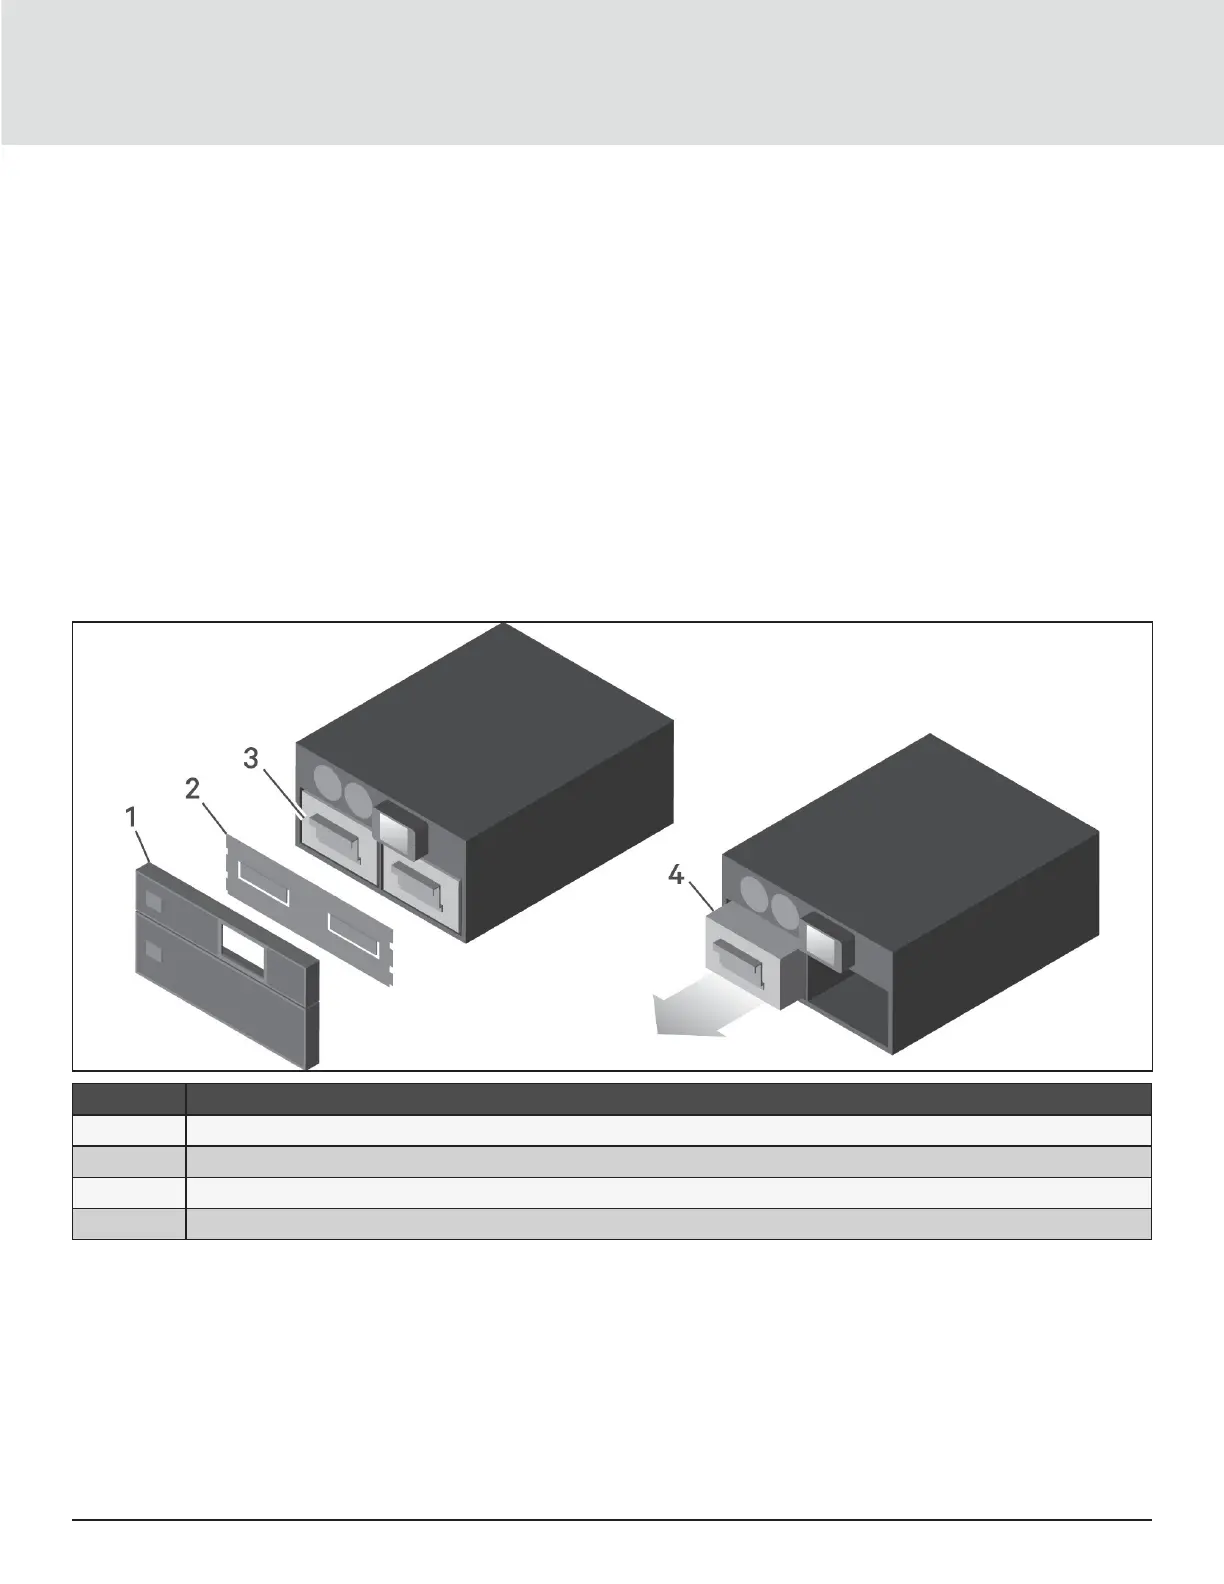
Figure 5-1 Replacing the Battery Pack
ITEM
DESCRIPTION
1 Front cover
2 Battery door
3 Battery handle
4 Grasp handle and pull battery out
5.2. Charging Batteries
The batteries are valve-regulated, non-spillable, lead acid and should be kept charged to attain their design life.
The UPS charges the batteries continuously when it is connected to the utility input power.
If the UPS will be stored for a long time, We recommend connecting the UPS to input power for at least 24 hours
every 4 to 6 months to ensure full recharge of the batteries.
 Loading...