VAB-820 Linux BSP v3.2.0 Quick Start Guide
5
2.2. Booting from the SPI ROM and eMMC
The VAB-820 supports booting from the SPI ROM while loading the kernel and root
filesystem from eMMC.
The first step is to prepare a Micro SD card with the default image according to section
2.1. Next, copy the
u-boot.imx
and
via-image-gui-imx6qvab820.sdcard
files from the BSP
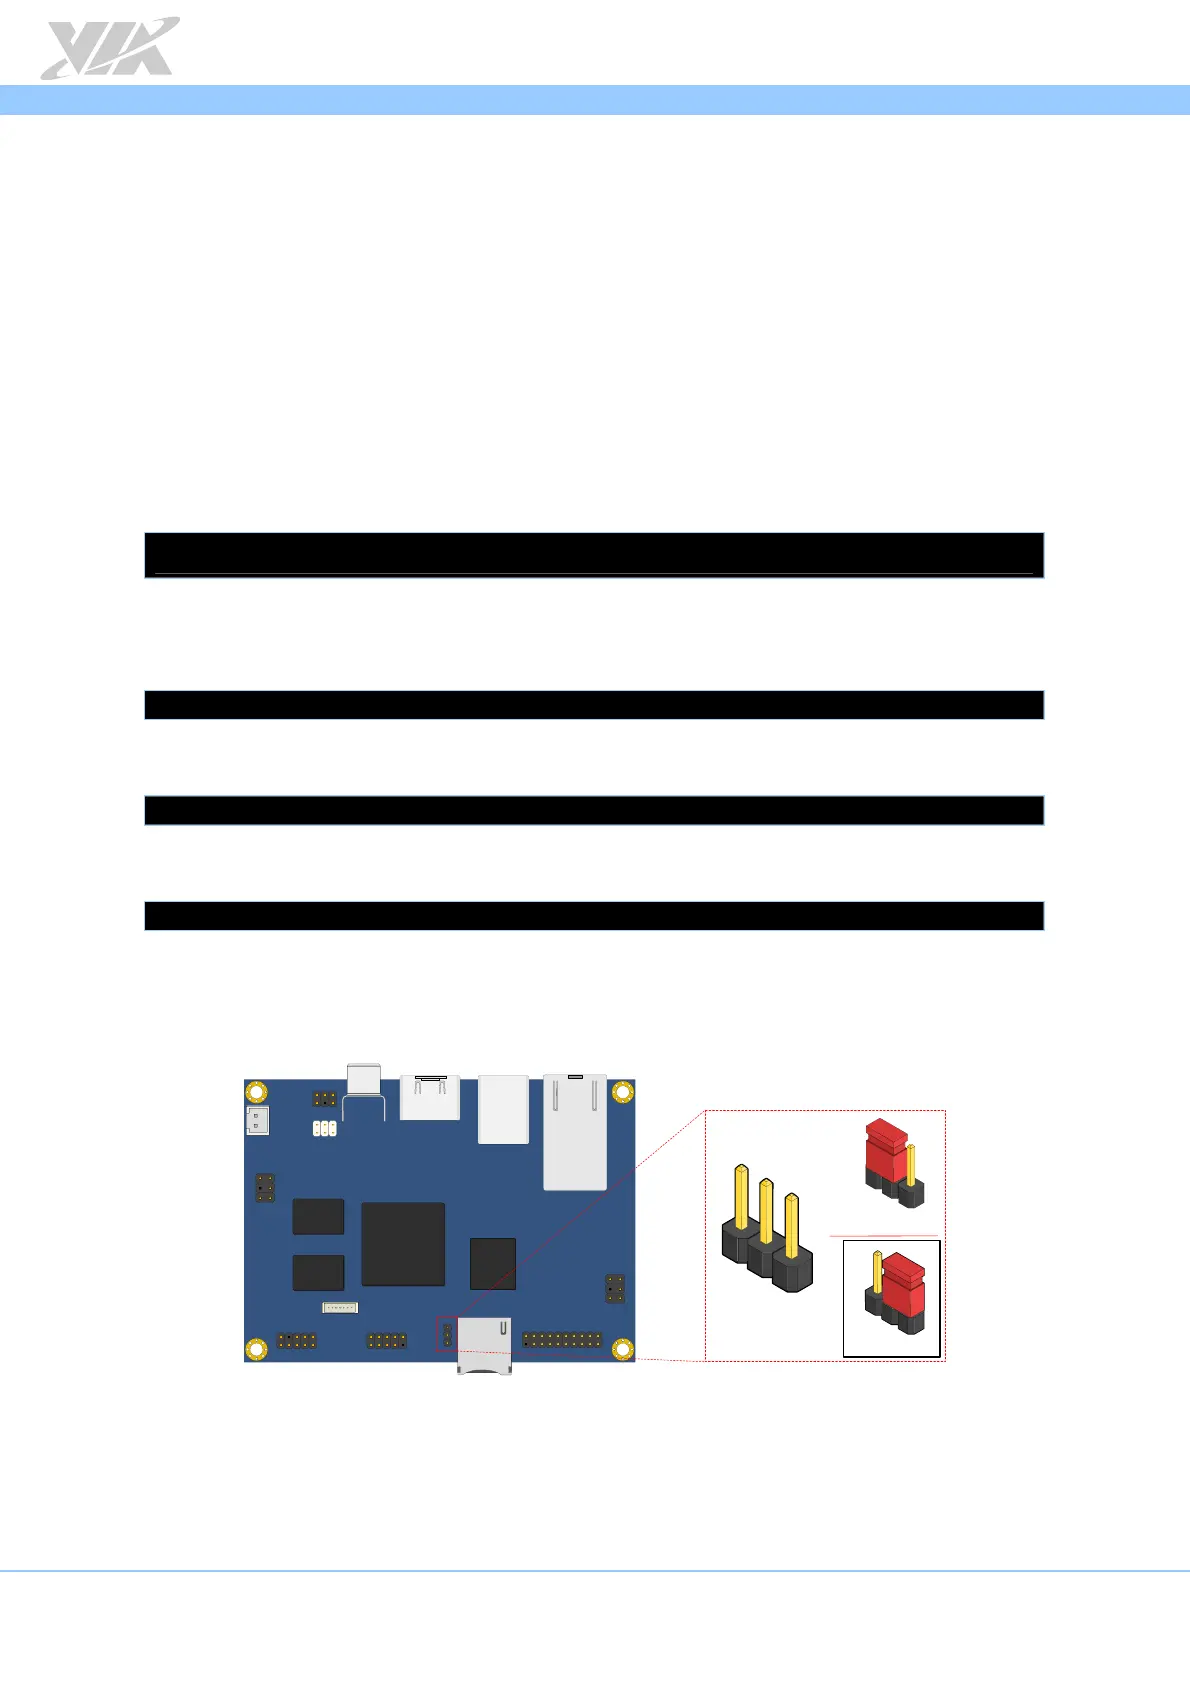
onto a mass storage device such as a USB thumb drive. Make sure the J11 boot select
jumper is set to Micro SD boot then insert the Micro SD card and the USB thumb drive
into the VAB-820.
To check that the system has correctly setup the SPI ROM as an MTD block device, use
the following command:
$ ls /dev/mtdblock*
/dev/mtdblock0
Please note that if you have previously saved U-Boot parameters, it is recommended to
clear that area of the SPI ROM with the following command:
$ sudo dd if=/dev/zero of=/dev/mtdblock0 bs=512 seek=1536 count=16
Flash the U-Boot binary from the mass storage device onto the SPI ROM.
$ sudo dd if=u-boot.imx of=/dev/mtdblock0 bs=512 seek=2
Copy the root filesystem image from the mass storage device onto the eMMC storage.
$ sudo dd if=via-image-gui-imx6qvab820.sdcard of=/dev/mmcblk0 bs=1M
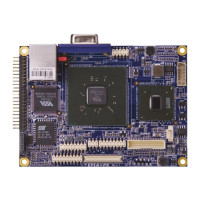
In order to boot from the SPI ROM make sure the boot select jumper (J11) is set to SPI
ROM boot.
Micro SD / SPI boot select jumper diagram
Next, connect an HDMI display, and power on the device to initiate the boot process.
When the boot process is completed, you will see the OpenEmbedded desktop.
VAB - 820
J11
2
3
1
Micro SD
SPI
1
1
1
2
3