66251750-EN - V1.0 - 05/06/17
21
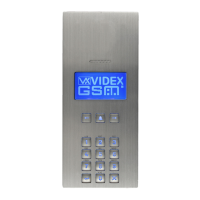
4000 Series Vandal Resistant Digital GSM - Technical Manual
4000 Series Vandal Resistant Digital GSM Audio Intercom with Proximity
Reset Procedure
RESETTING THE DIGITAL GSM INTERCOM TO FACTORY DEFAULTS
There are two reset procedures for the digital GSM panel. The rst will reset the master code only and the second will reset everything
and clear all stored telephone numbers, proximity cards and settings.
RESETTING THE MASTER CODE TO 1111 4x1
1. Ensure the power is switched o to the digital GSM panel.
2. Press and hold down the ‘0’ button, , and keep it pressed down while the
power is switched back on.
3. The graphical display and the keypad buttons will illuminate.
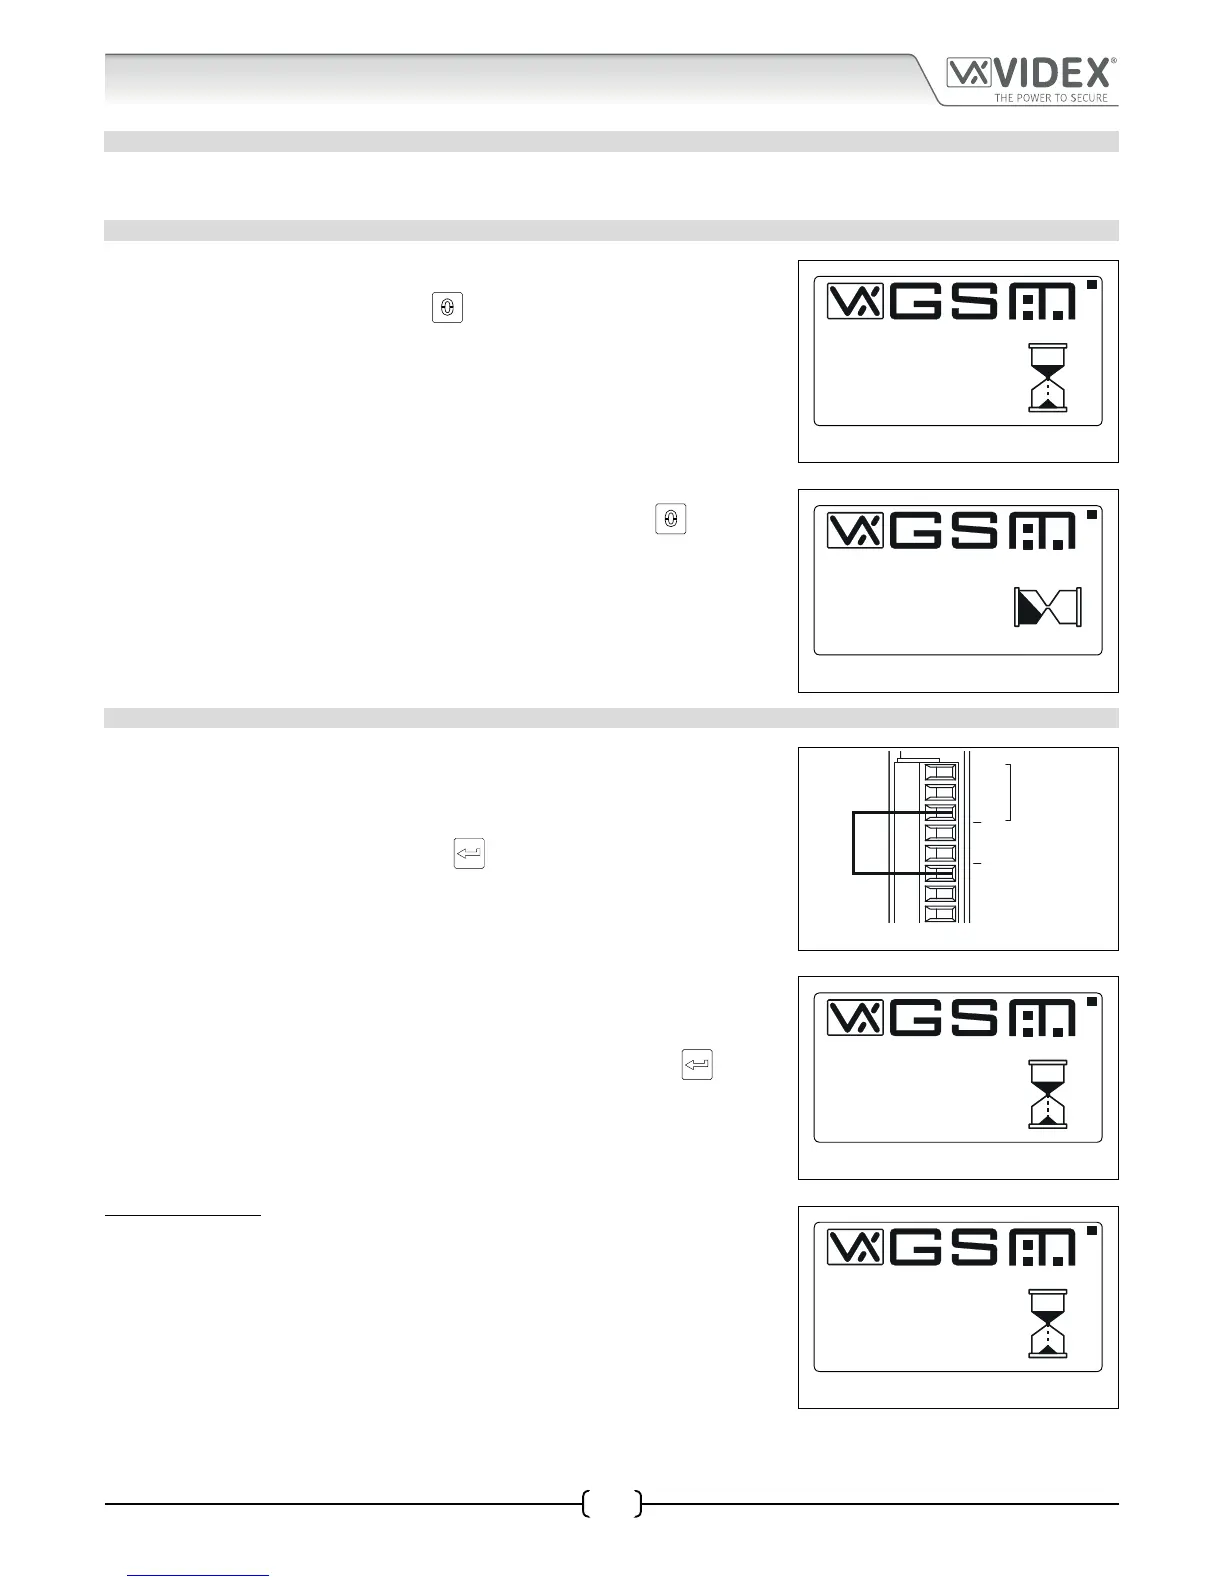
4. After a brief delay the display will show the Videx GSM logo and current rmware
version number, as shown in Fig.29.
5. After another delay the GSM will emit a beep and below the Videx logo it will
indicate the digital GSM is registering with the network, as shown in Fig.30.
6. When the display shows that it is registering release the ‘0’ button,
.
7. After a further delay the display will then show the default welcome screen (refer
to Fig.100 for the Art.4812 and Fig.101 for the Art.4812R on page 61).
8. The master code has been reset back to factory default 1111 (4x1).
Fig. 29
Fig. 30
FULL SYSTEM RESET
1. Ensure the power is switched o to the digital GSM panel.
2. On the rear of the GSM panel link out the GND and PTE terminals, as shown in
Fig.31.
3. Press and hold down the ‘ENTER’ button,
, and keep it pressed down while the
power is switched back on.
4. The graphical display and the keypad buttons will illuminate.
5. After a brief delay the display will show the Videx GSM logo and current rmware
version number, as shown in Fig.32.
6. After another delay the GSM will emit a beep and below the Videx logo it will
indicate the digital GSM is resetting, as shown in Fig.33.
7. When the display shows that it is resetting release the ‘ENTER’ button,
.
8. After a further delay the digital GSM will automatically follow the ‘power up
initialisation sequence’ as described on page 20.
9. The digital GSM panel has been fully reset.
IMPORTANT NOTE: When performing a full system reset all the data stored in
the digital GSM will be deleted from the panel. If any data is still required it is
recommended that this information is rst downloaded from the digital GSM using
the GSMSK PC software and then saved. It can then later be uploaded back into the
digital GSM after the full reset has been completed.
Fig. 31
Fig. 32
Fig. 33
PLEASE WAIT...
VER DG4.0.0
VIDEX
PLEASE WAIT...
REGISTERING...
VIDEX
A
B
GND
12V
0V
PTE
AI
TRD
RS485
PLEASE WAIT...
VER DG4.0.0
VIDEX
PLEASE WAIT...
VIDEX
RESETTING...