31
Section D – Electrical Components
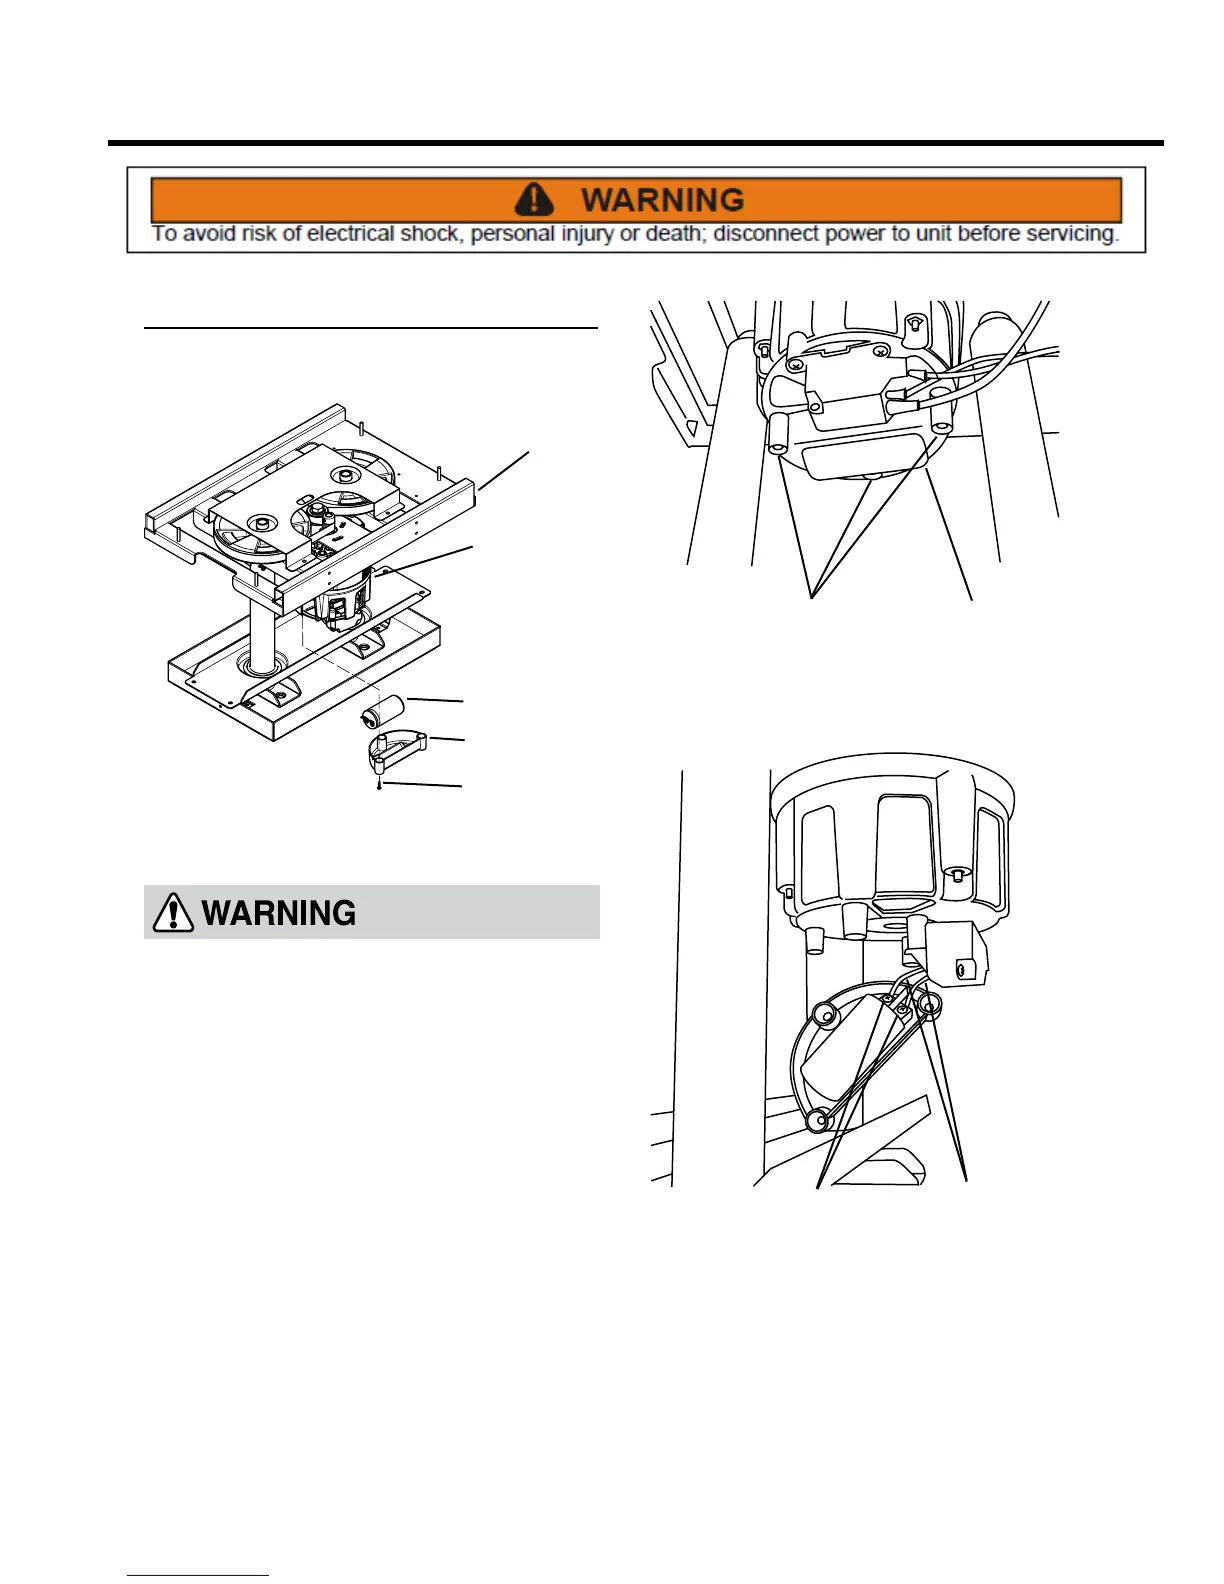
Motor Capacitor
TEST, REMOVE AND REPLACE
CAPACITOR
SHIELD
POWER
UNIT
MAIN
MOTOR
SCREWS
The capacitor provides power required to start the main
motor and improves overall eciency.
Use an electrically-insulated tool to short the
capacitor terminals together. This will ensure the
capacitor has fully discharged and will prevent shock
if any body part comes in contact with the terminals.
Before testing with a multi-meter, there are two indicators
you can look for on the outside of the capacitor to see
if it is bad. If you spot corrosion around the terminals
or bulging electrolyte (ceramic outer material), then the
capacitor is leaky and must be replaced.
To access and test the capacitor:
1. Remove the control panel assembly from the front of
the compactor (see Control Panel Assembly, Remove
and Re-install).
SCREWS SHIELD
2. Locate the capacitor underneath the main motor.
Remove three Phillips head screws and the shield.
SCREWS
WIRE
LEADS