28
c
f
d
e
g
b
a
b
a
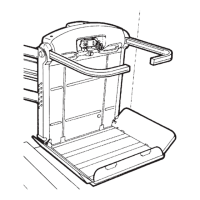
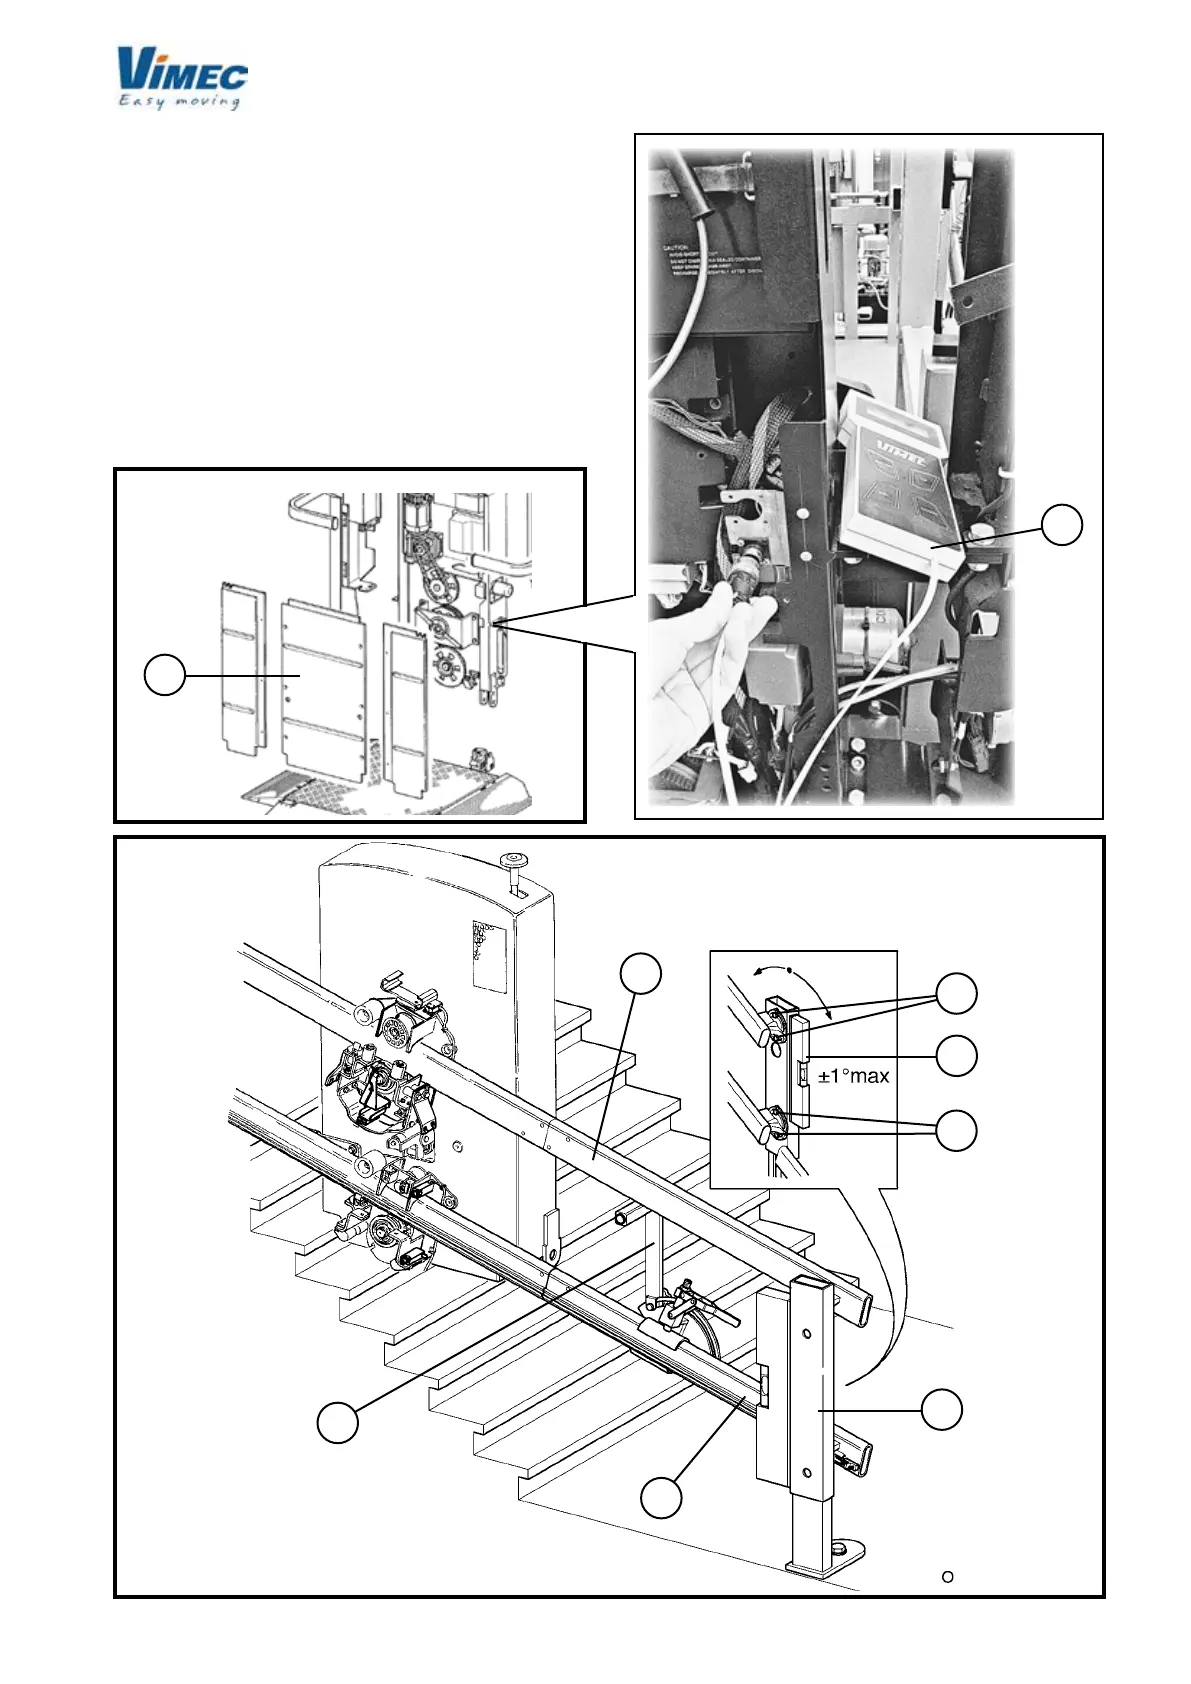
- Use the UP and DOWN controls on the control panel
(Fig. 29/a) to bring the structure, complete with carria-
ge, to the chosen oor, in order to continue assembly
operations in complete safety.
- Reassemble the casing (Fig. 29/b).
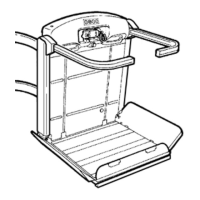
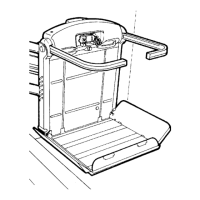
- Fit the spacing gauge (Fig. 30/g) between the rails
and install the connection/foot (Fig. 30/a).
- After setting the rail at the correct distance (Fig. 30/b
– Fig. 30/c) using the spacing gauge (Fig. 30/g), and
after checking that the components are vertical (Fig.
30/a) tighten the screws rmly (Fig. 30/e and Fig. 30/f).
FIG.29
FIG.30
 Loading...