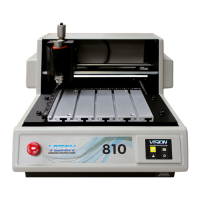
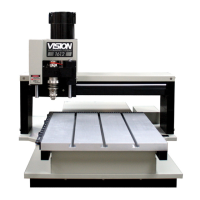
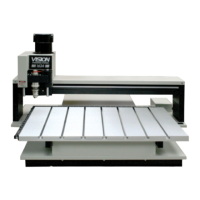
42 VE810 Engraver Manual
Turn the VE-810 Engraver on by flipping the switch on the back left side of the machine.
Set up the job you would like to engrave in the Vision Software. (For more information on
this, see the Vision Engraving Software manual.) Put the material on the T-slot table as
described in the previous section. Make sure the PROX is off and red. If the PROX light
is green, press the PROX button until it turns red. Use the X & Y jog keys to move the
spindle out over the material. Press and hold down the Z down jog button until the cutter
touches the engraving material. Press the Z down jog key a little bit more. There should
be a small gap underneath the set screw in the EZ Rider. This will ensure that the depth
of cut is consistent. Press the set surface button. The spindle will lift up a small amount.
Make sure there is some clearance between the bottom of the cutter and the material you
are engraving. If not, use the Z jog button to raise or lower the spindle so there is some
clearance. Press the set surface button again. The spindle will now move to its original
position. The surface is now set.
From the Vision software, press the F9 key to send the job to the VE-810 engraver. You
will get the following screen:
Click OK
You will see that the green light near the start button will start to flash. This means that
there is a job in the VE-810. Now press start. The job should now engrave. If there are
any problems, press the stop button immediately.