Do you have a question about the Vivotek ND9541 and is the answer not in the manual?
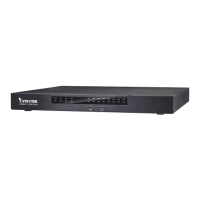
Overview of the VIVOTEK ND9541/ND9441 series compact Linux embedded NVR.
Highlights key functionalities and specifications of the NVR, including connectivity and compatibility.
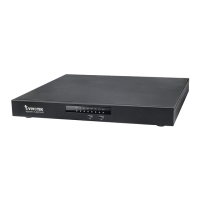
Identification of indicators and ports on the front panel of the NVR.
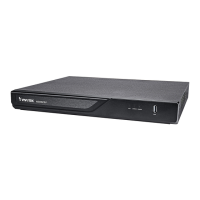
Identification of ports and connectors on the rear panel of the NVR.
Instructions for installing the NVR into a rack cabinet using slide rails.
Details on connecting digital inputs/outputs (DI/DO) and RS485.
Initial steps for accessing and navigating the NVR's local console interface.
How to interact with individual camera feeds and their controls.
Setting up display layouts for camera views on the local console.
How to search and playback recorded video footage using the local interface.
Accessing various system and camera configuration options.
Process for accessing the NVR system through the local console interface.
Overview of the Liveview interface elements and panels.
Overview of the Search Recording Clips interface elements and panels.
System configuration settings, including camera management and recording.
Alarm configuration, including trigger sources and email notifications.
System settings for information, maintenance, display, UPS, logs, and EZConnect.
Management of user accounts, privileges, and access rights for the NVR.
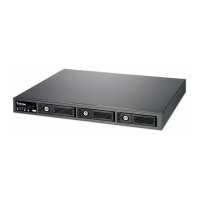
Management of storage volumes, formatting disks, and viewing disk information.
Configuration of network bonding modes, IP addresses, DDNS, and services.
Managing camera layouts, PTZ controls, audio, and alarms within the Liveview.
Operations for searching, playing back, and exporting recorded video clips.
| Maximum resolution | 1920 x 1080 pixels |
|---|---|
| Alarm input channels | 8 |
| Video input channels | 32 channels |
| Alarm output channels | 4 |
| Audio formats supported | G.711, G.726 |
| On Screen Display (OSD) | Yes |
| Video formats supported | H.264, H.265, M-JPEG |
| Operating system installed | Embedded LINUX |
| RAID levels | 0, 1, 5 |
| HDD capacity | - GB |
| Maximum storage capacity | 32 TB |
| Number of HDDs installed | - |
| USB 2.0 ports quantity | 2 |
| Ethernet LAN data rates | 10, 100, 1000 Mbit/s |
| Supported network protocols | IPv4, TCP/IP, HTTP, HTTPS, UPnP, RTSP/RTP/RTCP, SMTP, FTP, DHCP, NTP, DNS, DDNS, IP Filter |
| Operating temperature (T-T) | 0 - 40 °C |
| Operating relative humidity (H-H) | 0 - 95 % |
| Certification | CE, LVD, FCC, VCCI, UL |
| Product color | Black |
| Depth | 44.5 mm |
|---|---|
| Width | 430 mm |
| Height | 400 mm |
| Weight | 3870 g |