K
Kenneth LeeJul 30, 2025
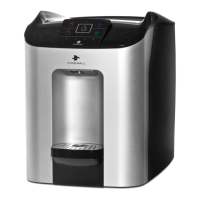
What to do if my WaterLogic Dispenser has no power?
- PpwhiteJul 30, 2025
If your WaterLogic Dispenser isn't powering on, there are several things you can check: * Make sure the building's electrical supply is on and the dispenser's power cord is properly plugged in. * Check that the red power switch at the rear of the dispenser is turned on (I=ON). * Test the dispenser's fuse. * Ensure the top cover isolation switch is activated by the top cover being correctly locked in place. If none of these steps work, start normal fault finding procedures.