During a change of blades, the shear is xed in place. Any slipping should be avoided. Changing
the blade requires a so-face hammer, the tensioning pins supplied, the punch and the blade
inserts themselves. It is expedient to replace both blade inserts to connue enjoying opmum
cung performance.
NOTE!
The blade inserts should not be reground, simply cleaning o any soil is
recommended. The change of blades for the RSU shears technology works
idencally but both clamping pins must be removed.
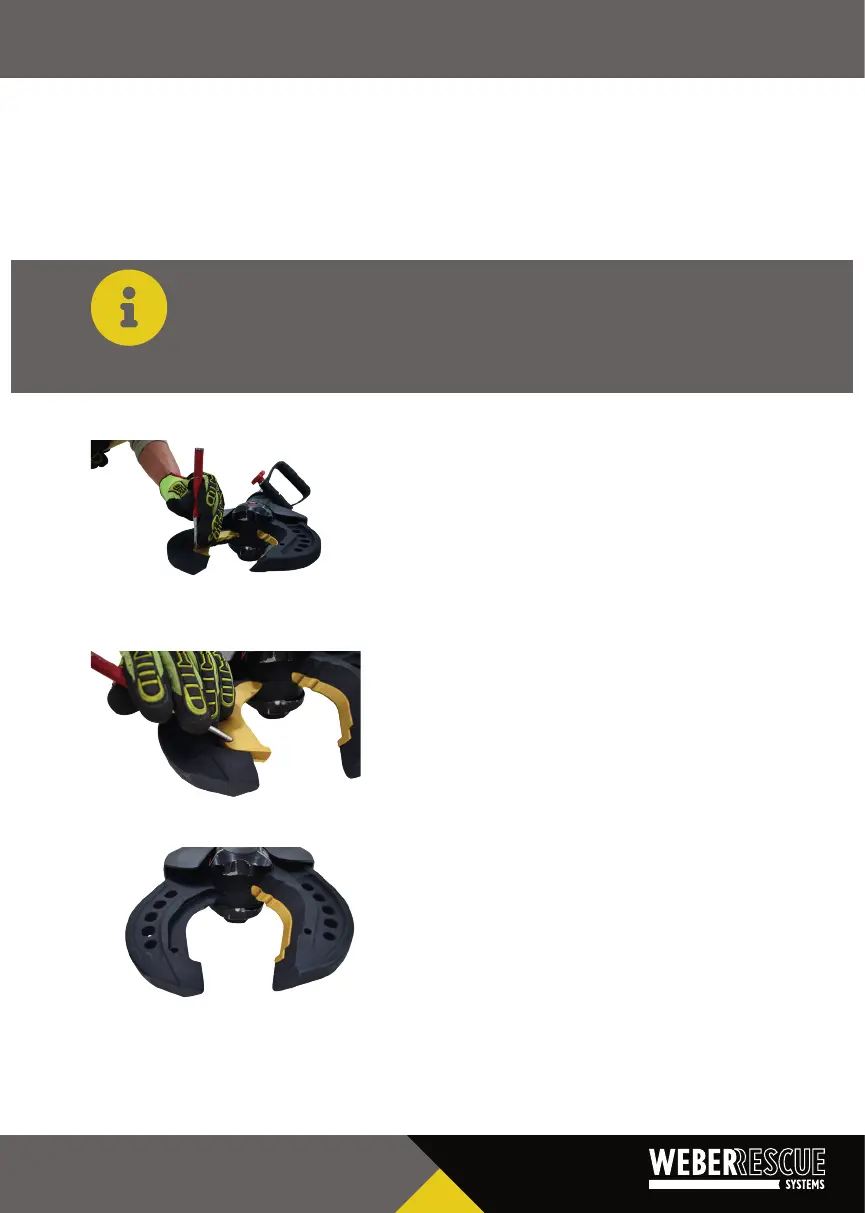
When the blade insert is being changed,
the baery must be removed from the shear.
The shear blades are wide open (see Fig. 1) but
the shear is not under load. This means that
the shear is not completely open or closed. Now
the blade insert can be changed on the shear
blade with the smooth surface, using the punch
to knock out the tensioning pin downwards
(see Fig. 1 - Knocking out the tensioning pin).
Aer the tensioning pin has been knocked out of
its posion, the blade insert can be pulled out. If
the blade insert is stuck, it is advisable to lever it
slightly with the punch in the holes and thereby
loosen it. (see Fig. 2 - Loosening the blade insert)
Carefully remove dirt and grime before inserng
the new blade insert. (see Figure 3 - Removing
dirt). When inserng, make sure that the blade
insert does not lt. To do this, approach with the
rounded side of the insert rst.
REPLACING BLADE INSERTS (PLUS)| 33