STRUCTURE AND FUNCTION | 35
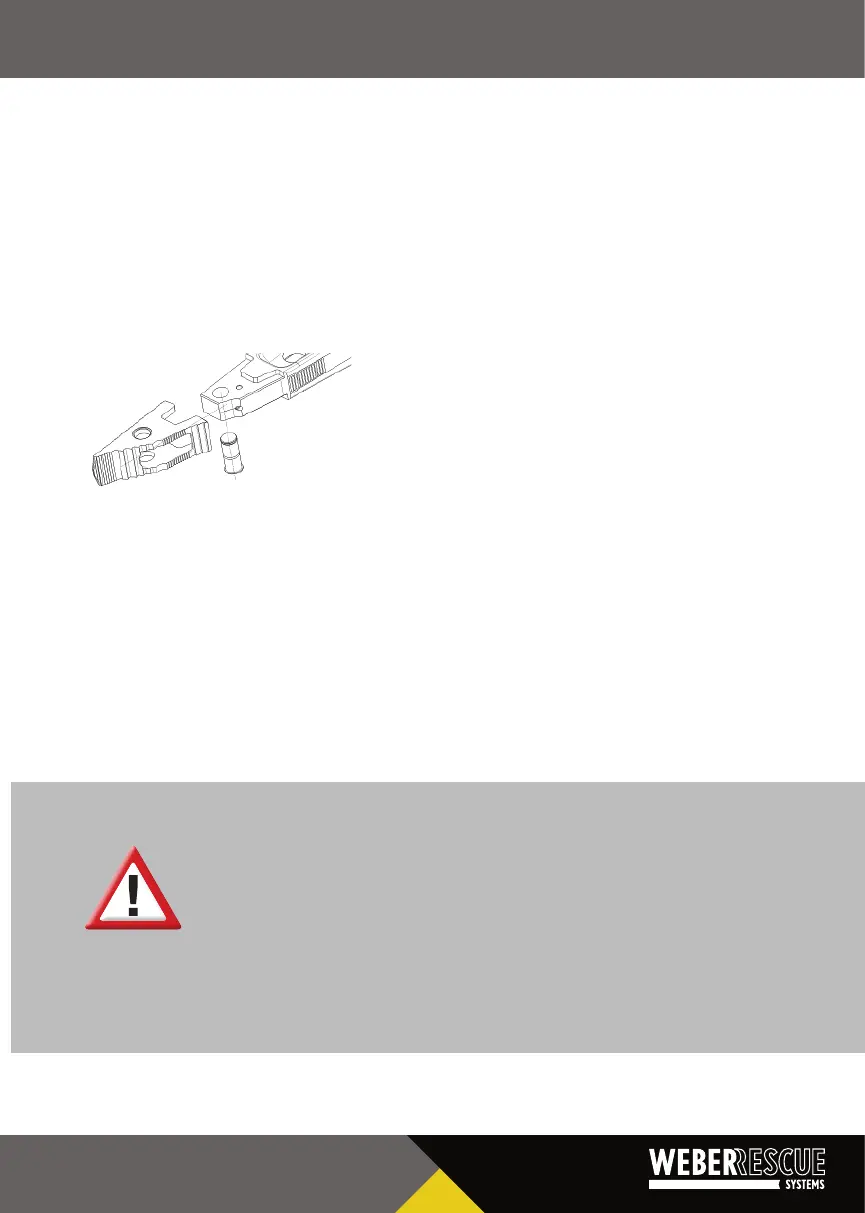
The spreader ps are secured with removable collar studs in the spreader arms. To replace
them, the pin secured with a spring-loaded ball must be pushed out. Aer the ps have
been replaced, the collar studs can be pushed back through. Check that the studs are seated
correctly (pressed completely in).
The bracket for the chain set must be mounted in idencal fashion. The chain lock must
be installed with the latch facing upward.
The collar studs on the spreader ps can be pressed out of the spreader arms but have a
safeguard device to prevent them being lost and so they cannot be separated from the ps.
The SP 40 C and SP 44 AS spreader ps are not secured with removable collar studs but rather
with a tensioning pin that must be knocked out when the ps are being changed. The chain set
can be fastened in a separate hole without having to remove the ps beforehand.
CAUTION!
If the oponally available door opening ps are aached to the combi
tool or spreader, they must always be inserted into the gap while ensuring
full-surface contact. Furthermore, reposion as oen as possible to insert
the teeth at least 20 mm into the gap. Otherwise, the p may break when
the combi tool is fully loaded.