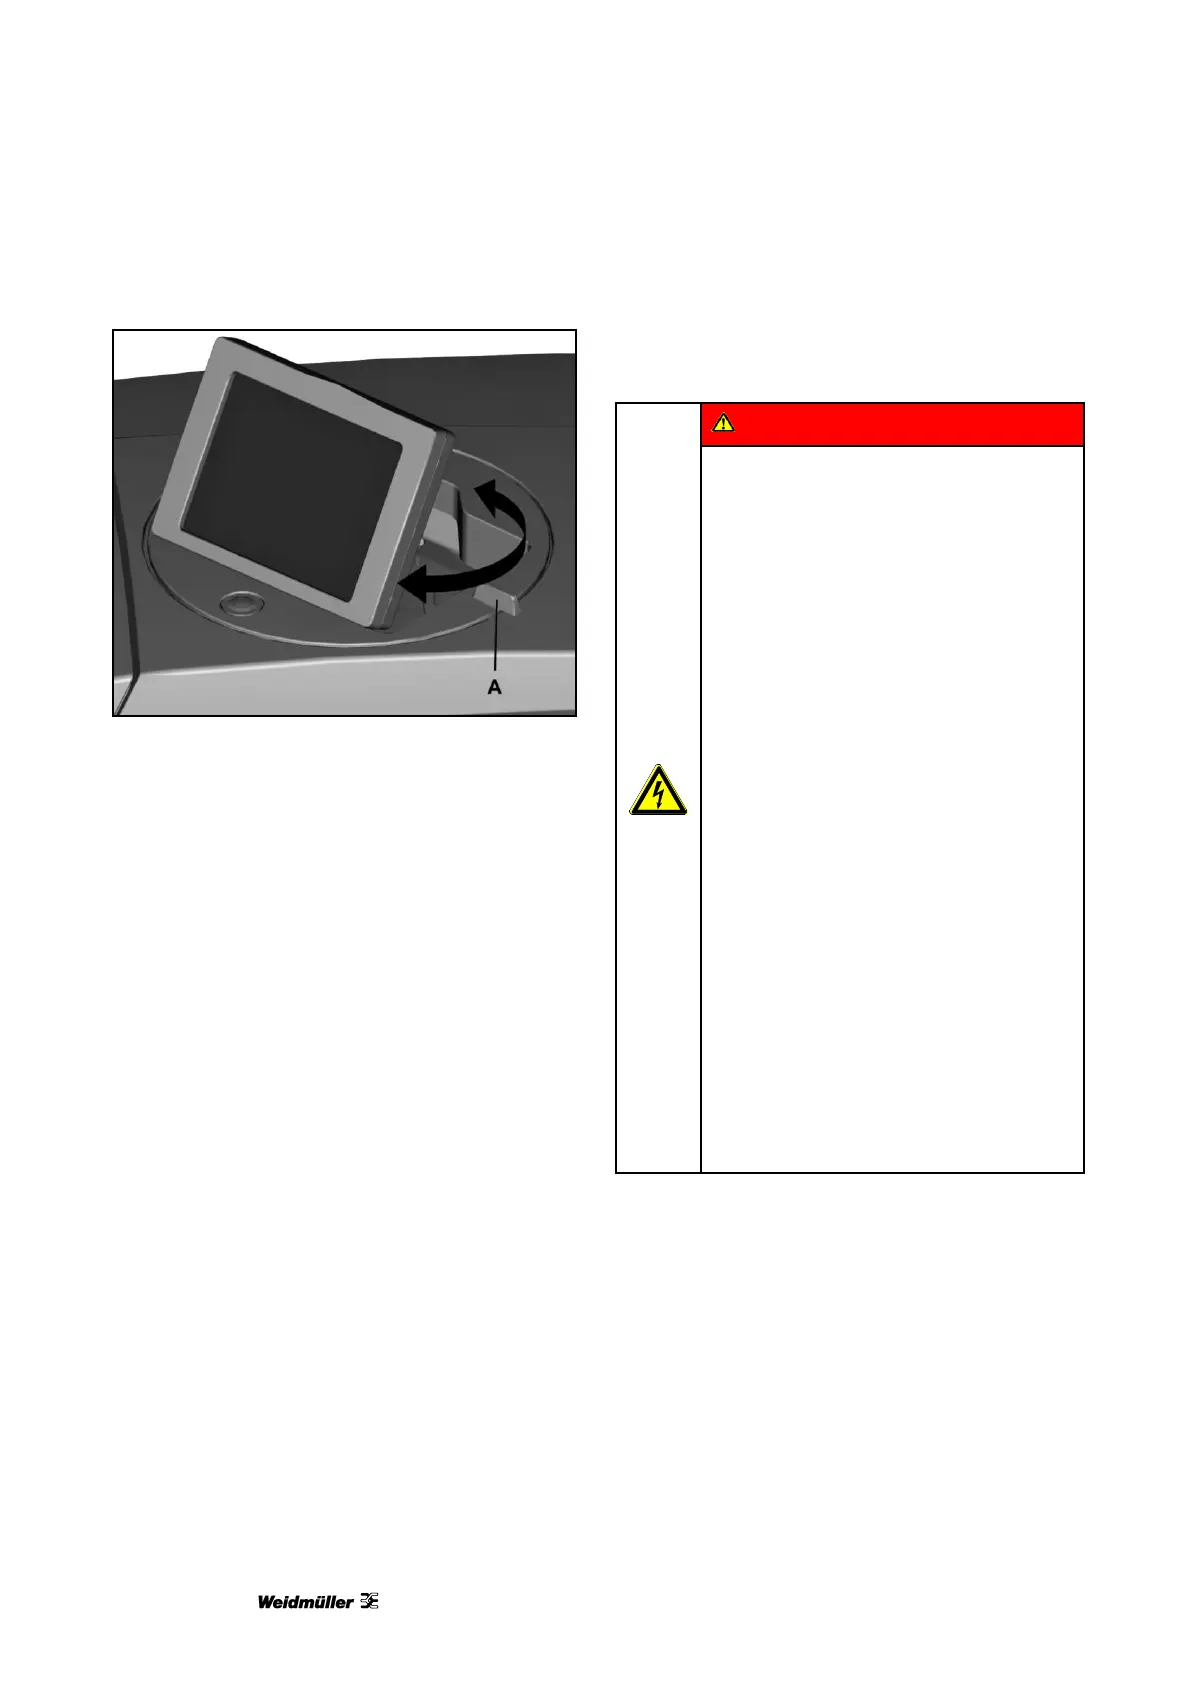
Figure 13 Rotating the touch panel
1 Raise the touch panel to the desired position
(see "Figure 11 Touch panel lowered").
The touch panel can be rotated 270°.
2 Rotate the touch panel by its handle (A) to the
required position (see "Figure 13 Rotating the
touch panel”).
4.7 Connecting the power plug
Electrical hazard warning
• The supply voltage must match the
voltage given on the printer’s rating
plate.
• Only connect the device to a properly
grounded and fused socket.
• Do not use a socket already being
used by devices that are turned on
and off at regular intervals, such as
photocopiers or fans.
• Do not connect the printer to either a
switch-operated or a timer-controlled
power outlet.
• If you connect the PrintJet
ADVANCED to the power supply via
an extension cable, ensure that the
total nominal current of all of the
devices connected to the extension
cable does not exceed the ampere
rating for that extension cable.
• Make sure that the total nominal
current of all devices connected to
the wall socket does not exceed the
ampere rating for that socket.
• When connecting the printer to the
power supply, make sure that the
building installation is protected by an
appropriate backup fuse.