4-2
n
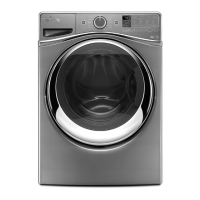
Whirlpool Smart All-In-One Washer & Dryer
COMPONENT ACCESS
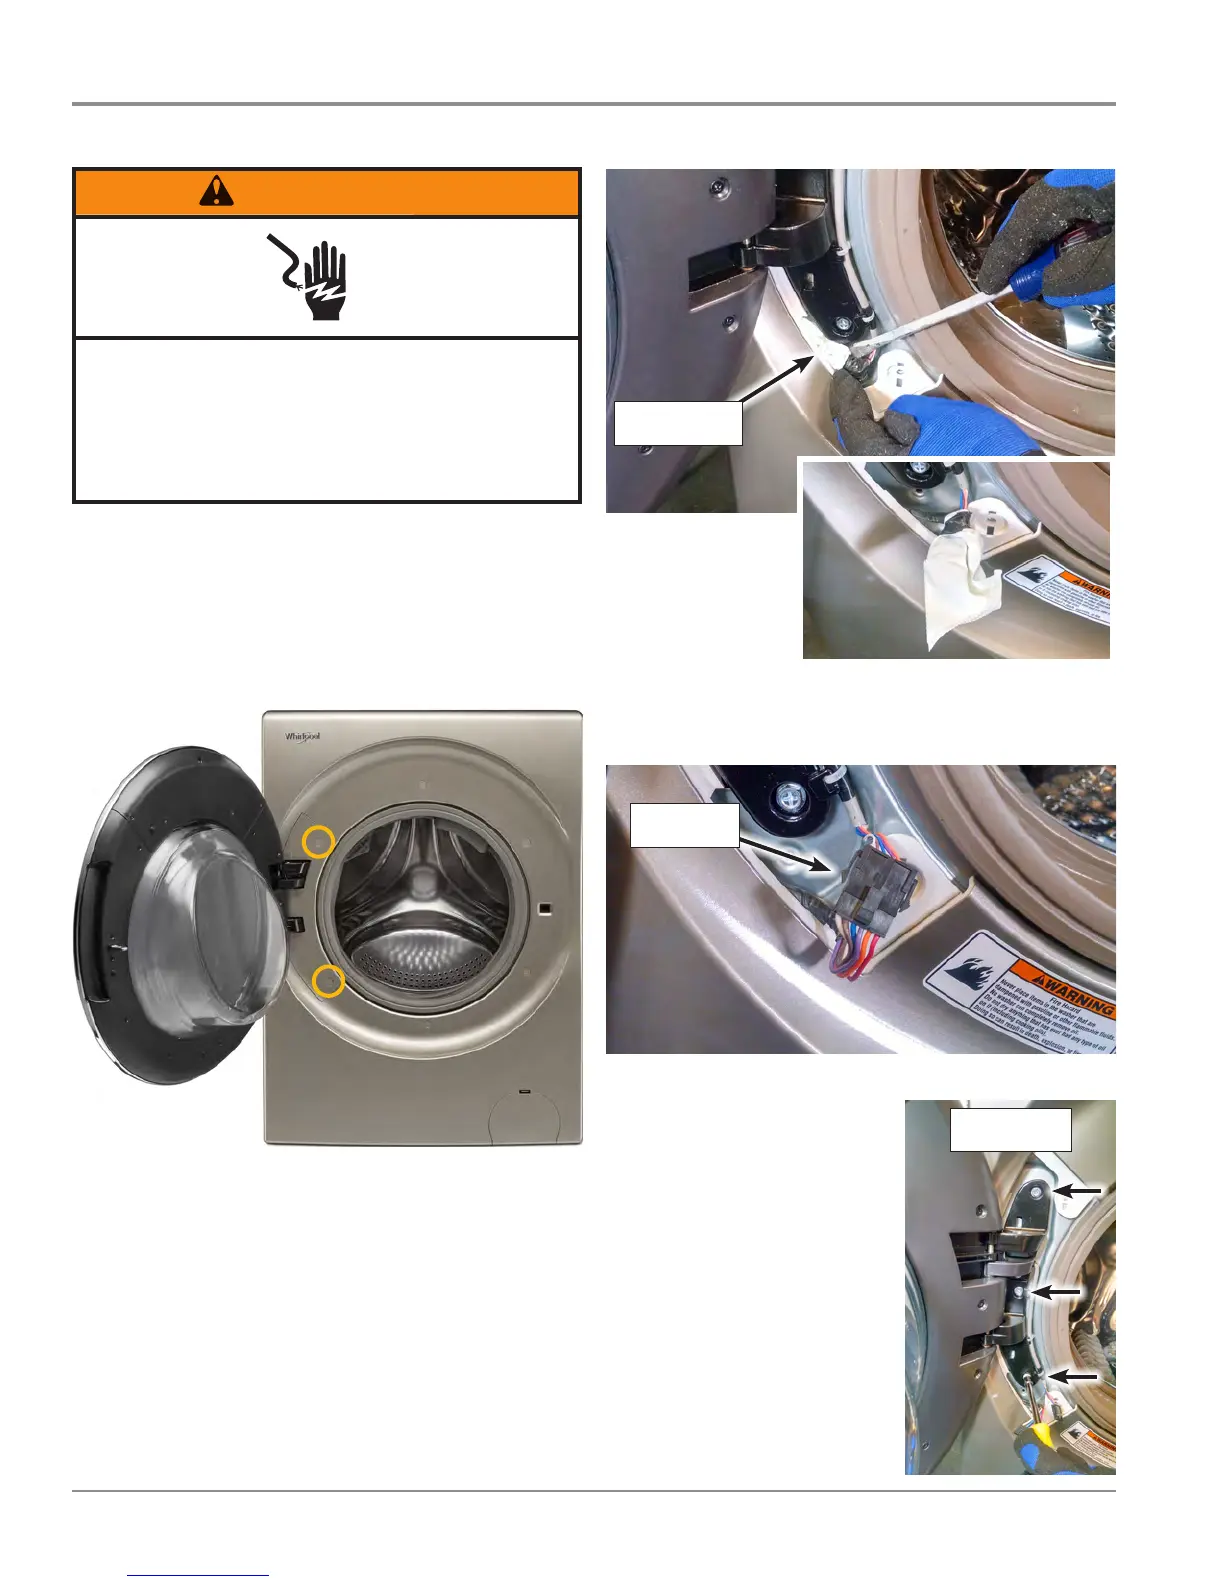
Remove HMI
Connector Bag
Figure 2
Figure 3 - Connector Bag
5. Remove tape and bag, and disconnect HMI connector (see
Figure 4). Preserve the tape and bag for reassembly.
HMI
Connector
Figure 4
6. Using a 10 mm hex head driver,
remove three (3) hinge screws.
See Figure 5 at right.
7. Li up on door assembly and
remove.
8. Reverse procedure to reinstall.
Be sure to reinstall the HMI
connector bag and tape.
Figure 5
Removing the Door Assembly
Electrical Shock Hazard
Disconnect power before servicing.
Failure to do so can result in death or
electrical shock.
Replace all parts and panels before operating.
To Remove the Door Assembly
1. Unplug washer or disconnect power.
2. Open door and remove the two (2) hinge screw covers
illustrated in Figure 1.
Figure 1
3. Using a Phillips screwdriver, remove the two door hinge
cover screws. Remove door hinge cover and set aside.
4. Pull out the HMI connector bag from below door hinge
(see Figure 2 & 3). (The bag is “tucked-away” between
the hinge and front panel.) Remove tape and bag, and
disconnect HMI connector. Preserve the tape and bag for
reassembly.
Remove 3
Hinge Screws
 Loading...