4-4
n
Whirlpool Smart All-In-One Washer & Dryer
COMPONENT ACCESS
1. Unplug washer/dryer or disconnect power.
2. Perform the procedures on page 4-2 “Removing the Door
Assembly” prior to performing the following steps.
3. Locate a suitable work surface and lay a so towel down
to protect the door. Place door, front side down, on
towel.
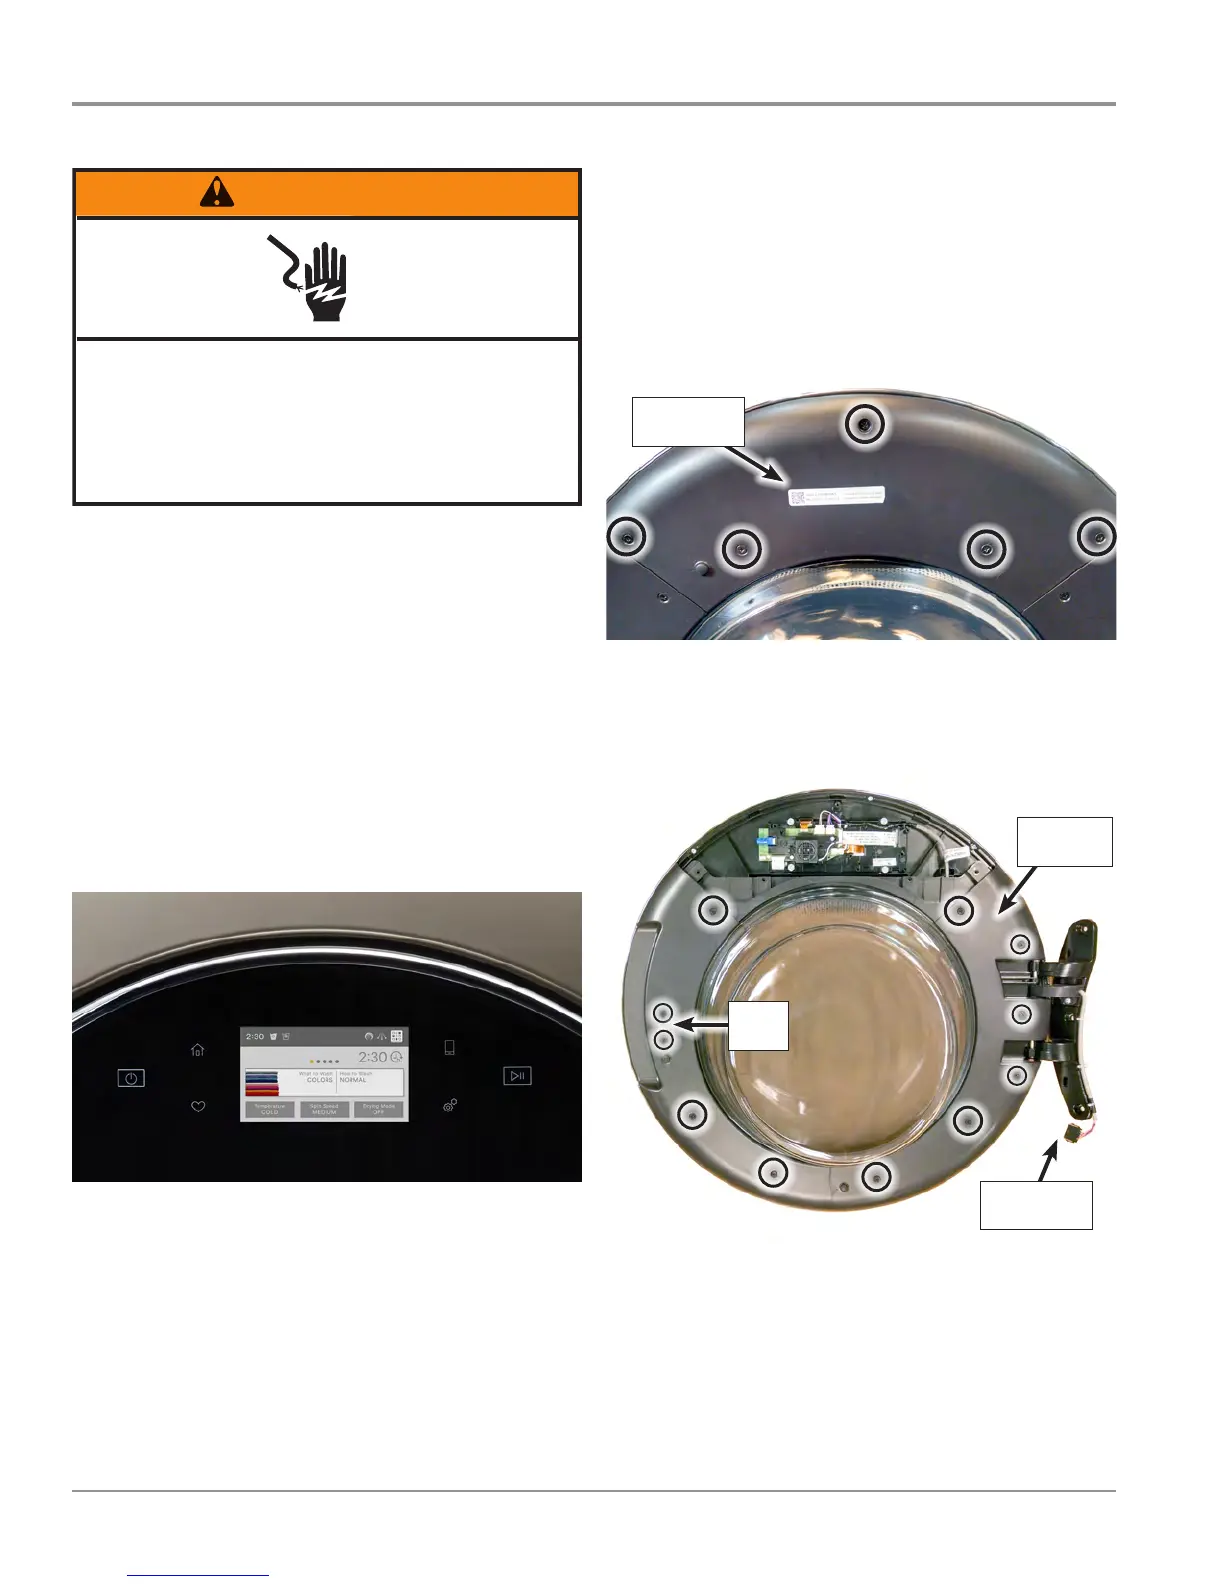
4. Using a Phillips screwdriver, remove the ve (5) screws
indicated in Figure 2. Remove the upper door cover and
set aside.
SAID & MAC
Scker
Figure 2 - Opper Door Cover
5. Using a Phillips screwdriver, r
emove the six (6) “lower”
inner door screws,
the two (2) catch screws, and the three
(3) hinge screws indicated in Figure 3. Remove “lower”
inner door panel and set aside for reassembly.
Inner Door
Panel
Door
Strike
Hinge & HMI
Harness
Figure 3
Replacing the Human-Machine Interface (HMI)
Electrical Shock Hazard
Disconnect power before servicing.
Failure to do so can result in death or
electrical shock.
Replace all parts and panels before operating.
Replacing the HMI
IMPORTANT:
The WiFi Board is incorporated into the HMI. If the HMI is
replaced and the appliance was previously connected to the
customer’s Home Area Network (HAN), the washer/dryer must
be re-provisioned (reconnected) to the customer’s HAN and
added to the customer’s account on the Whirlpool App.
An extra SAID & MAC Scker is provided with the service
replacement HMI. Be sure to place the replacement scker
over the exisng scker on the upper door cover. See Figure 2.
Figure 1 - HMI, Front View



 To Next Page