Open the front door using the keys you will nd in the box of accessories.
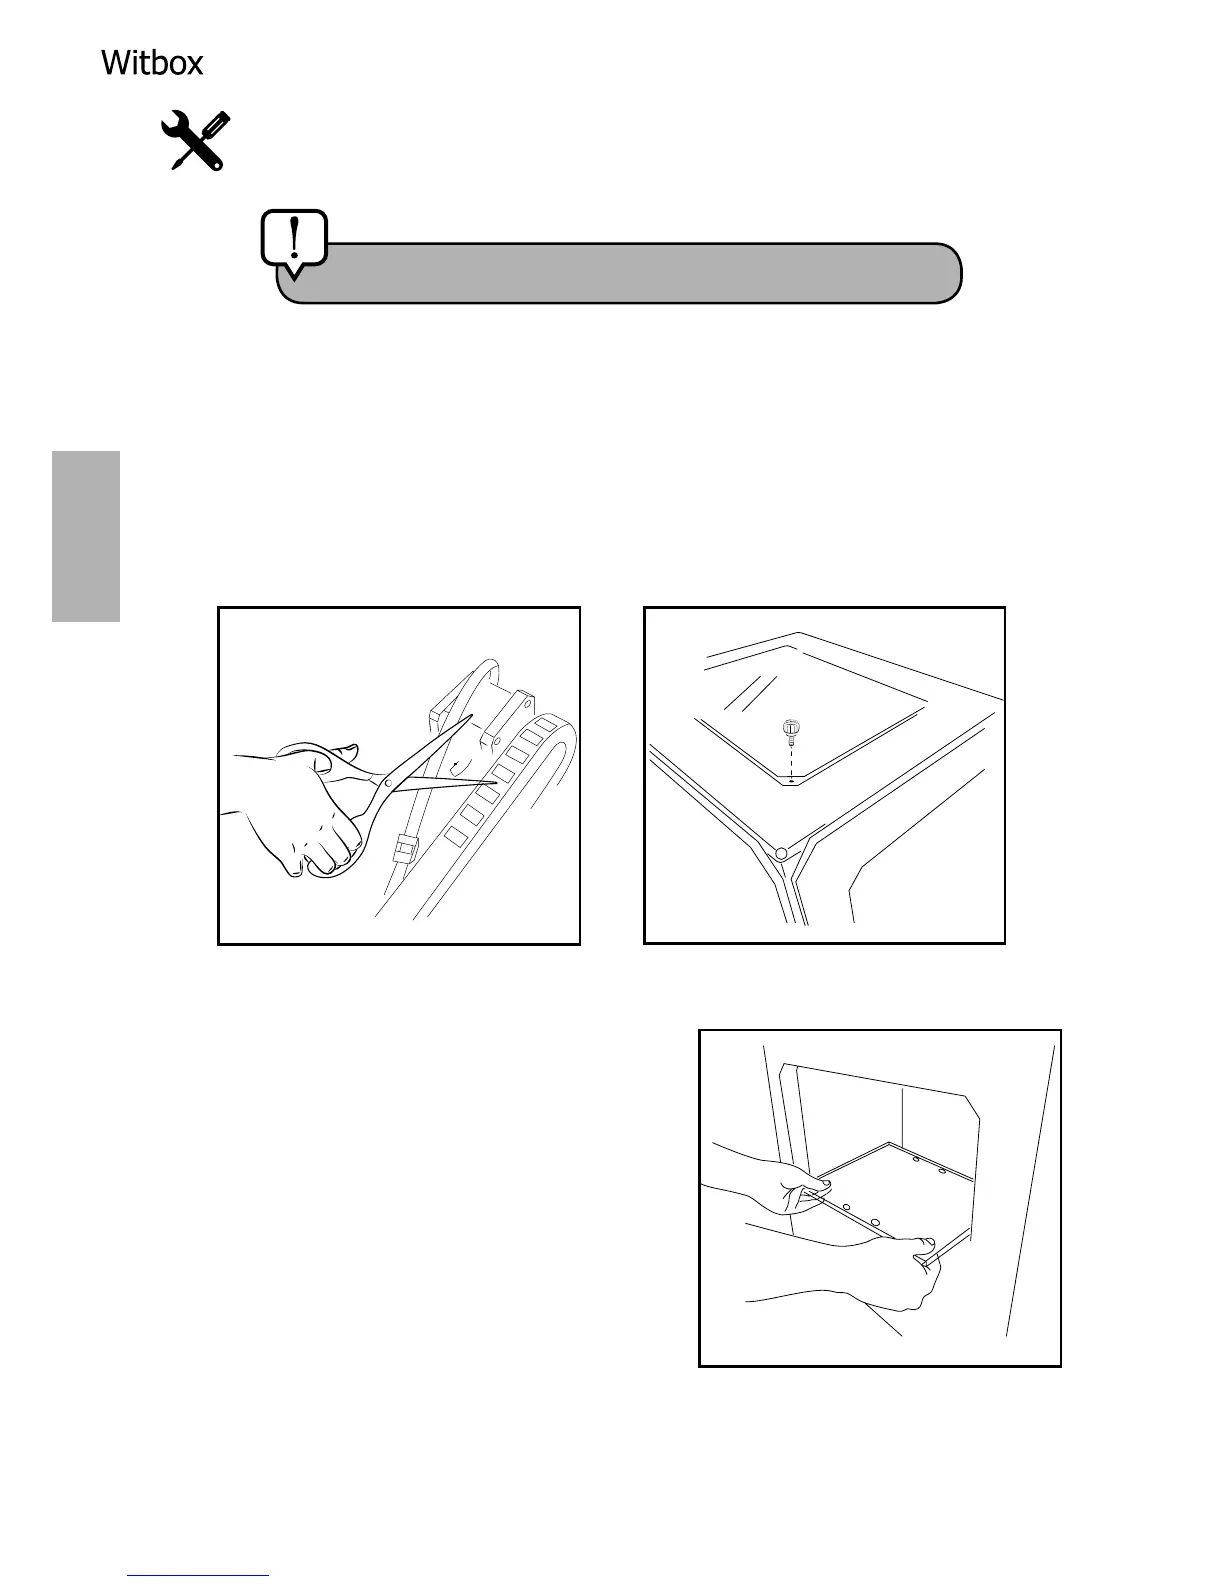
Cut the two ties that are attached to the extruder carriage.
Attaching the top panel
Remove the plastic lm protectors from both sides of the top panel.
Position the panel on top of the printer. In the box of accessories you’ll
nd four screws: place them in the holes in the corners of the panel and
turn them on them with your ngers.
Attaching the print base
In the box of accessories you’ll also nd the
print base, which is made of glass and has
four magnets attached to one side. Place it
gently on the support inside the printer, with
the magnets facing downwards as shown in
the illustration.
Caution! Use scissors or wire cutters.