5. Allow the extruded plastic to cool for a few moments before opening the
printer door.
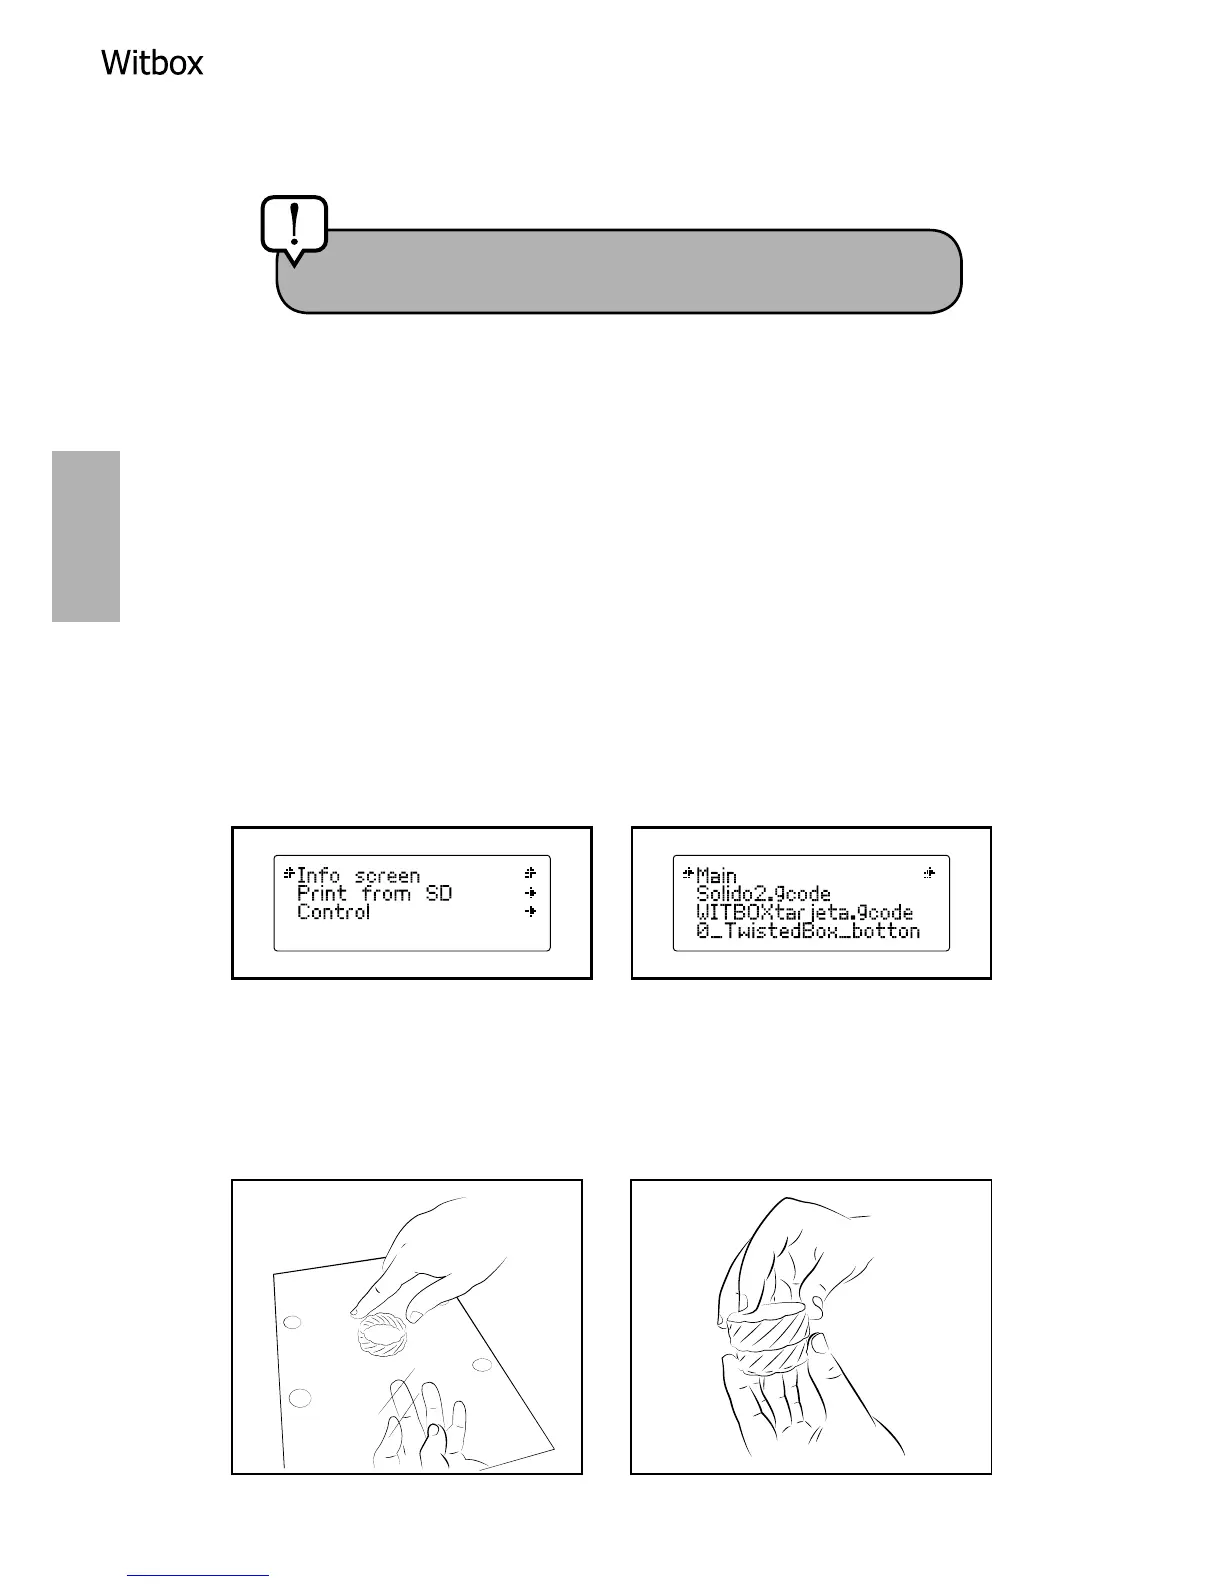
Printing a test object
The SD card that came with your Witbox has been pre-loaded at the factory with
a number of les for printing test objects.
All our printers are tested before they leave our factories, and in the box of
accessories you will nd a plastic object (of medium quality) that was printed
using your printer before it left the factory, in order to make sure the printer was
working correctly.
Go to the main menu and select the option Print from SD. The names of the
various objects you can print will be displayed on the screen: select the one
called Twisted BOX. After you have selected an object, the printer will initiate
the printing process automatically. On the LCD screen you can monitor the
progress of the printing and check the extrusion temperature.
When the printing process has been completed, open the door and take out the
print base. Rest the base on a table and pull firmly on the printed object to
remove it. You can check that it matches and connects to the test object that
came with the printer.
Caution! Do not touch the end of the extruder, as it will
still be hot.