Loadingthelament
Now you’re ready to load the lament into the Witbox and print a test object.
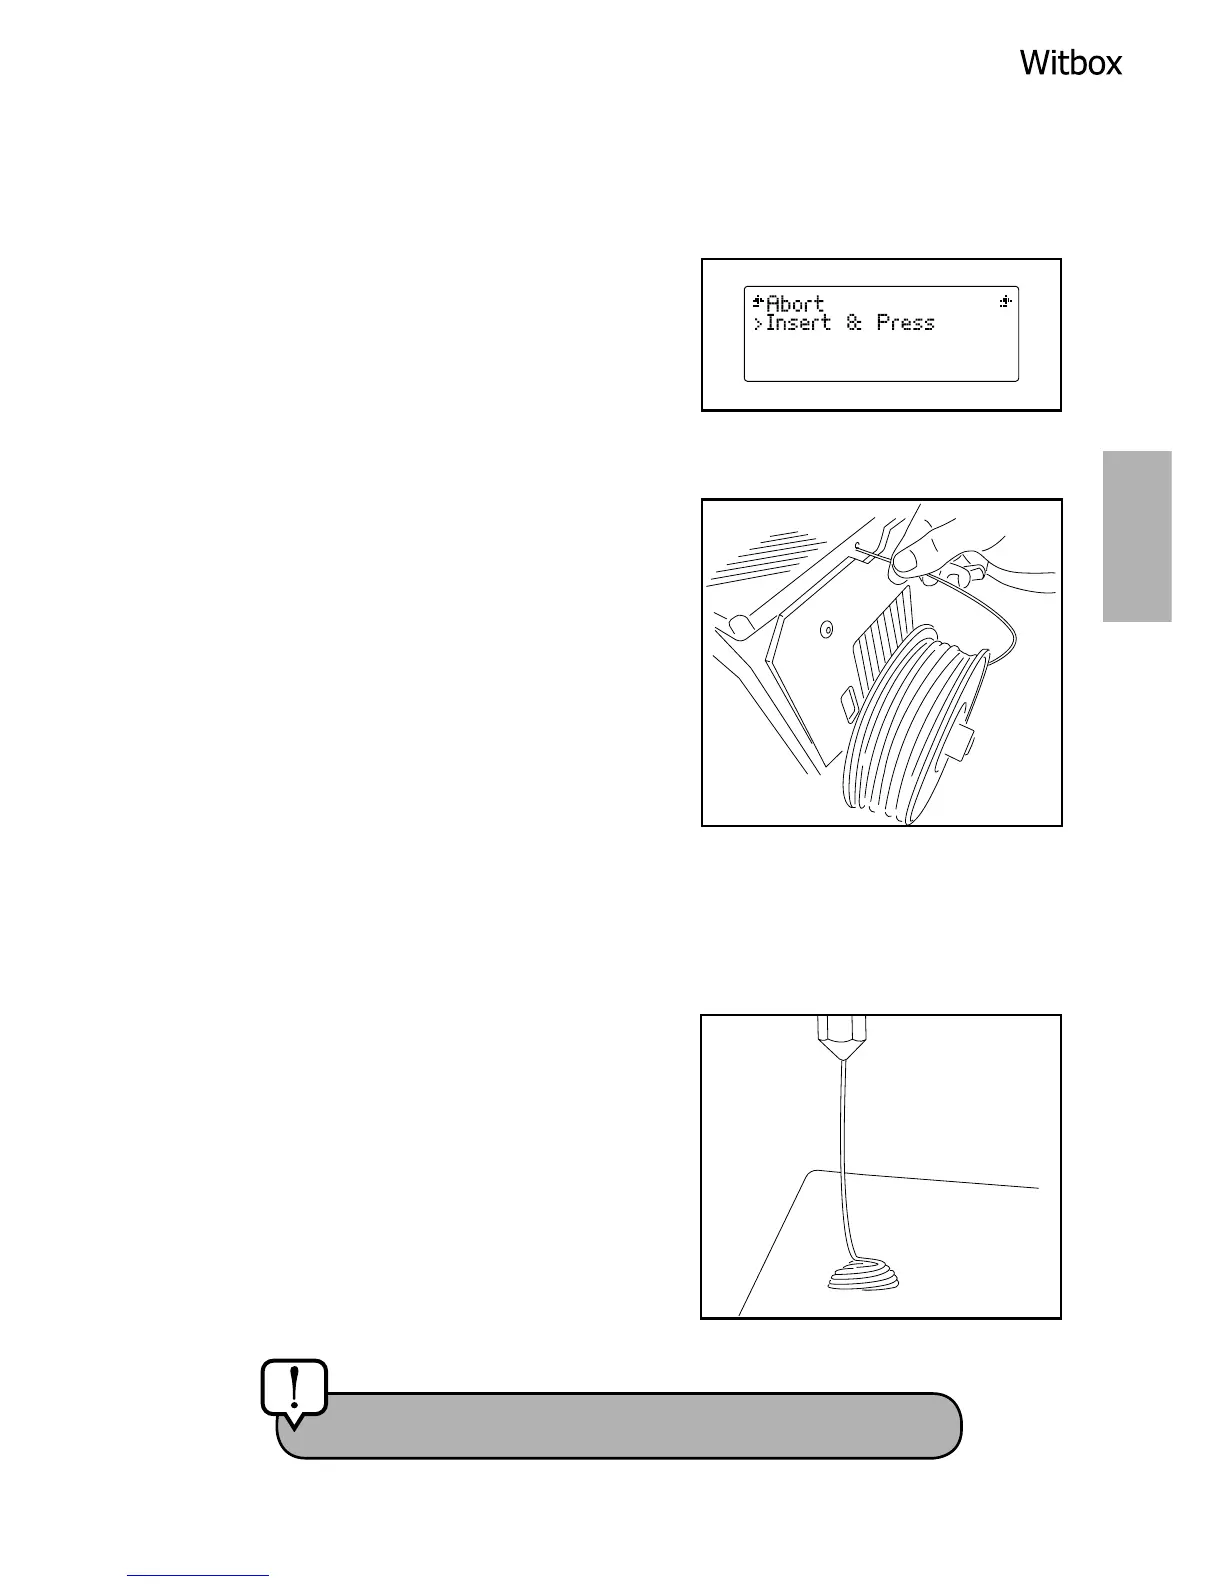
1. Go to Control > Filament > Load. The
extruder will heat itself to a temperature
of 220°C. You can monitor the
temperature increases on the LCD
screen. Once the correct temperature has
been reached, the message Insert &
Press.
2. The lament is loaded at the rear of the
Witbox via the bulkhead connector,
which is attached to the Fibonacci guide
tube. It is very important that you position
the spool with the loose end of the
lament on the right-hand side. Trim the
end of the lament diagonally across with
a pair of scissors, to make it easier to
guide into the tube.
3. Feed the lament through the tube until you feel it bump against the extruder.
Push it in rmly to make sure it has reached the end of the tube.
4. Press the control wheel. After a few
seconds, a small stream of melted plastic
will appear in the extruder nozzle. Each
time you press the wheel, plastic will be
extruded for a few seconds.
Caution! High temperature.