Setting up the CMC
Congratulations on acquiring the Wizard™ computerized mat cutter (CMC). The following instructions will walk
you through unpacking and setting up the CMC.
Begin by clearing an area for the CMC. Refer to the Stand Instructions for the minimum amount of space needed.
Setting up the Stand or Wall Mount
*
CAUTION: The stand MUST be assembled before unpacking the
CMC so it can be immediately installed in the operating position.*
Assembling the Stand Assembly
Refer to the stand assembly instructions located in the box. If the instructions or any parts are missing, call
Technical Support at (888) 855-3335.
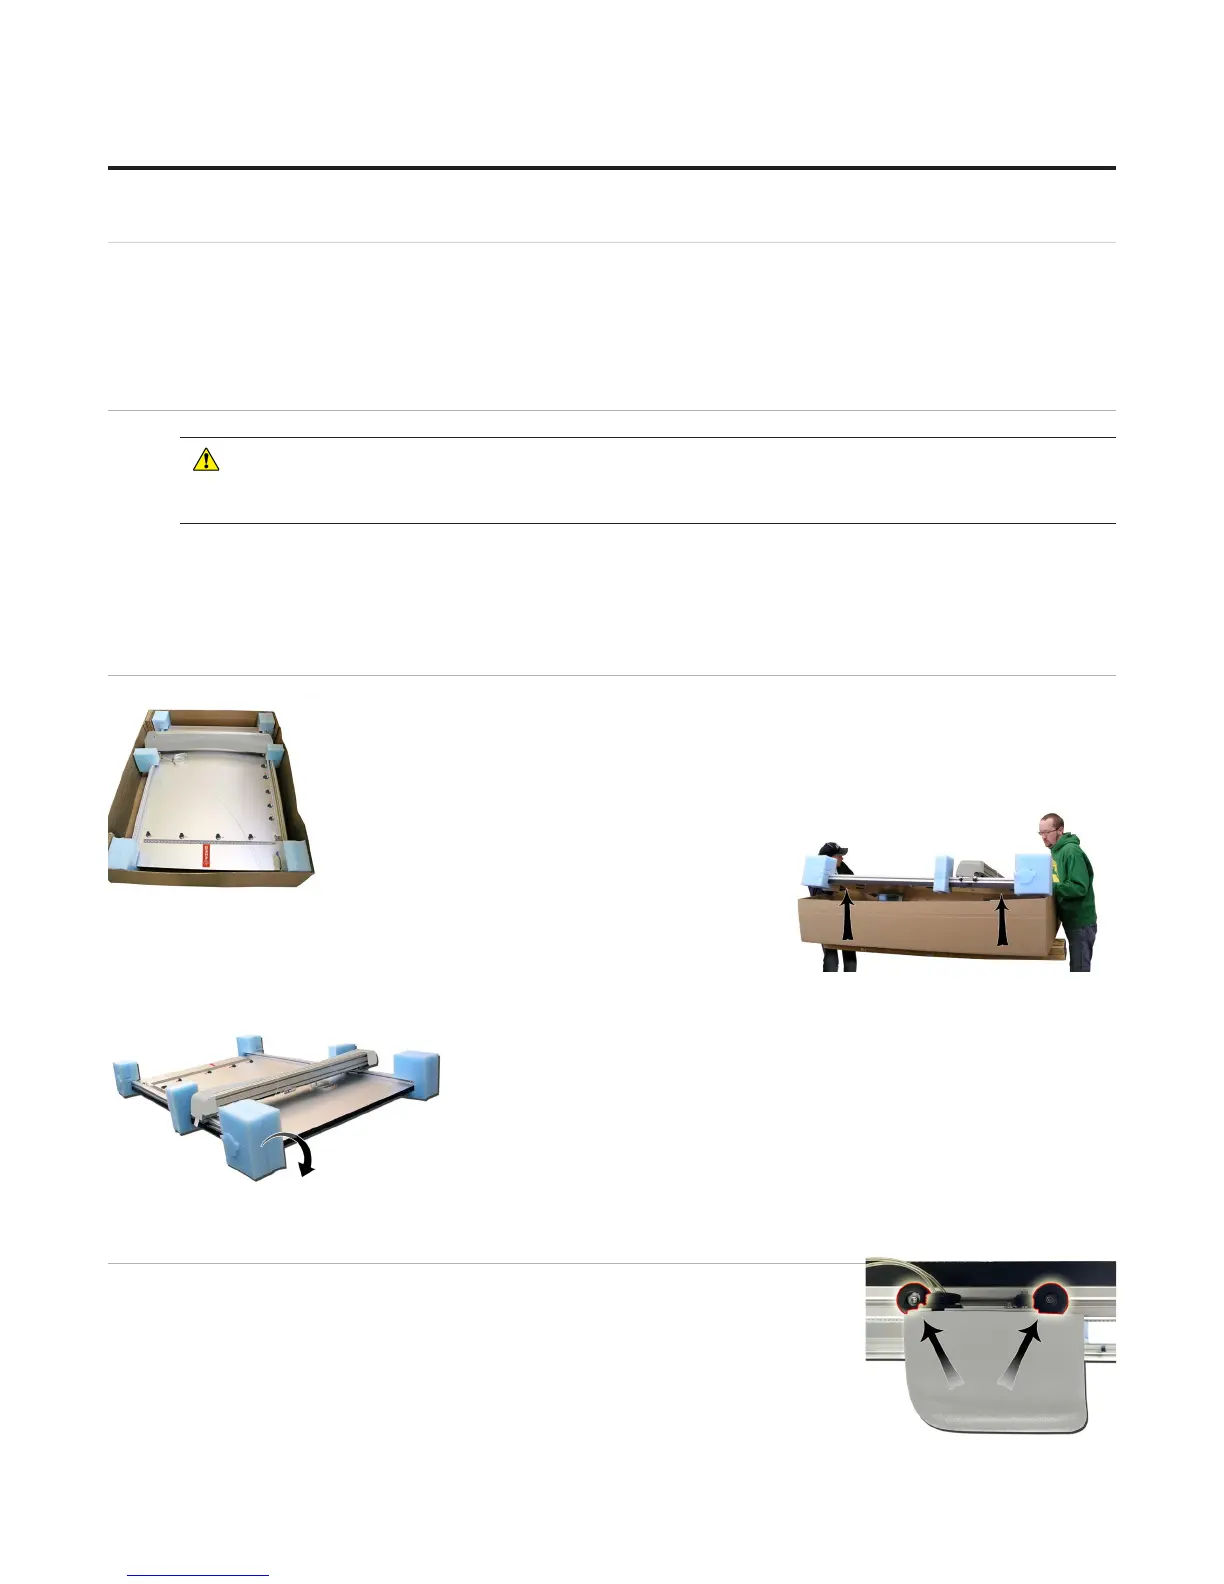
Taking the CMC out of the Box
1. With the help of a second person, place the box on a at surface, cut the strapping
tape and lift the cover of the box away. Take care to save the packaging.
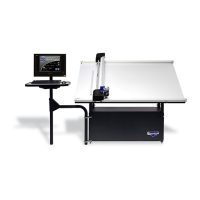
2. Working together, carefully lift the CMC straight up out of the box.
3. Gently set the CMC upright resting on the foam corners.
4. Position the CMC on the stand, making sure that none of the air lines
are crimped, and that the grounding strap on the right rear side of the
board is not crimped between the board and stand arm.
5. Remove the foam corners and move the box out of the way.
6. Follow the instructions that came with the stand to secure the CMC into
place and attach the grounding strap.
7. Place the foam corners back into the box. Save packaging, foam corners
and shipping blocks (removal instructions below) for future use. See Contract
Section 1 “Shipping Charges.”
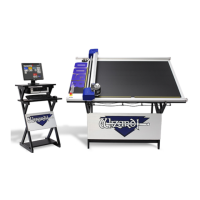
Removing the Shipping Blocks
1. Locate the four shipping blocks holding the gantry in place. There are two on
either side of the gantry on top of the upper rail.
8
Wizard™ International, Inc., 4600 116th St. SW, Mukilteo, WA 98275 888/855-3335 Fax: 425/551-4350 wizardint.com
20-34304-1A GettingStartedManual9000zFrameShop
04/05/19
Wizard™ CMC Model 9000z Hardware and Software Getting Started Guide