FINISHING COMMISSIONING
The boiler has been factory set, so there
should be no need to adjust any controls.
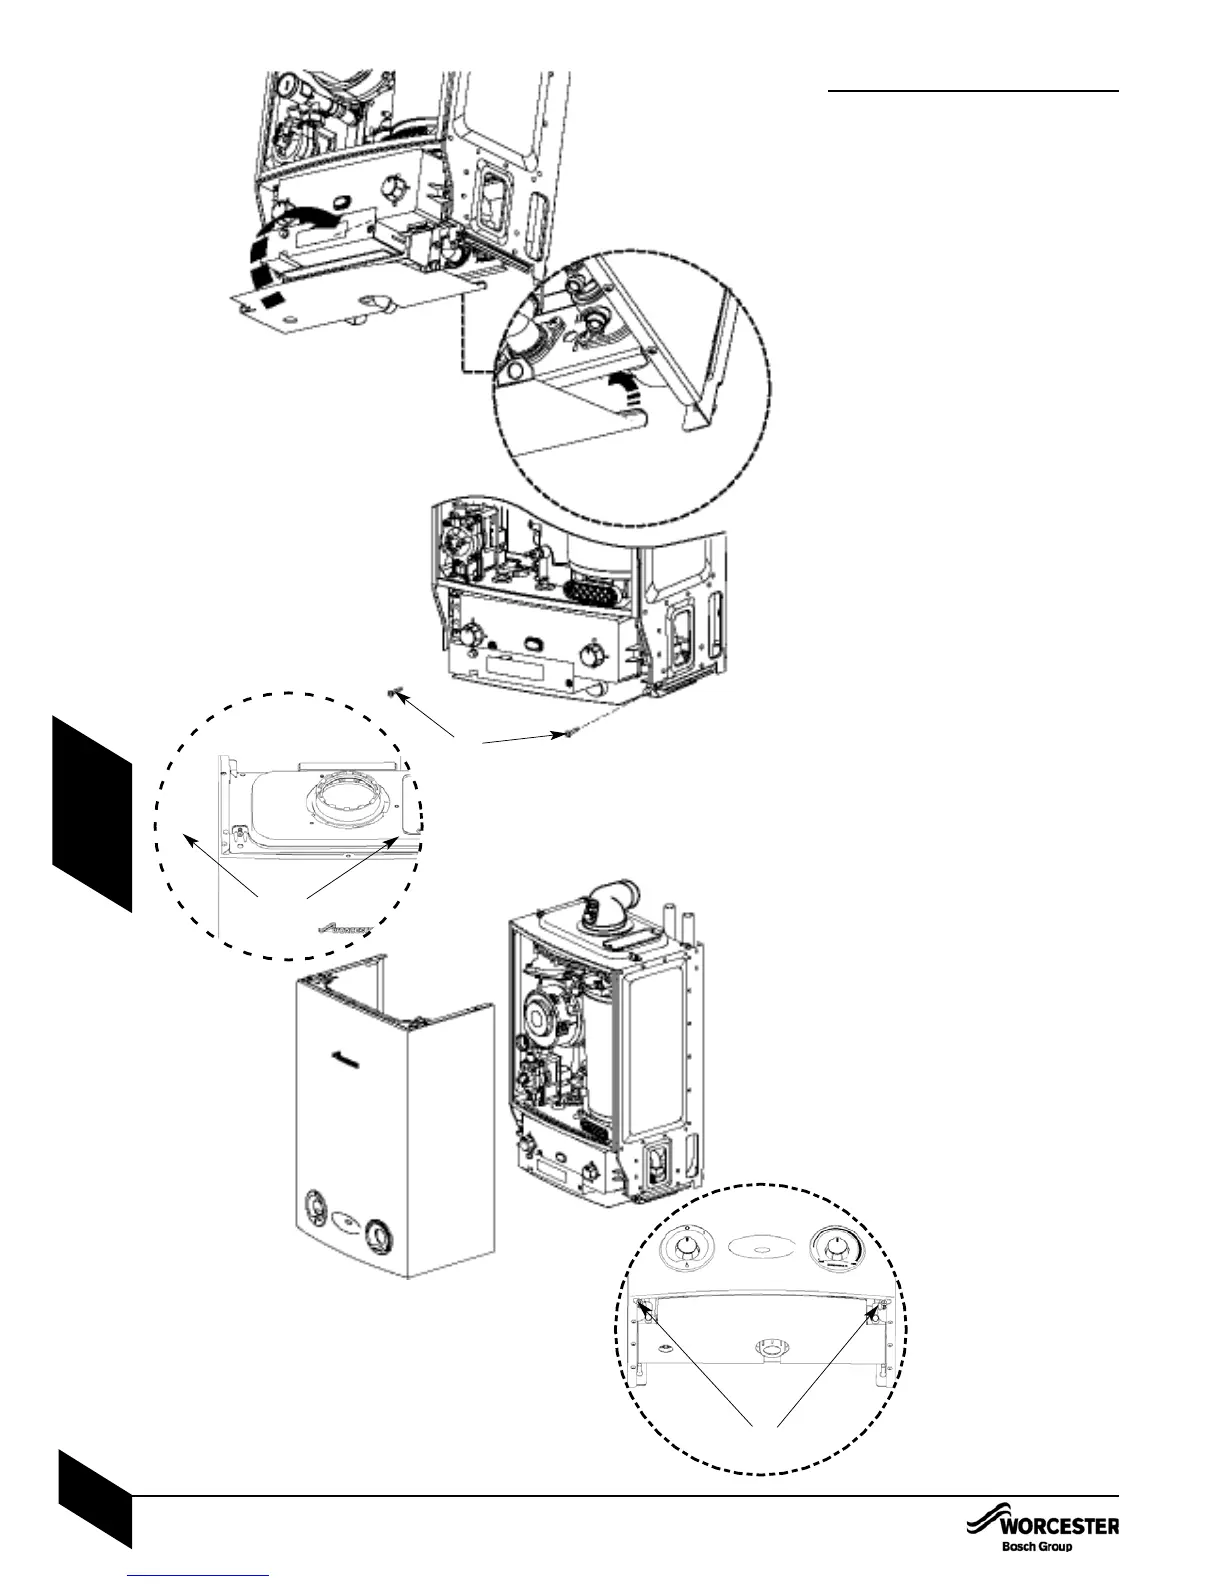
1 Install bottom panel.
A The cut out in the bottom panel fits easily
over the syphon elbow and outlet, however
care should be taken not to disturb any
sealed components.
B Hook the lip at the back of the bottom panel
over the angled edge at the base of the
connections manifold.
C Gently push up into position.
Secure in place with the two screws
supplied (D).
2 Replace outer casing.
Replace outer casing making sure that the
securing points are properly located.
Replace top two screws (E).
Retighten bottom two screws (F).
HANDOVER:
Complete the Benchmark checklist.
NOTE: The Benchmark Checklist can be
found at the rear of these instructions.
Set up the controls and show the user how
to operate all the controls shown in the User
Guide.
If the appliance is unused and exposed to
freezing conditions; shut off all the mains
supplies and drain the system and boiler.
1
E
A
B
C
D
F
FINISHING COMMISSIONING
INSTALLATION & SERVICING INSTRUCTIONS FOR WORCESTER BOSCH GREENSTAR Ri
8 716 109 699a (05/05)
31
COMMISSIONING