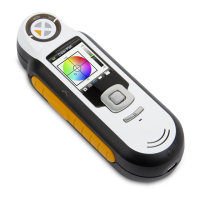
RM200QC
8
EN
6. Color QC
Measuring Samples
1. Select the Standard icon in the function bar by pressing on the right or
left side of the Navigation control.
2. If the displayed standard is not the one required for sample
comparisons, press the down side of the Navigation control and select
the current standard. Press the Enter button to advance to the Standard
menu and select the required standard.
3. Lightly press and hold the Measure button to activate the preview. The
area to be measured is indicated in the preview by the circle.
4. When you have located the area you wish to measure, press the
Measure button firmly.
5. Continue with additional measurements to obtain an average value if
sample averaging is activated in the Settings.
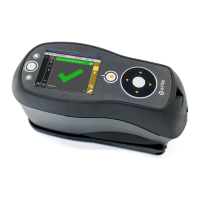
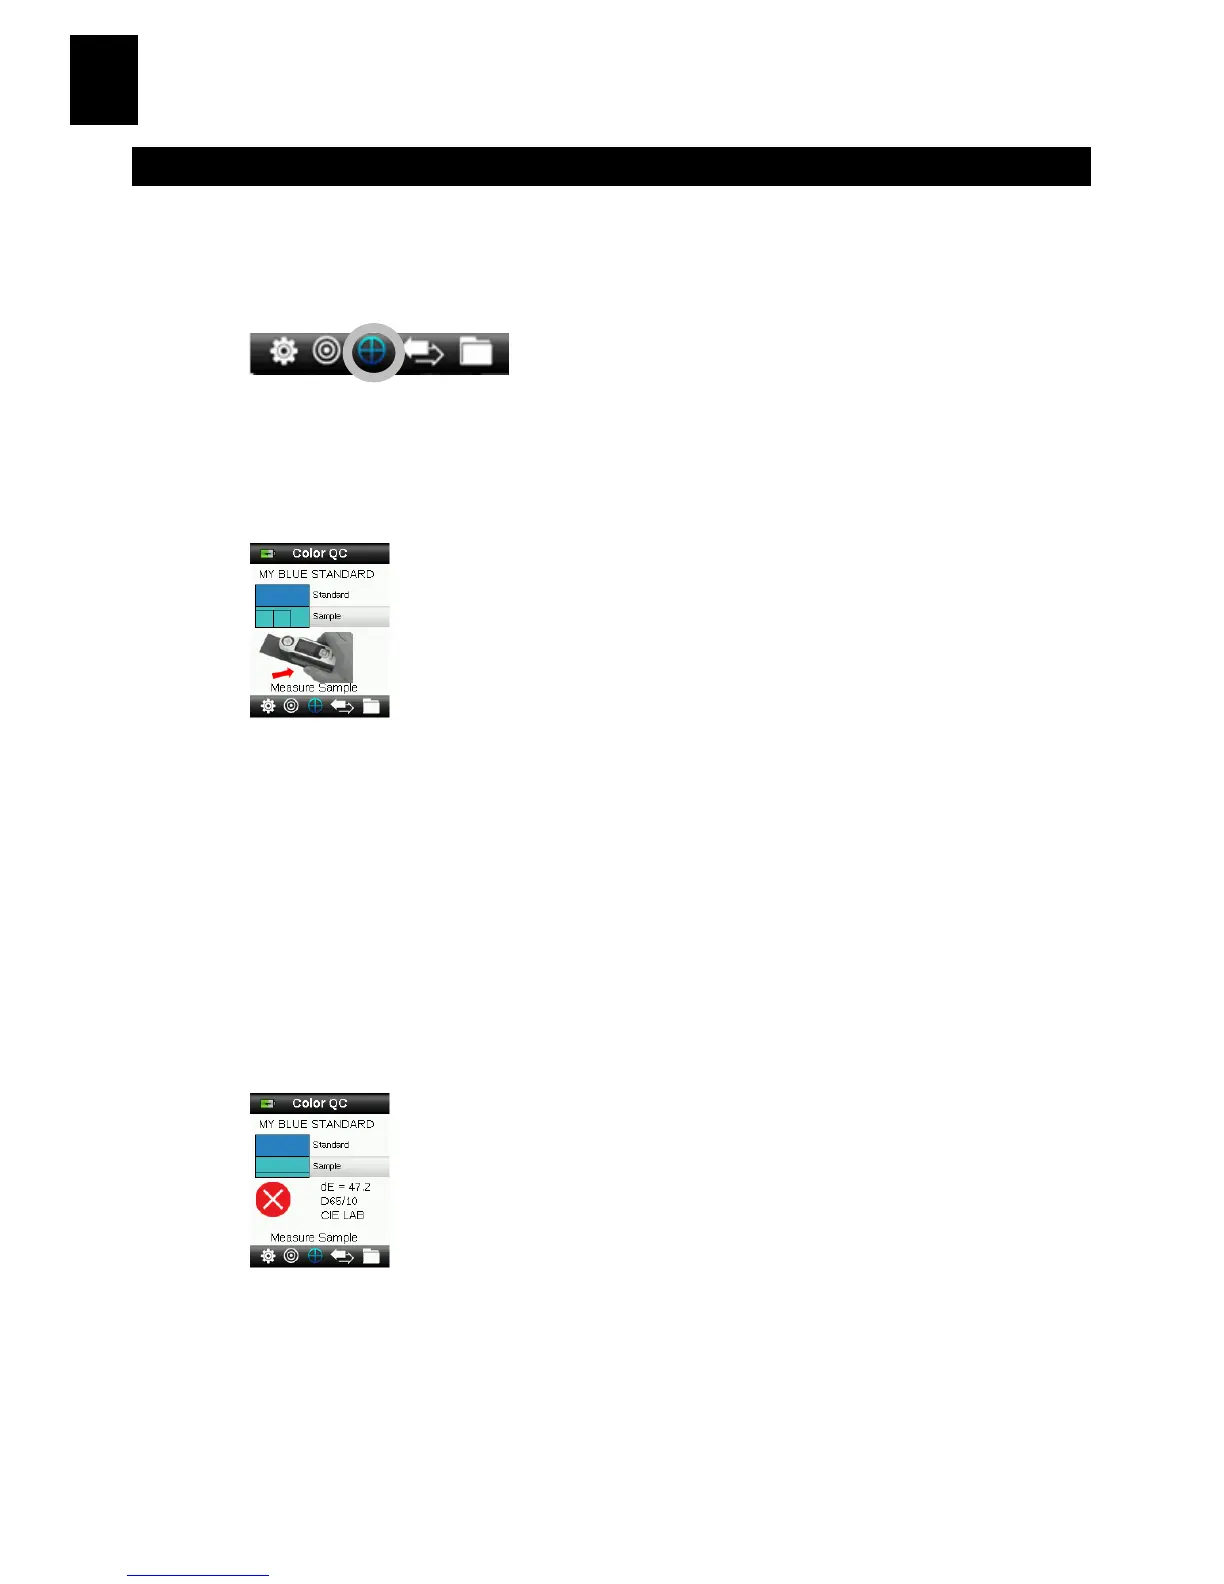
6. After the measurement, a simulated color patch of the sample appears
along with the Pass/Fail indication. The sample below would indicate
that the sample failed based on the tolerance set in the Setting menu.
7. Press the down side of the Navigation control to advance to the QC
Sample data screens.
Saving a Tag with a Measurement
Each measurement is automatically saved in the sample record. A voice tag or
text tag can be saved with each sample measurement.
 Loading...