13 - 5
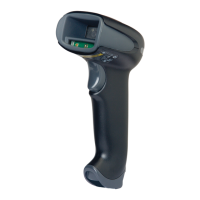
Changing a Xenon
Scanner Battery
1. Loosen the thumb wheel
screw on the end cap by
hand or use a hex wrench.
2. Remove the battery from the
handle.
3. Insert replacement battery.
4. Replace end cap and screw.
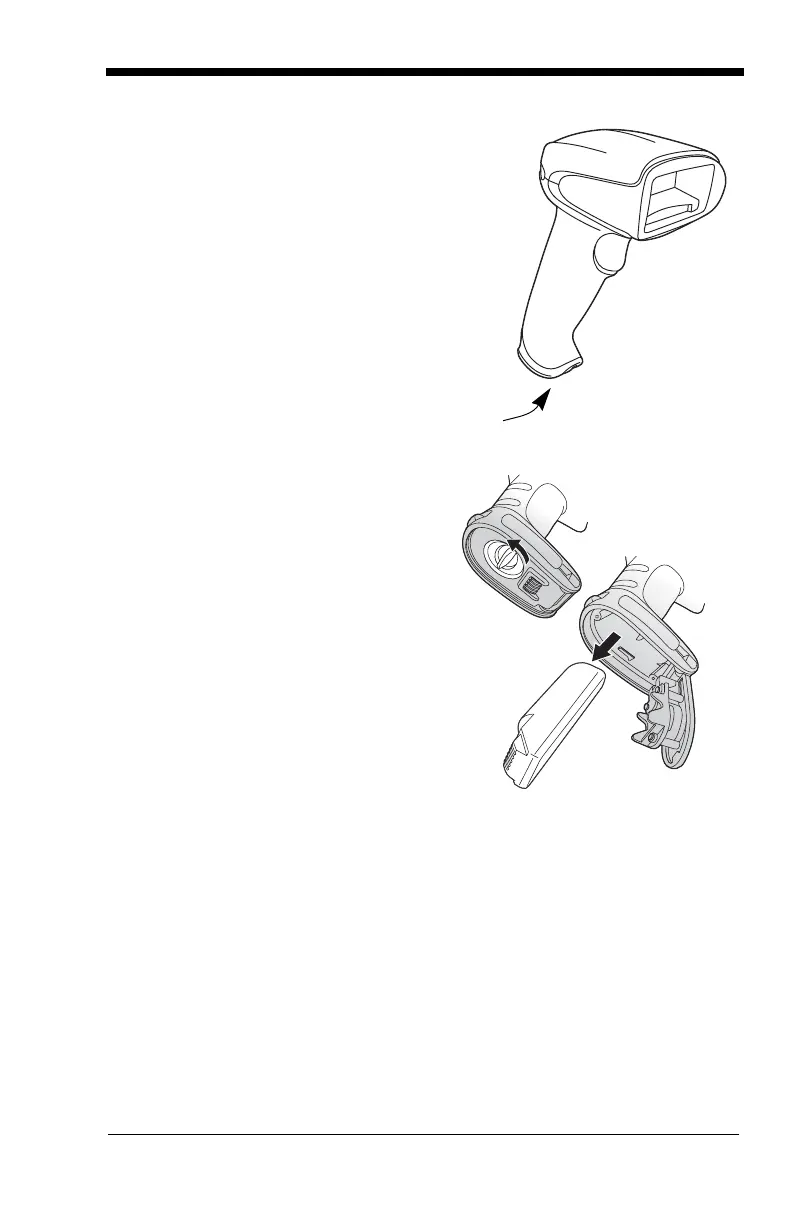
Changing a Granit
Scanner Battery
1. Twist the tab in the bottom of the
end cap and open the hinged
battery door.
2. Remove the battery from the
handle.
3. Insert replacement battery.
4. Close the battery door and twist
the tab to lock it.
Note: The battery door is designed to
pop off the hinge if the scanner
is dropped while changing a
battery. If this occurs, simply
snap it back on.
Troubleshooting a Corded Scanner
The scanner automatically performs self-tests whenever you turn it on. If
your scanner is not functioning properly, review the following Troubleshoot-
ing Guide to try to isolate the problem.
Is the power on? Is the aimer on?
If the aimer isn’t illuminated, check that:
• The cable is connected properly.
• The host system power is on (if external power isn’t used).
• T h e t r i g g e r w o r k s .