TAG MATRIX
'
Figure
9.
(2515)
Tag
Matrix
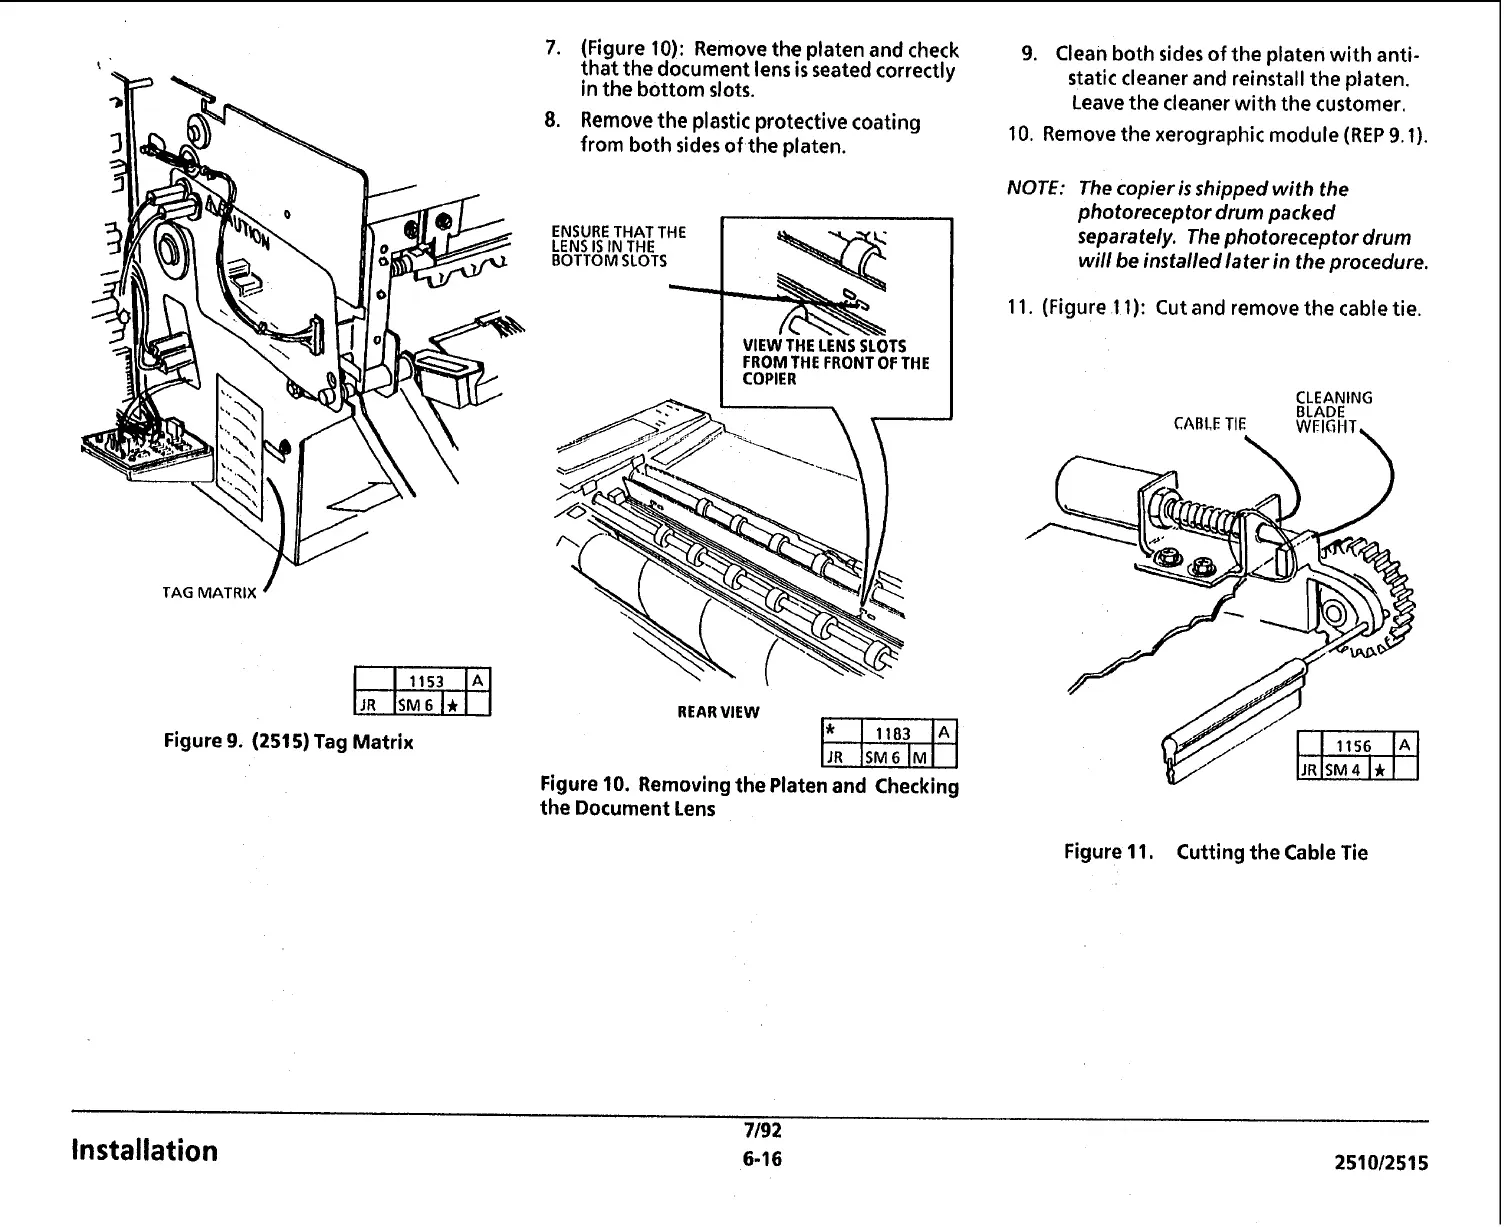
7.
(Figure
10):
Remove the platen and check
that the document lens
is
seated correctly
in the bottom slots.
8.
Remove the plastic protective coating
from both sides of the platen.
9.
Clean both sides of the platen with anti-
static cleaner and reinstall the platen.
Leave the cleaner with the customer.
10.
Remove the xerographic module (REP
9.1).
ENSURE THAT THE
LENS
IS
IN THE
BOTTOM SLOTS
FROM THE FRONT OF THE
NOTE:
The copier
is
shipped with the
photoreceptor drum packed
separately. The photoreceptor drum
will be installed later in the procedure.
11. (Figure 11): Cut and remove the cable tie.
I
COPIER
I
REAR VIEW
Figure
10.
Removing the Platen and Checking
-
the Document Lens
CLEANING
BLADE
CABLE
TIE
WEIGHT,
-
Figure
11.
Cutting the Cable Tie
7/92
Installation
6-16 251012515
 Loading...


