English
Xerox WorkCentre 3550
Quick Use Guide
23
Printing a Document
1. Ensure that the correct Xerox WorkCentre 3550 print driver has been
installed on your workstation. To install the print drivers refer to Install
Printer Software on page 16.
You can also access the print drivers by referring to the Software CD
supplied with your machine, or you can download the latest versions from
the Xerox website at www.xerox.com/support.
2. Open the document to be printed. Click File > Print and select the Xerox
WorkCentre 3550 from the list of printers displayed.
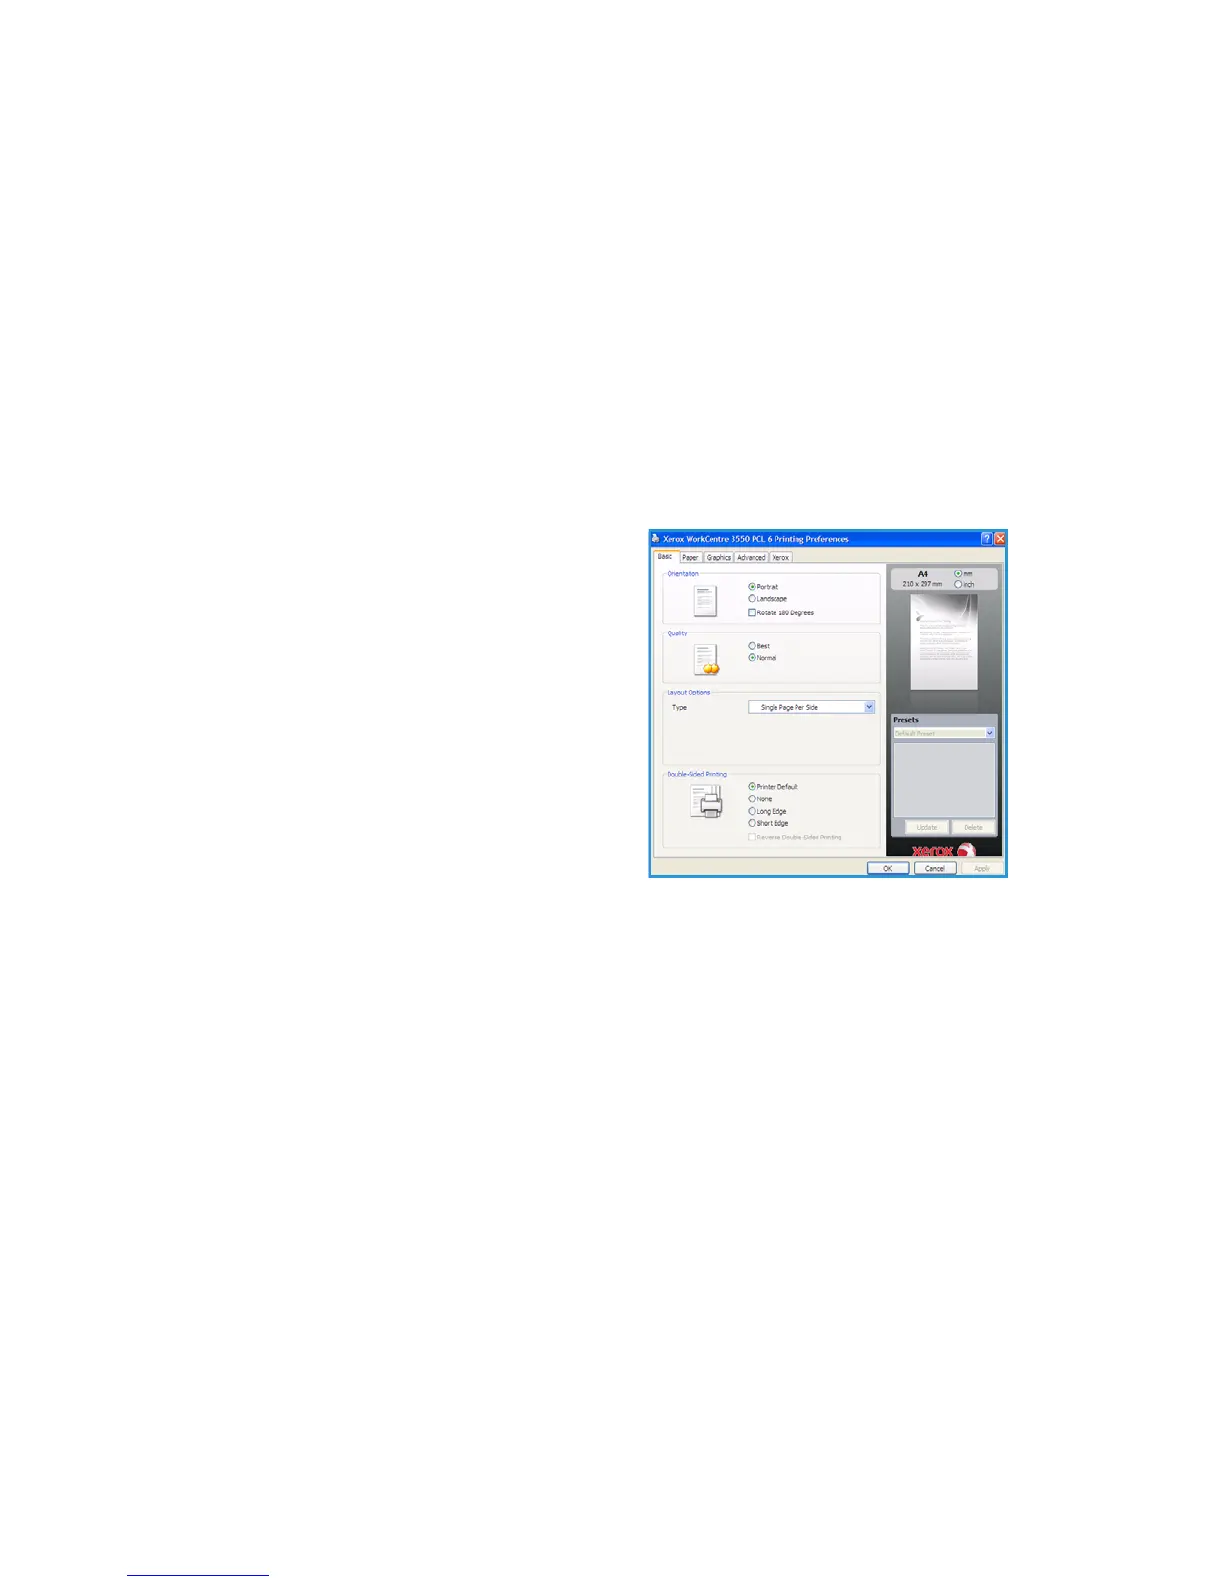
3. To change the default printing properties click Properties.
The print driver has various tabs that contain options and properties.
•Use the Basic tab to choose the
image size and orientation, the
image quality setting required,
layout options such as poster
and booklet creation, and 2
sided printing options.
•Use the Paper tab to select the
number of copies and the paper
size and type required. Scaling
options can also be selected.
•The Graphics tab enables you
to adjust the look of your prints.
You can darken text, print text
in black only, adjust True Type font settings and use the Toner Save
option.
•Use the Advanced tab to add watermarks or overlay text to pages,
change the print order, or to access the Job Settings to change the
print mode to Proof or Secure Print.
•The Xerox tab provides version and copyright information and a link
to the Xerox Website.
Choose the options required for your Print job and click OK to print the
document.
4. The print job will be sent to the machine and will appear in the job list.
Press the Job Status button on the Control Panel to display status information
about the job or to delete the job from the list.

 Loading...


