KCU105 Board User Guide www.xilinx.com 14
UG917 (v1.4) September 25, 2015
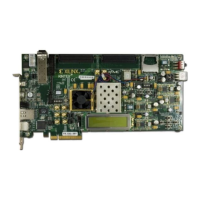
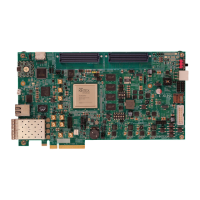
Chapter 1: KCU105 Evaluation Board Features
Prior to KCU105 board power-up, the UltraScale FPGA U1 configuration method is selected
with DIP switch SW15 switch settings:
•Master SPI Mode
°
With both SW15.6 (FPGA_M2) and SW15.5 (SYSCTLR_ENABLE) in the OFF (disable
the SYSCTLR_ENABLE) position, a bitstream programmed into the dual-QSPI flash
devices (U35, U36) is used to configure the UltraScale FPGA U1.
•JTAG Mode
°
With switch SW15.6 ON and SW15.5 in the OFF position, either the USB JTAG
Digilent U115 or the JTAG cable header J3 can be used.
With both switches SW15.6 and SW15.5 in the ON position, the Xilinx integrated
configuration engine is used to configure the UltraScale FPGA U1 over JTAG with one of
several bitstreams stored on a micro-SD card inserted in to the SD card connector J83.
Selecting the bitstream to use for this JTAG configuration is accomplished by setting
SW15.1 (MSB) through SW15.4 (LSB) to one of the sixteen possible binary values. The
technical reference design (TRD) files are available on the KCU105 Evaluation Kit
website.
Once the board is powered up or when the system controller POR pushbutton (SW14) is
pressed, the system controller menu, accessed through the USB UART (J4), is available for
user initiated configuration of the UltraScale FPGA. The “Configure UltraScale FPGA from
micro-SD card” option (see CONFIG Menu Options) utilizes the Xilinx integrated
configuration engine to prompt for one of sixteen micro-SD card resident bitstreams to
configure the UltraScale FPGA (U1). When configuration is initiated through the system
controller menu, the bitstream number entered at the text prompt determines the selected
bitstream. DIP switch SW15 positions 1 to 4 do not determine the selected bitstream.
See Appendix C, System Controller for information on installing and using the user
interface.
For complete details on configuring the FPGA, see UltraScale Architecture Configuration
User Guide (UG570) [Ref 3].