8 Chapter 2—Control Surface & Rear Panel
DM2000—Owner’s Manual
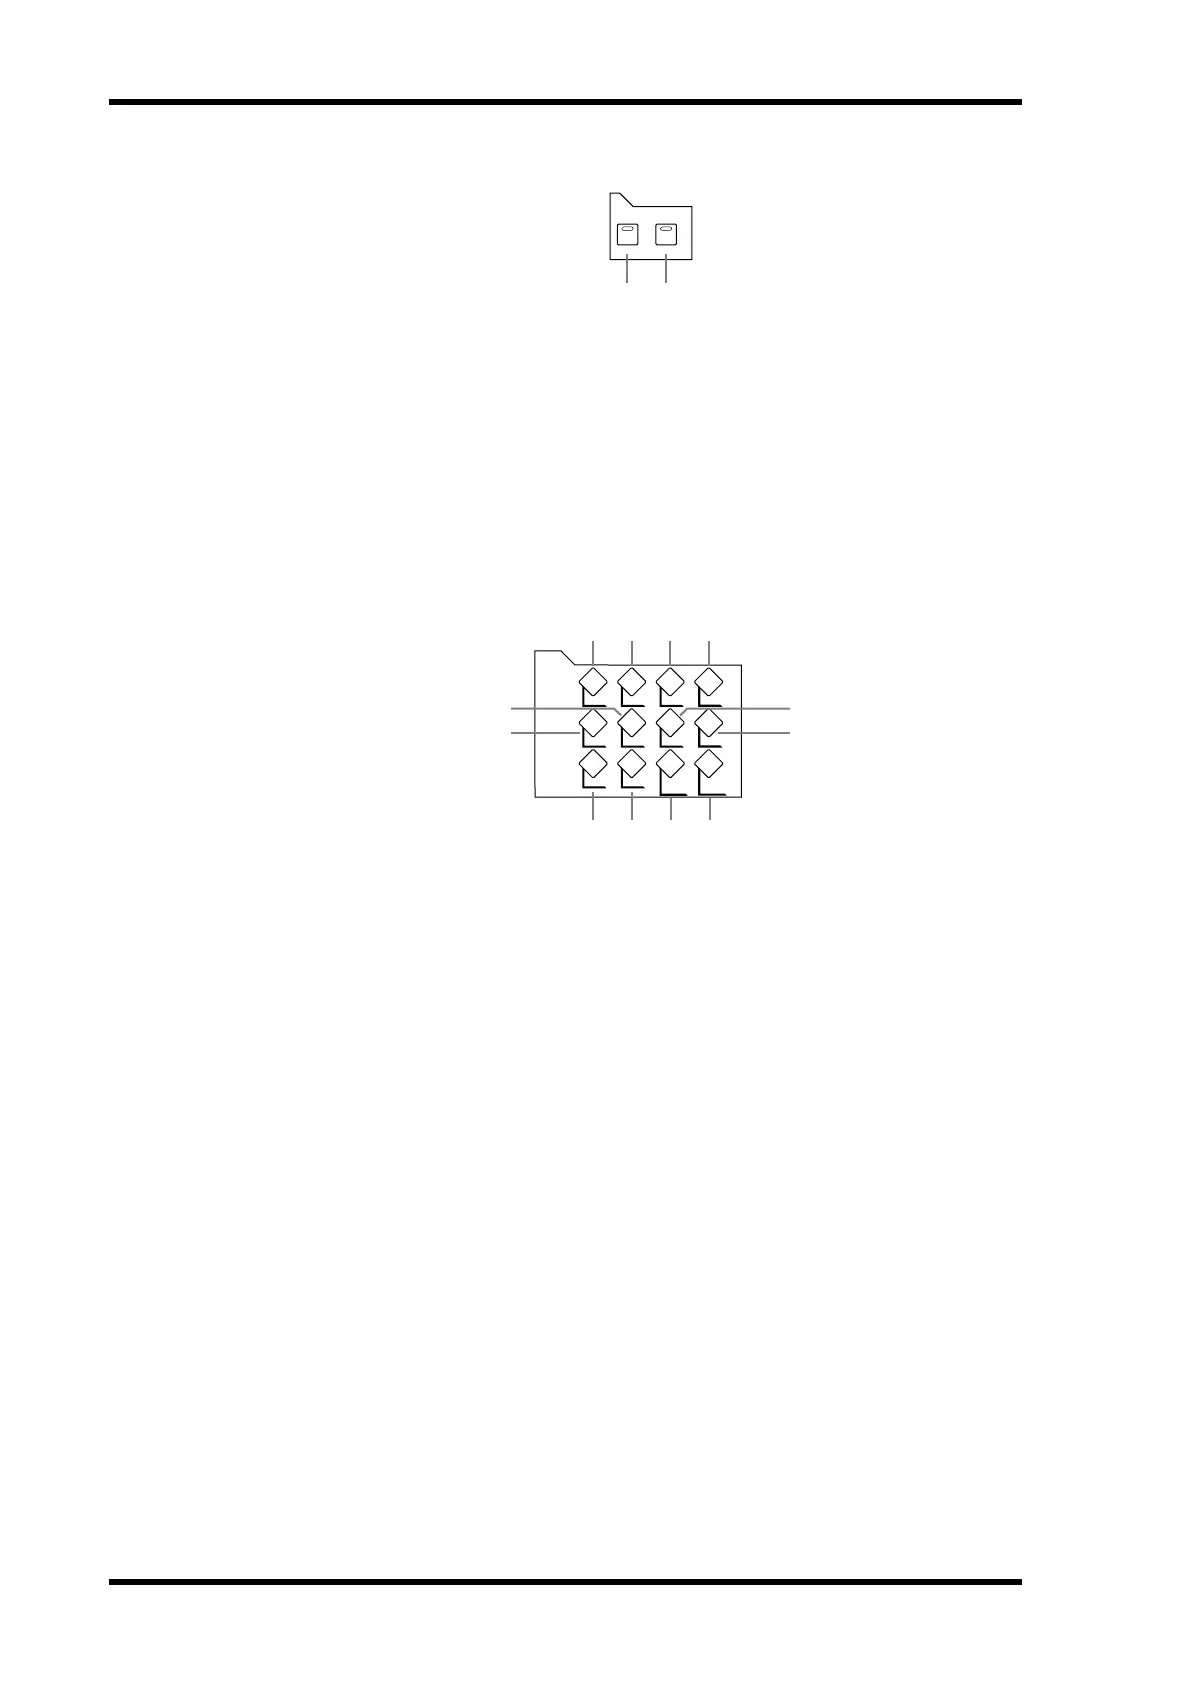
FADER MODE
A FADER button
This button selects Fader mode, in which the faders control Input or Output Channel levels,
depending on the currently selected Layer. Its indicator lights up when this mode is selected.
See “Selecting Fader Modes” on page 44 for more information.
B AUX/MTRX button
This button selects the Aux/Mtrx Fader mode, in which the faders control Aux Send or
Matrix Send levels, depending on the currently selected Layer. Its indicator lights up when
this mode is selected. See “Selecting Fader Modes” on page 44 for more information.
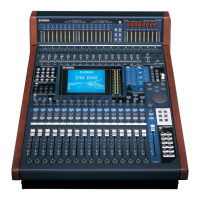
DISPLAY ACCESS
A
DATA button
This button is used to select the Save, Load, and File pages, which are used to save and load
DM2000 data to SmartMedia. See “Saving DM2000 Data to SmartMedia” on page 231 for
more information.
B DIO button
This button is used to select the following pages: Word Clock Select, Dither, Cascade In,
Cascade Out, Sampling Rate Converter, and Higher Sample Rate Data Format. See “Digital
I/O & Cascading” on page 50 for more information.
C SETUP button
This button is used to select the following pages: Preferences 1, Preferences 2, Preferences 3,
MIDI/TO HOST Setup, GPI Setup, Input Port Name, Output Port Name, Time Reference,
Time Signature, and the Remote Port Setup.
D UTILITY button
This button is used to select the following pages: Oscillator, Channel Status Monitor, and
Battery Check.
E REMOTE button
This button is used to select the Remote pages. See “About Remote Layers” on page 217 for
more information.
F MIDI button
This button is used to select the following pages: MIDI Setup, Program Change Assign
Ta ble, Control Change Assign Table, and Bulk Dump. See “MIDI” on page 182 for more
information.
AUX / MTRXFADER
FADER MODE
1 2
DATA DIO SETUP UTILITY
MIDI REMOTE METER VIEW
PAIR GROUP INPUT
PATCH
OUTPUT
PATCH
9
6
5
8
7
1 2 3 4
J K L
DISPLAY ACCESS