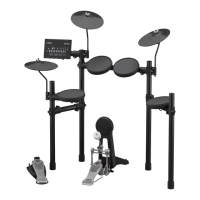
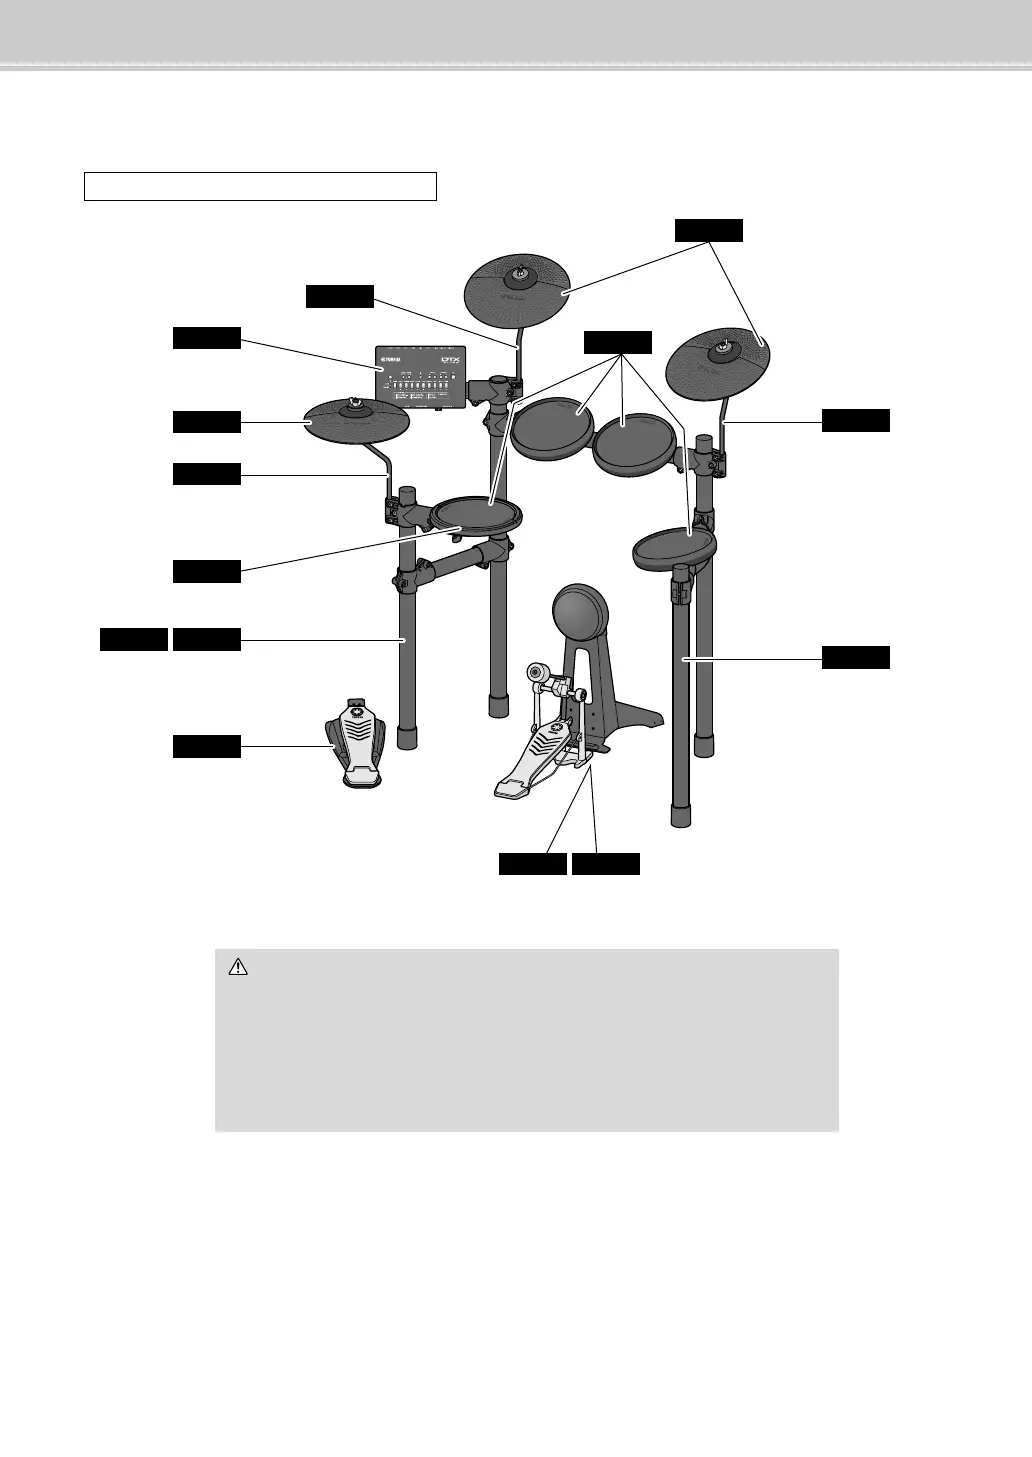
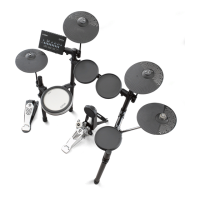
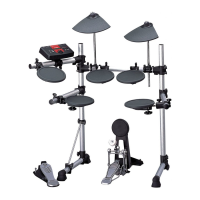
Fully assembled drum kit (DTX452K shown)
CAUTION
• Choose a flat, hard surface on which to assemble your electronic drum kit.
• Take care to avoid mixing up parts or assembling them in the wrong direction. In addition,
the assembly steps should be completed one at a time in the order described.
• The assistance of at least one other person will be required when assembling the elec-
tronic drum kit.
• Once a piece has been assembled, be sure to tighten the corresponding key bolts.
• To disassemble your electronic drum kit, carry out the assembly sequence in reverse.
Step 8
Step 7
Step 6
Step 4
Step 3Step 2
Step 12
Step 9
Step 10
Step 5
Step 9
Step 1
Step 12Step 11