15
MW10
4. Power Switch and AC Connector
(Time required: About 4 minutes)
4-1 Remove the bottom case. (See procedure 1.)
4-2 Remove the one (1) screw marked [263], and pull out the
power switch and AC connector from the holes on the rear
of the top cover. (Fig.5)
4-3 Remove the power switch by pressing its claw. (Fig.5)
4-4 To remove the AC connector, remove the hexagon nut and
flat washer. (Fig.5)
*Unless the wirings connected to the AC connector are
removed, the AC connector cannot be removed from the
support AC.
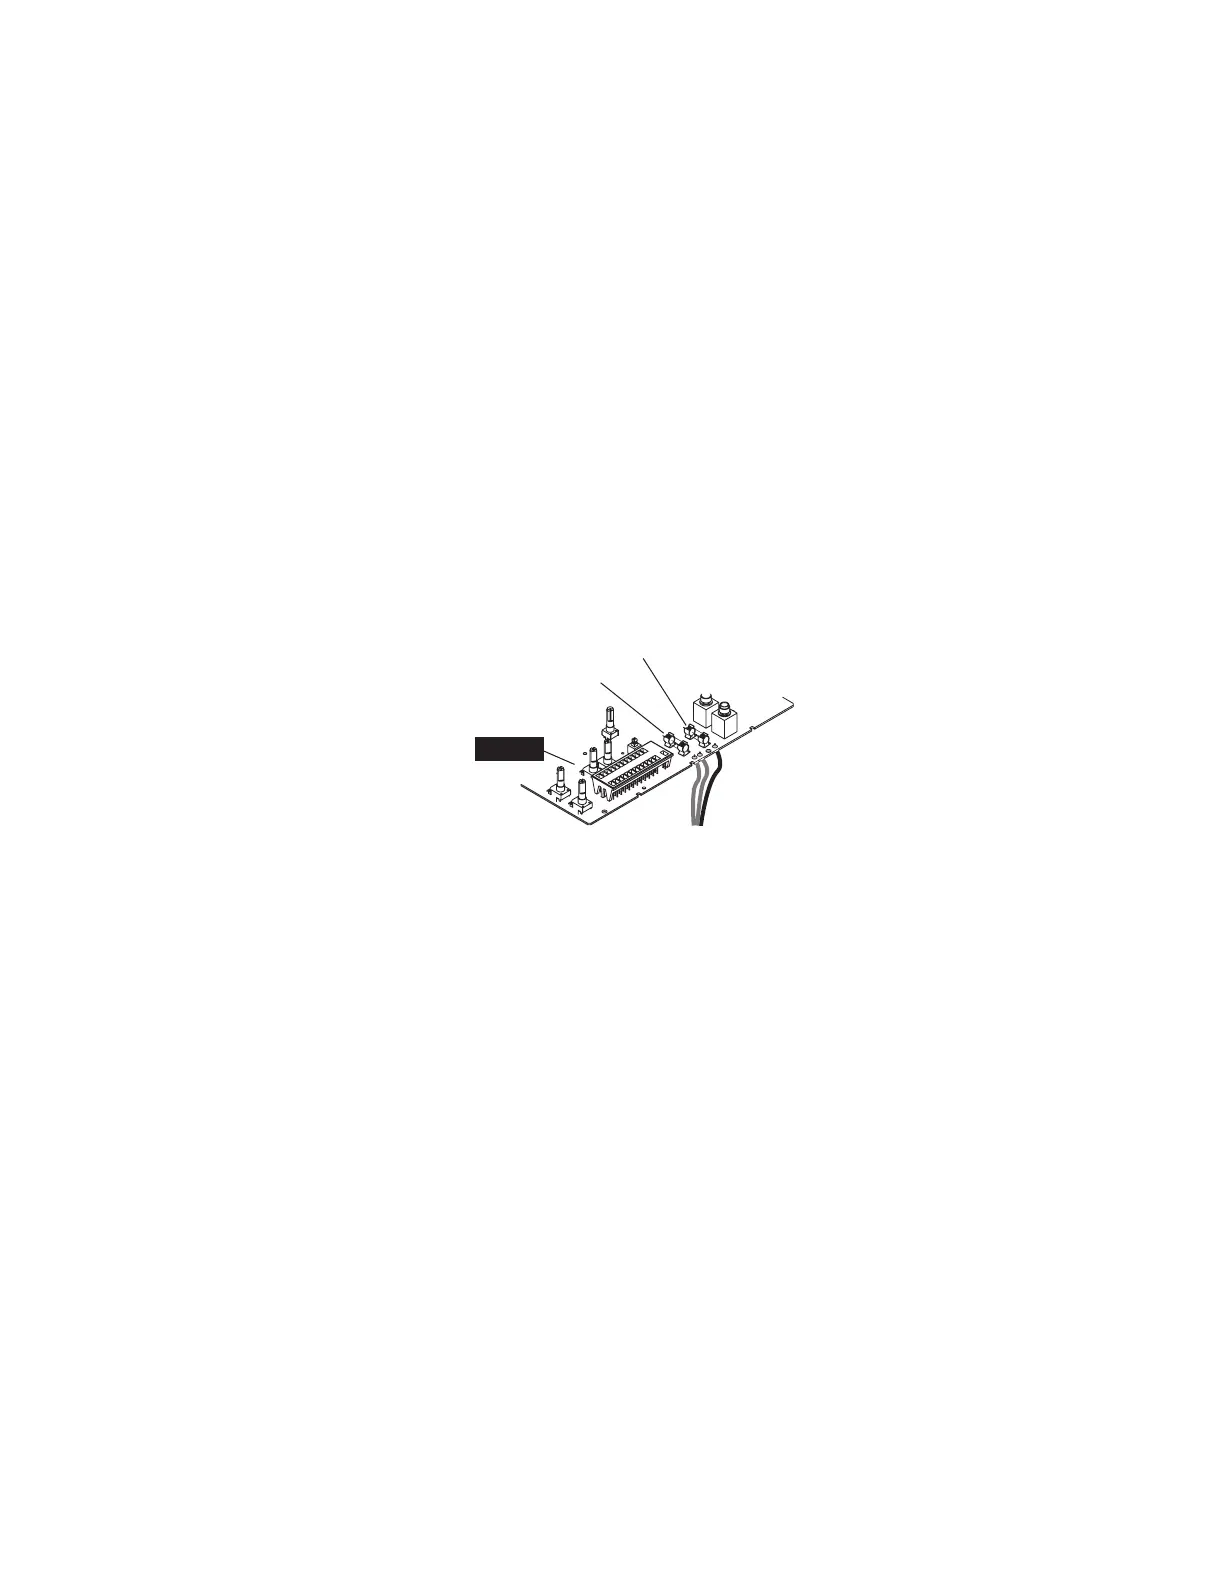
5. Fuse (Time required: About 11 minutes)
5-1 Remove the MAIN circuit board. (See procedure 3 (3-1 to
3-9).)
5-2 Exchange the fuse (F01/F02) for new one on the MAIN
circuit board. (Fig.8)
4. 電源スイッチとACコネクター
(所要時間:約4分)
4-1 ボトムケースを外します。(1項参照)
4-2 [263]のネジ1本を外し、電 源スイッチとA Cコネクターをトッ
プカバ ー のリア側の穴から外します。(Fig.5)
4-3 電源スイッチ のツメを 押して 、電源スイッチを外します 。
(Fig.5)
4-4 六角ナットと平ワッシャを外して ACコネクターを外します 。
(Fig.5)
*ACコネクターは、接続されている線材を外さないとサポー
トACとは分離できません。
5. ヒューズ交換(所要時間:11分)
5-1 MAINシートを外します。(3項の3-1〜3-9参照)
5-2 MAINシート上 のヒュー ズ(F01、F02)を交換します。
(Fig.8)
Fuse F01
Fuse F02
MAIN
(Fig.8)
 Loading...