HANDLEBAR
4-38
EAM30052
REMOVING THE HANDLEBAR
1. Stand the vehicle upright on a level surface.
EWA13120
Securely support the vehicle so that there is
no danger of it falling over.
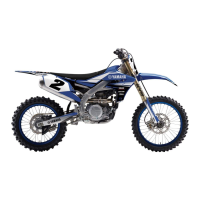
2. Remove:
• Clutch switch “1”
Press the projection, and remove it from the
clutch lever assembly.
3. Remove:
• Grip “1”
Blow in compressed air between the handlebar
or tube guide and the grip. Then remove the grip
which has become loose.
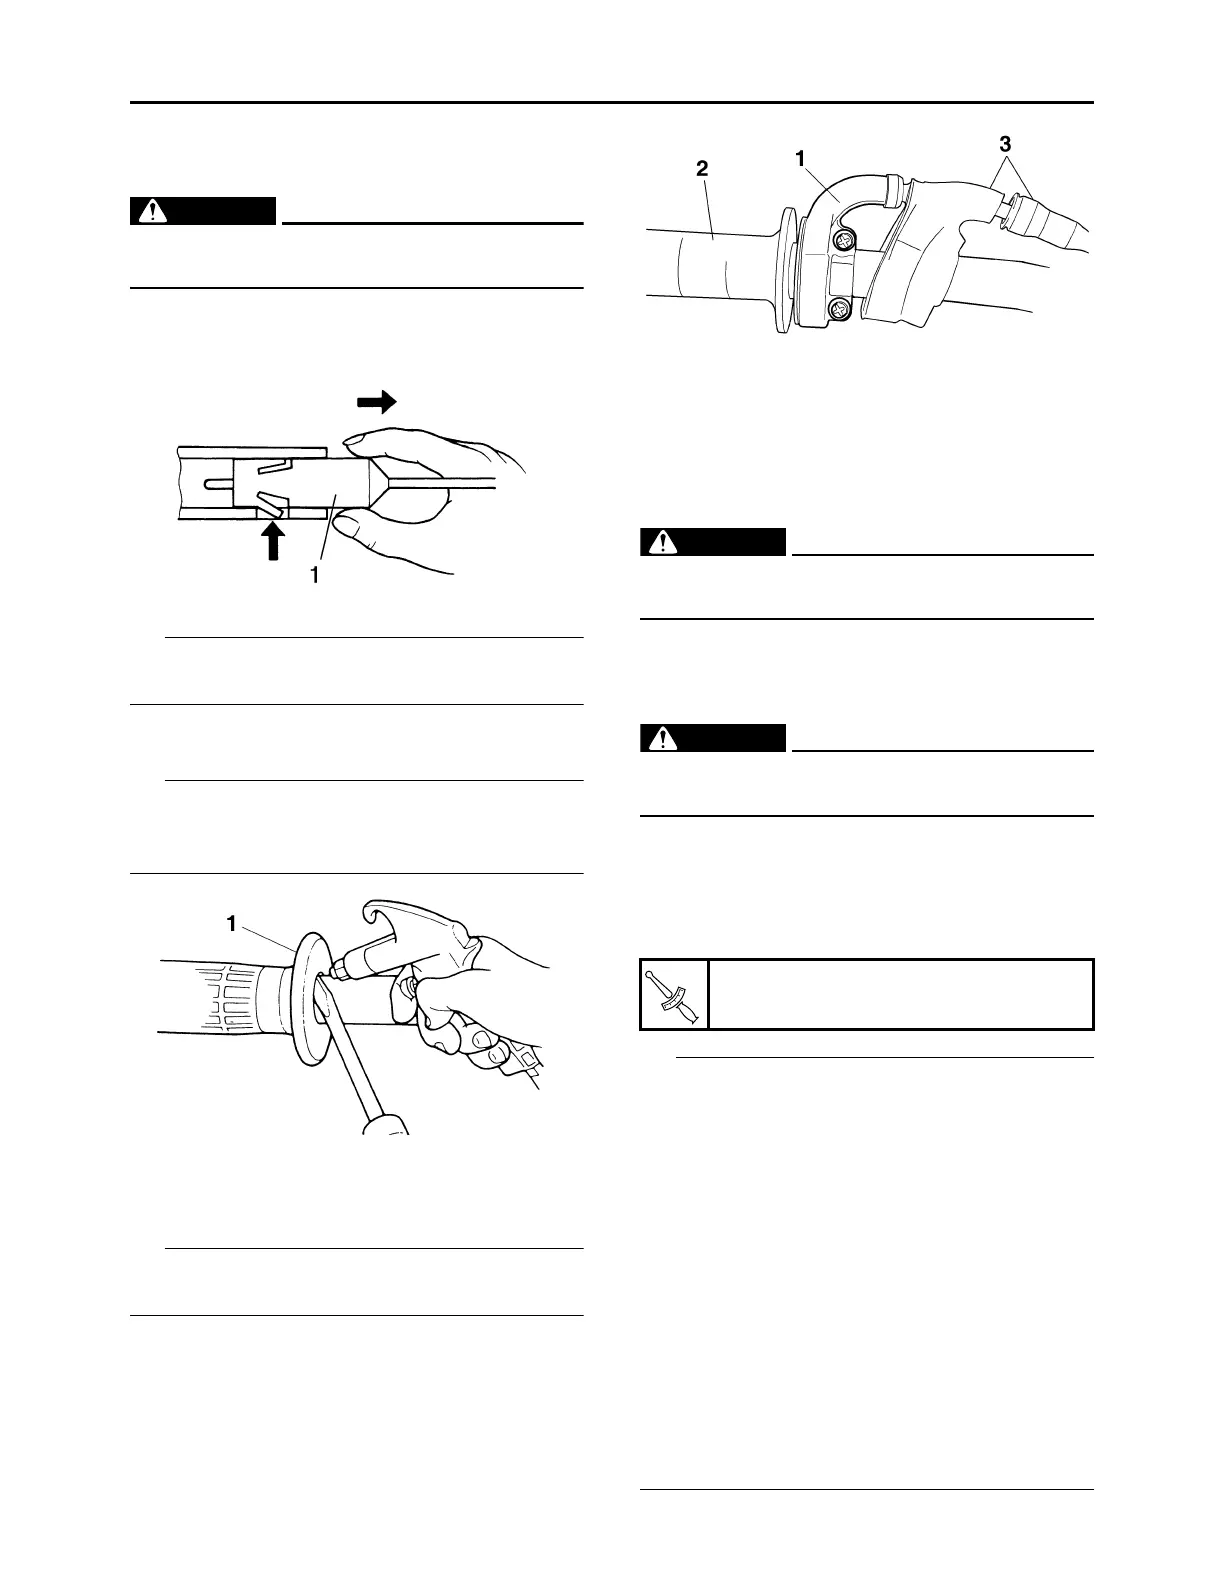
4. Remove:
• Throttle cable housing “1”
• Throttle grip “2”
While removing the throttle cable housing, pull
back the rubber cover “3”.
EAM30053
CHECKING THE HANDLEBAR
1. Check:
• Handlebar
Bends/cracks/damage Replace.
EWA13690
Do not attempt to straighten a bent handle-
bar as this may dangerously weaken it.
EAM30054
INSTALLING THE HANDLEBAR
1. Stand the vehicle upright on a level surface.
EWA13120
Securely support the vehicle so that there is
no danger of it falling over.
2. Install:
• Damper “1”
• Lower handlebar holder “2” (temporarily)
• Handlebar “3”
• Upper handlebar holder “4”
• Install the lower handlebar holders with them
side having the greater distance “a” from the
mounting bolt center facing forward.
• Installing the lower handlebar holders in the re-
verse direction allow the front-to-rear offset
amount of the handlebar position to be
changed.
• The upper handlebar holders should be in-
stalled with the punch marks “b” facing for-
ward.
• When installing the handlebar, make sure that
right and left marks “c” are in place identically
on both sides.
• Install the handlebar so that the projection “d”
of the upper handlebar holders is positioned at
the mark on the handlebar as shown.
Upper handlebar holder bolt
28 N·m (2.8 kgf·m, 21 lb·ft)