7.3.3 How to Change Fuse of Contact Digital Input Module
(SDV144 Style S1, S2, and S3)
In order to protect the module from the over current damage caused by short circuit between
the input channel and the ground, a fuse is placed in front of the module styles S1 to S3.
When the fuse is blown up by the short circuit, the fuse can be changed online without pulling
the whole module out from its slot. The part number of the fuse is A1327EF and it is not the
part with specified life span.
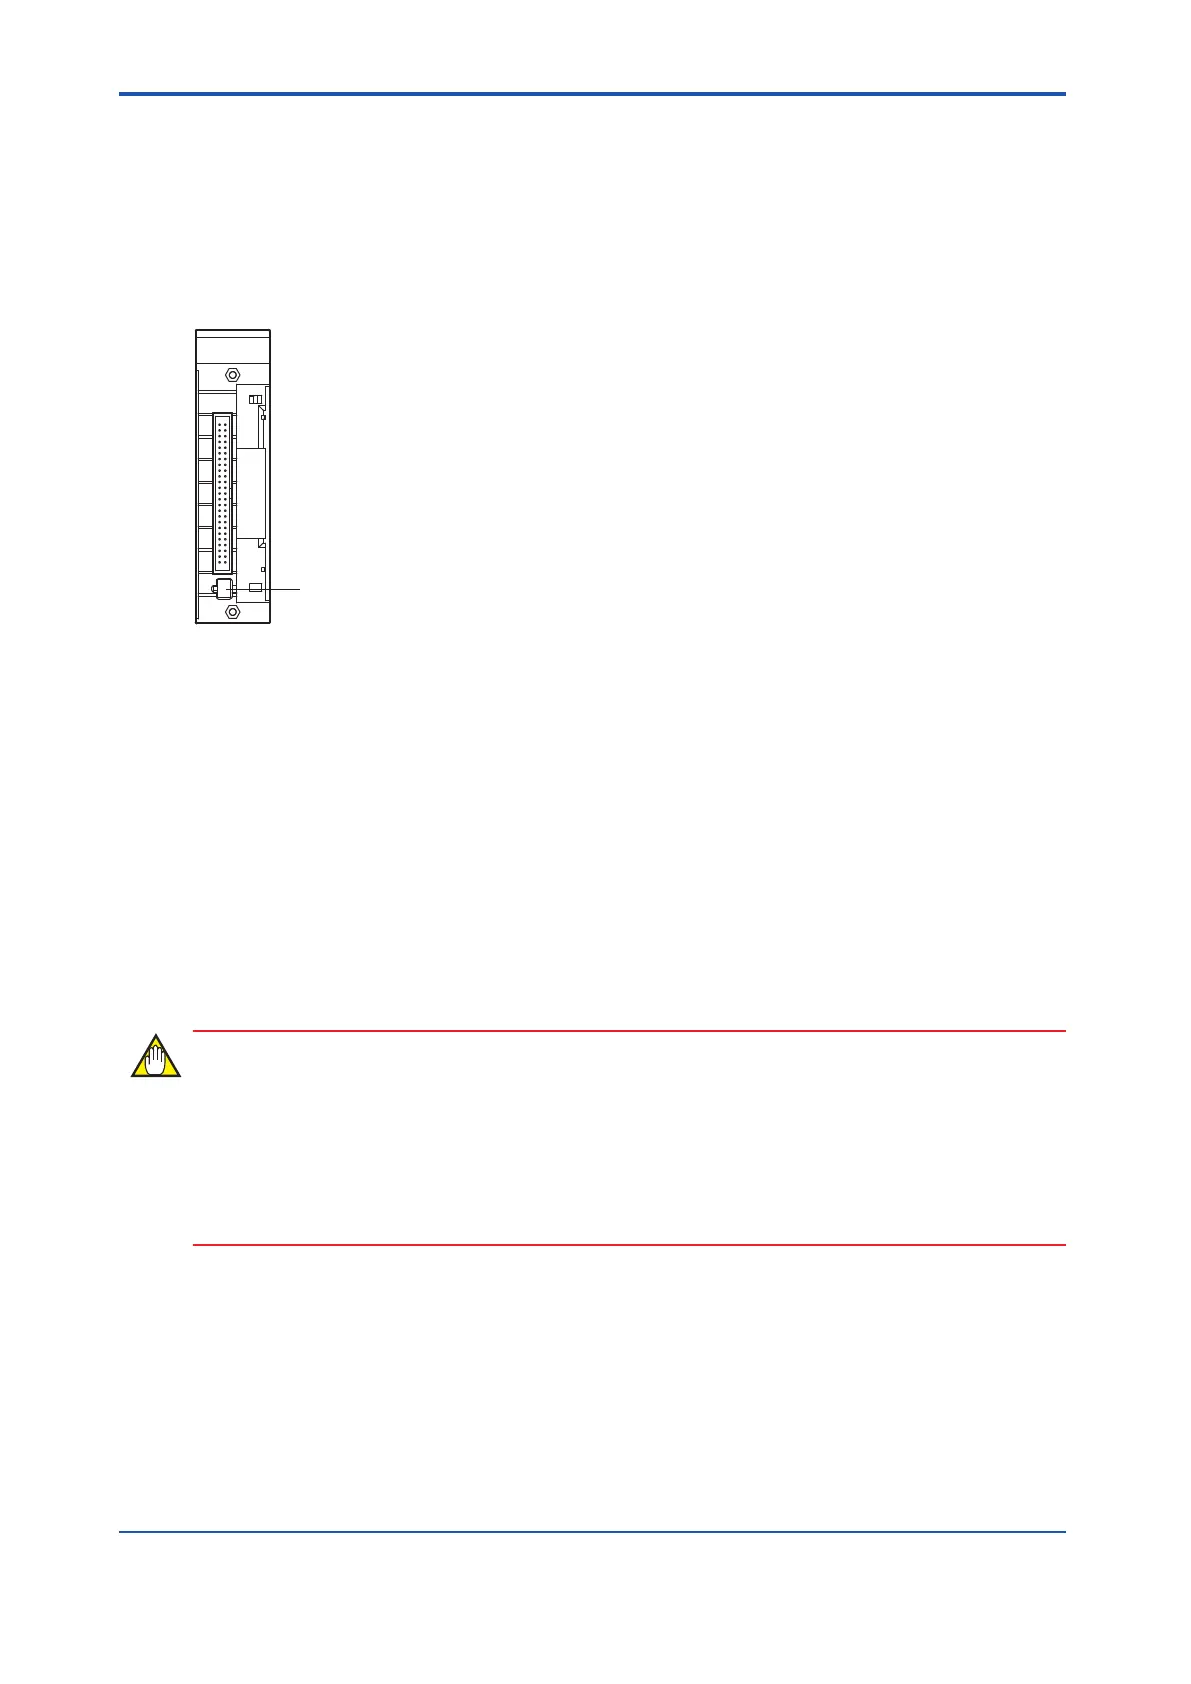
Fuse (0.3A)
Part Number : A1327EF
Figure 7.3.3-1 Front Side of the SDV144 Style S1, S2, and S3
The procedure for replacing the fuse is as follows:
n
Procedure
1.
Make sure that the contact input does not have short circuit.
2. Pull out the fuse to be replaced. Using a long-nose pliers can easily pull out the fuse.
3. Before putting the new fuse, make sure it has the same nominal current as the replaced
one.
4. Insert the fuse with the imprints facing up.
5. Connect the signal cable to the module connector, and then check if the module is work-
ing properly.
When replacing the fuses of dual-redundantly configured modules, pay attention to the follow-
ing:
When both fuses on controlling side module and standby side module are blown, alarm mes-
sages for both modules recovers at the same time even if only one fuse is changed. Please
make sure to change both fuses.
<7.3 Replacing Input/Output Modules > 7-26
IM 32Q06C10-31E 4th Edition : Jan.30,2015-00
 Loading...