19
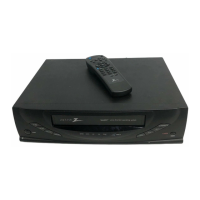
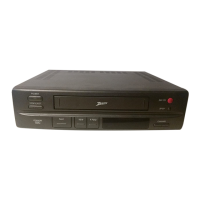
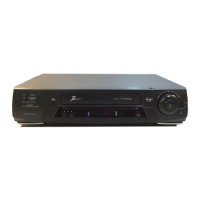
VCR SETUP
SETTING THE CLOCK
PREPARATION
• Turn on the power of both the VCR and TV.
• Tune the TV to the VCR output channel (CH 3 or 4).
• If a direct VIDEO/AUDIO connection is made between the
VCR and the TV, set the TV’s source selector to VIDEO.
The VCR gives you two ways to set the time and date: the Auto
Clock Feature or manually. The Auto Clock Feature enables the
VCR to set up the clock when the VCR is turned off.
The Auto Clock Set feature is set to ON at the factory. In the ON
setting, the VCR looks for a channel carrying XDS (Extended
Data Services) information. XDS updates the clock using the
Coordinated Universal Time.
If you choose AUTO, the VCR sets the clock using the DST
information broadcast in the signal (channel).
If you choose ON, the VCR sets the clock when the Daylight
Saving Time is started and ended.
If “AUTO” is selected as the time zone, the VCR sets the clock
using the first Coordinated Universal Time information it finds in
a broadcast signal.
AUTO CLOCK SET
• The clock uses the 12-hour system. (Be sure to set AM and
PM correctly.)
• The buttons for setting the clock are on the remote control.
• An illogical date will not be accepted (for example:
February 30).
• The initial Clock Setting is JANUARY 1, 2004, 12:00 AM.
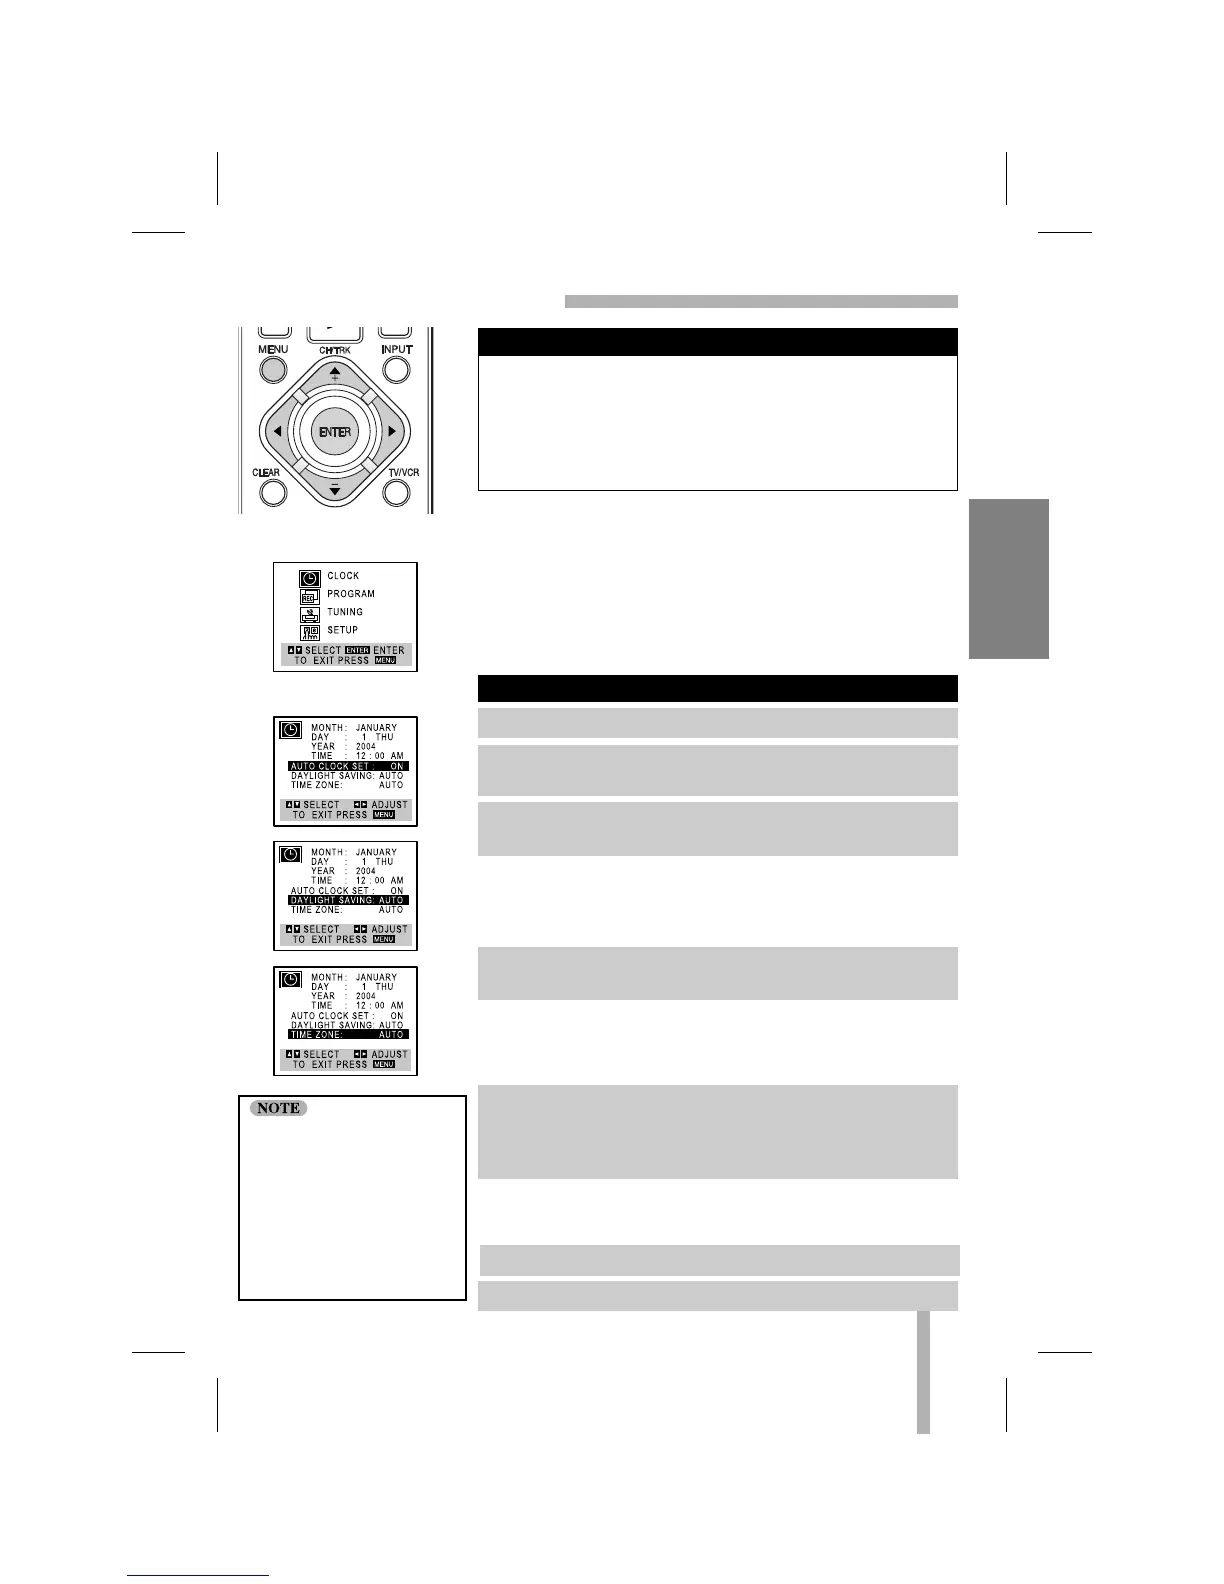
MAIN MENU
CLOCK MENU
1. Press MENU and the MAIN menu will appear.
2. Use
DD
or
EE
to choose the CLOCK menu option.
Press ENTER and the CLOCK menu will appear.
3. Use
EE
to choose the AUTO CLOCK SET option.
Use
FF
or
GG
to choose ON.
6. Press MENU when finished.
7. Turn off the VCR to complete auto clock setting.
Things to know before starting
There are cases that the
TV station does not send
or sends wrong date
and/or time information
and the VCR sets the time
incorrectly.
In this case we recom-
mend that you set the
clock manually.
4. Use
EE
to choose the DAYLIGHT SAVING option.
Use
FF
or
GG
to choose AUTO, ON or OFF.
5. Use
EE
to choose the TIME ZONE option.
Use
FF
or
GG
to choose the correct time zone (AUTO,
EASTERN, CENTRAL, MOUNTAIN, PACIFIC, ALASKA, or
HAWAII).