2.8.2.2 GROUP ASSIGNMENT
After entering the group assignment section, the ◄ and ► buttons allow browsing
through the available groups. The “No Group” option is available at the end of the list.
To set the assignment please press on OK. A pop-up message (“Change Group?”) will
ask for confirmation, which consists in pressing on OK again.
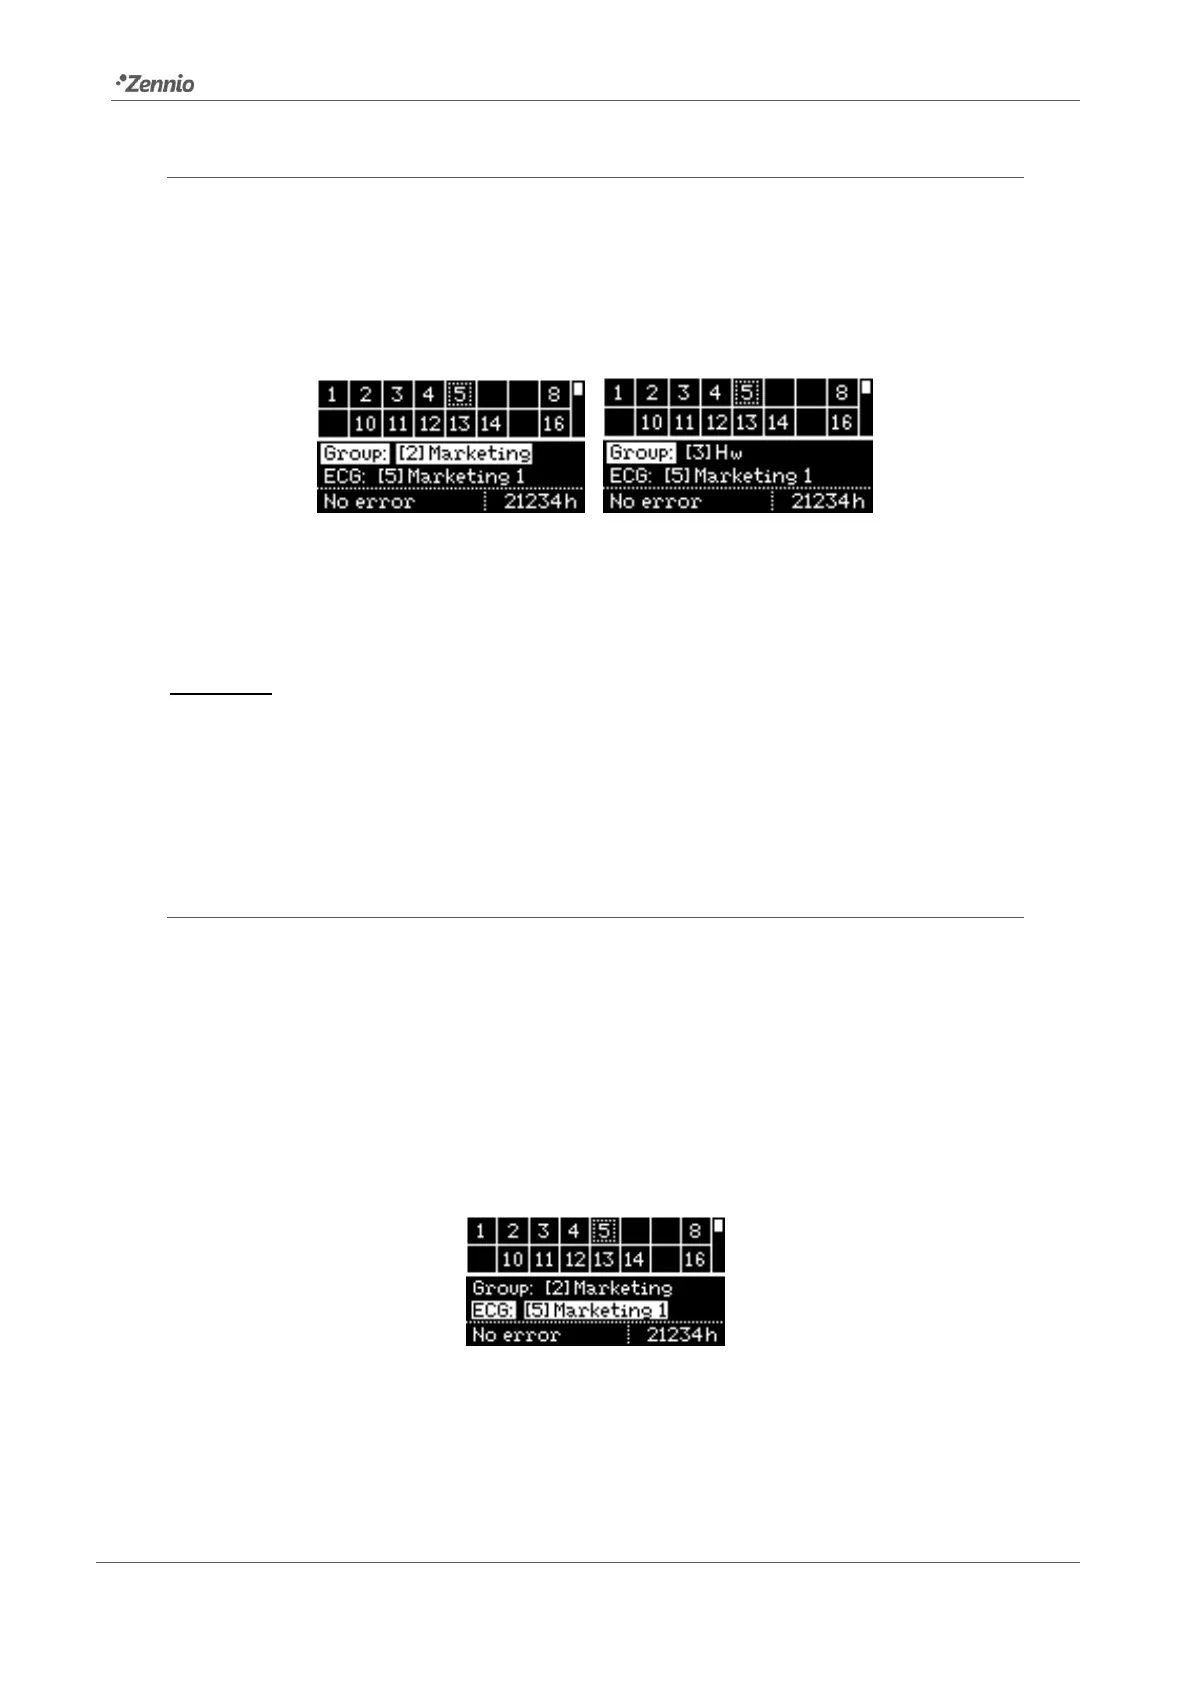
Figure 32. Group Assignment
Figure 32 shows how the display looks like when ballast with address 5 (initially
belonging to group number 2) is re-assigned group number 3.
Important: if a ballast is assigned an individual group (17-32) previously assigned to
another ballast, the latter will change to “No group”.
To enter the ECG address assignment section, please press ▼. To switch back to the
upper table, please press ESC or ▲.
2.8.2.3 ADDRESS ASSIGNMENT
Analogously as in section 2.8.2.2, it is possible to modify the address of the selected
ballast. After entering this section, ◄ and ► will permit browsing through the available
addresses (both unused addresses and addresses already in use).
Free addresses and addresses automatically assigned by DALIBOX Interface 64/32
(which therefore have not been given a name in ETS; see section 2.2) will simply show
as a number in square brackets, with no name.
Figure 33. ECG Address
To confirm the assignment please press on OK. It is important to bear in mind that:
 Loading...