09
C | Quick Test of the Printer
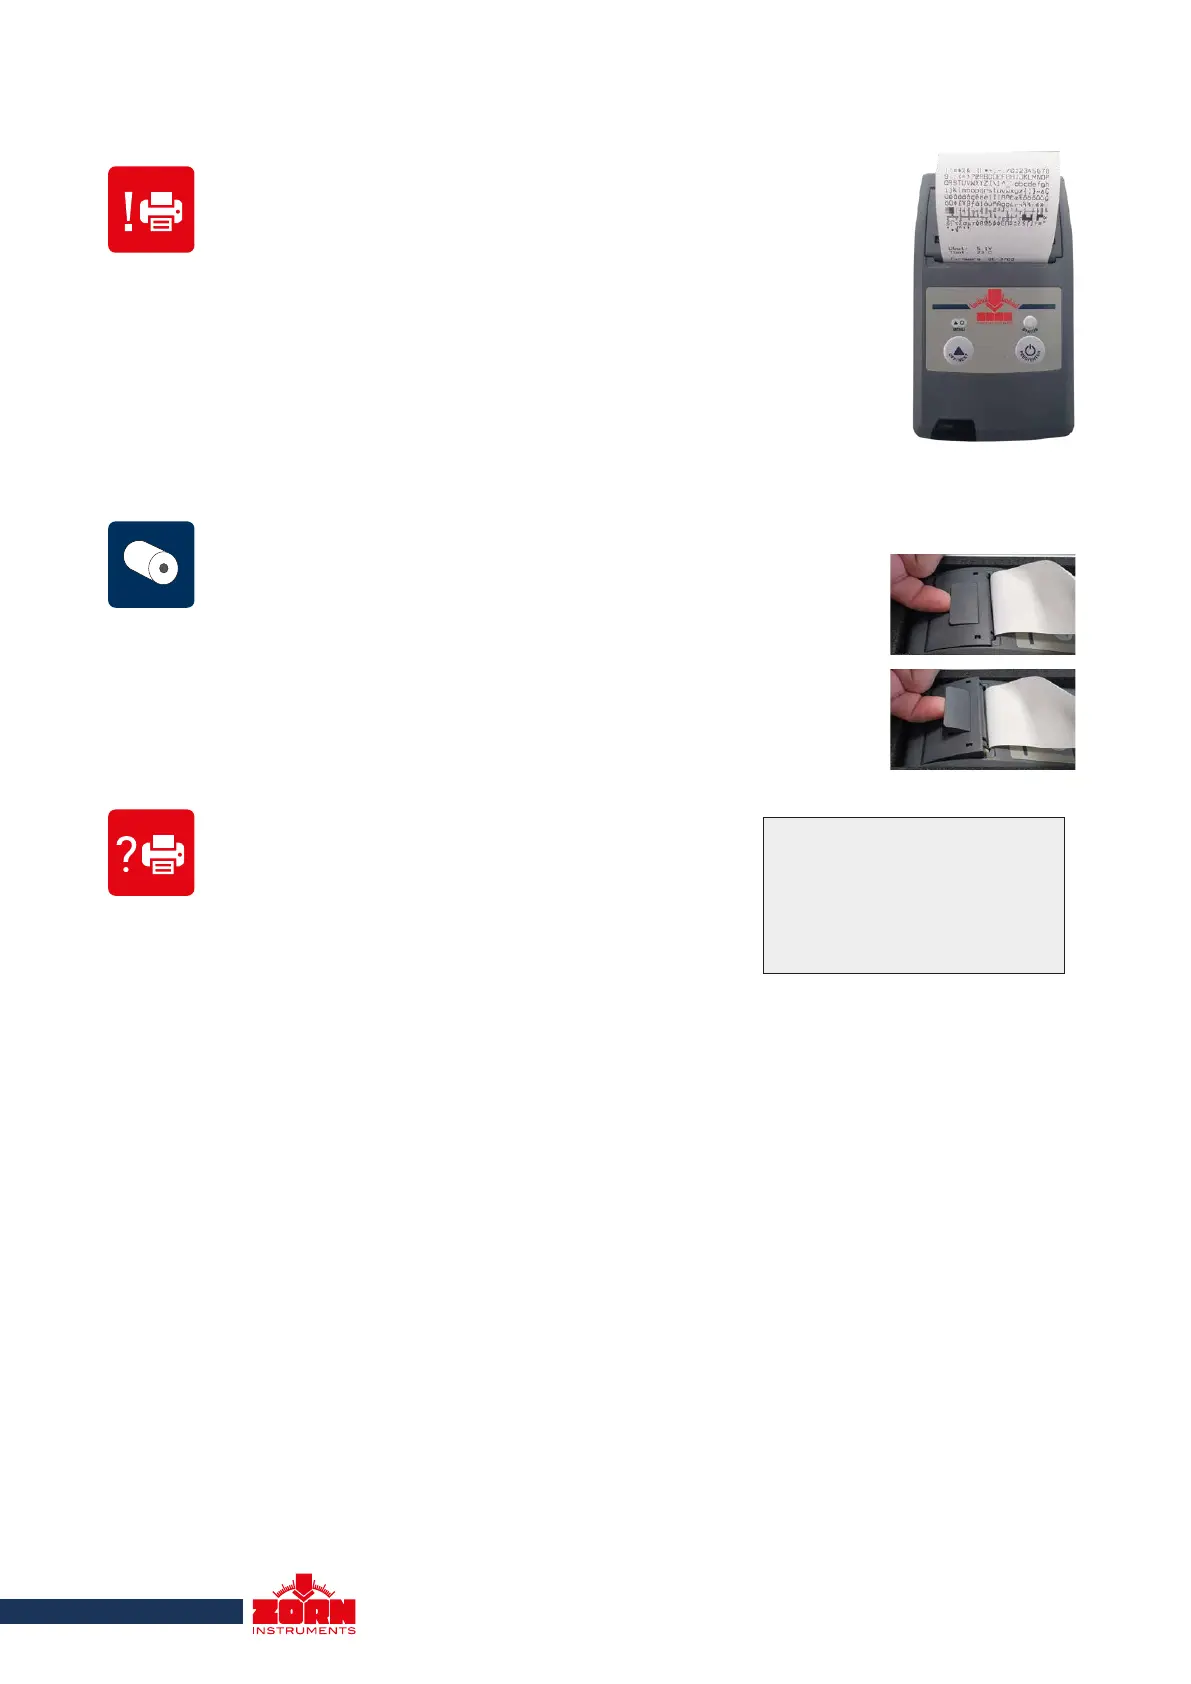
To check the printer separately, you can perform a self-test. To do
this, disconnect the printer from the electronic measuring device
and switch off the printer (it also switches itself off after one minute
without use).
Press the <FEED/ENTER> key for at least three seconds. A test
printout is now created, on which the firmware version and the
character set are printed. If no printout or an incorrect printout is
made, follow the instructions under > E Problems When Using the
Printer (see below).
E | Problems Using the Printer
If the electronic measuring device does not recogni-
ze the printer after pressing the <Print> key, the
message shown in the picture on the right will
appear in the device.
Disconnect the printer and the electronic measuring
D | Changing the Paper Roll
To change the thermal paper roll, the cover of the printer compart-
ment must be opened. To do this, pull the cover upwards. The war-
ning light flashes red when the cover is opened.
Remove the sleeve of the empty paper roll and replace it with a full
thermal paper roll. Insert the new thermal paper roll so that the
paper unrolls downwards. Place the beginning of the roll over the
tear-off edge of the printer.
device and plug in the printer cable again.
If still no printouts can be made with the printer, check whether the power supply of the
printer is secure. Switch off the electronic measuring device and press the <FEED/EN-
TER> key on the printer. If the LED light flashes green, the power supply is secure. If the
LED does not light up or goes out in less than one minute, you must charge the battery.
Check if the paper roll is used up. In this case, a red signal flashes on the printer. Then
insert a new thermal paper roll following the steps as described in point D.
If the thermal printer does not print after changing the thermal paper roll, either it has
been inserted the wrong way round or it is not a thermal paper roll.
Connect printer and
switch on!
<OFF> Escape
 Loading...