Configuration manual for 2N IP intercoms
•
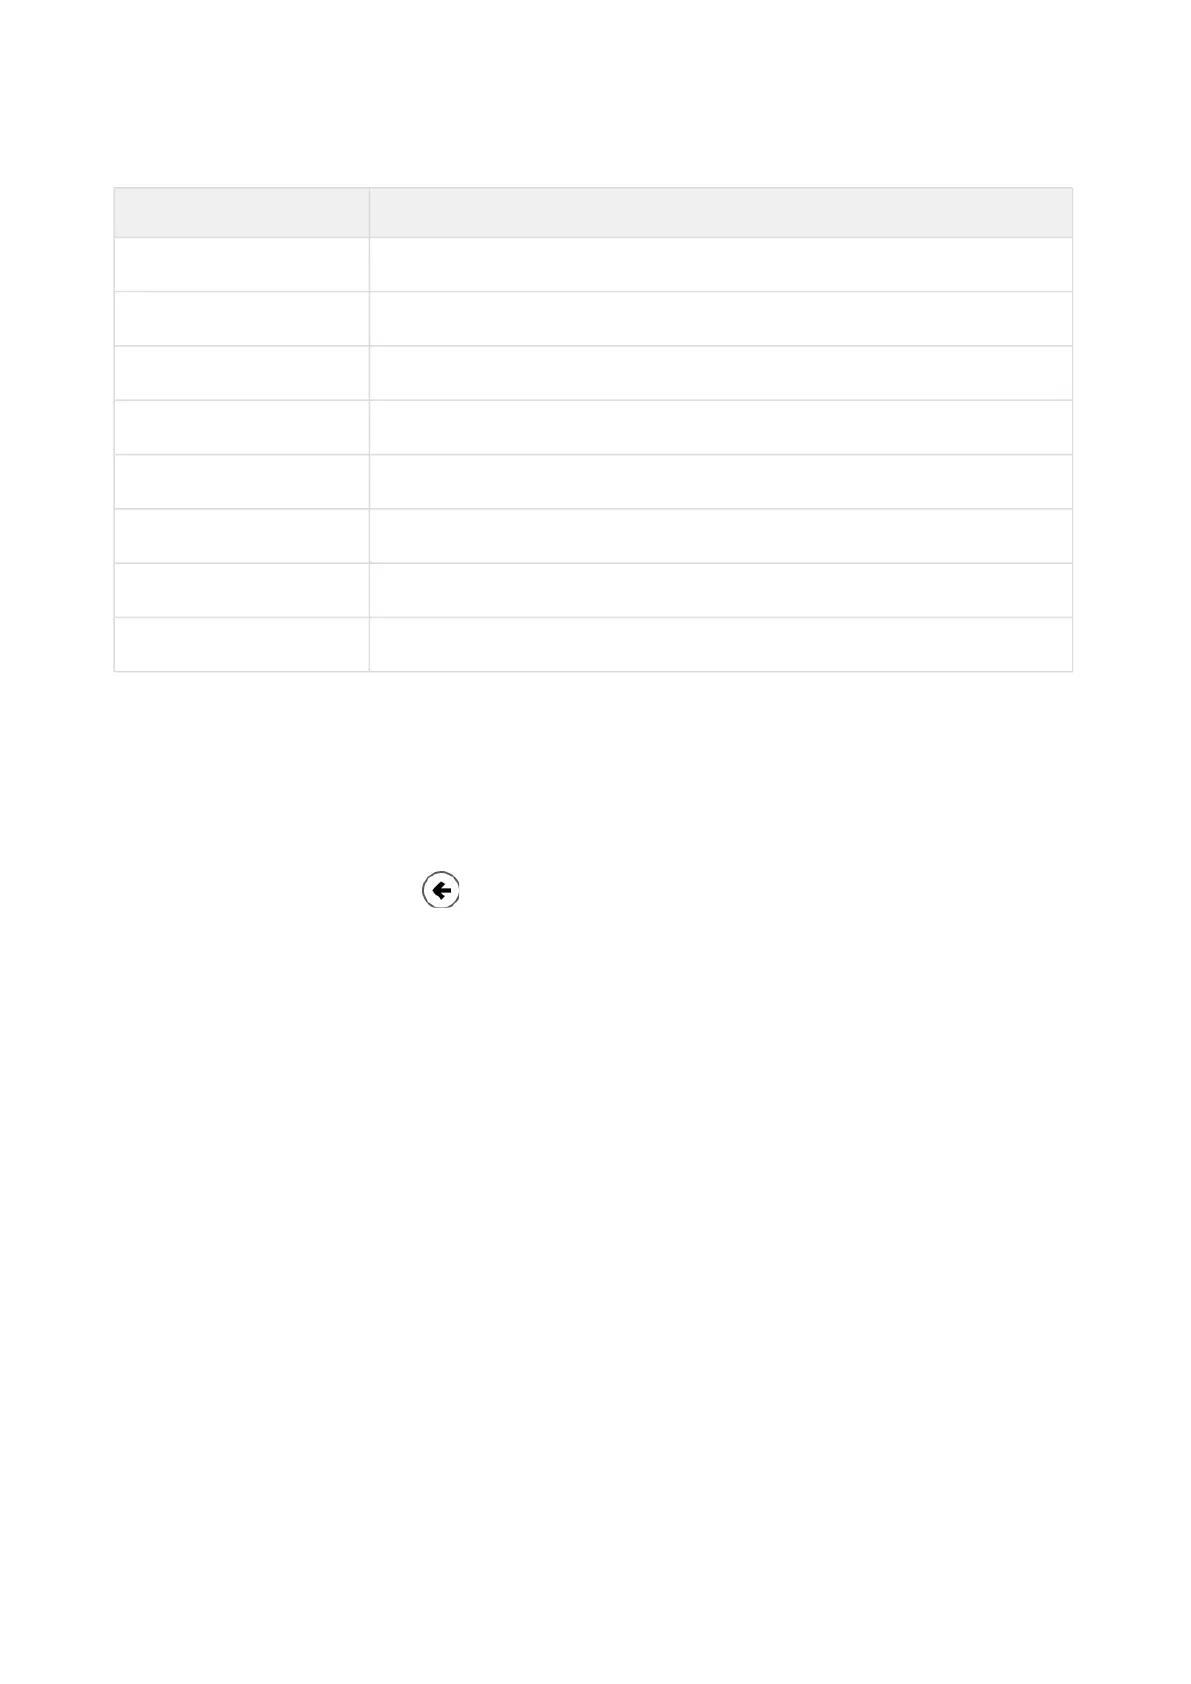
2N Device Device Name in Hostname
2N IP Style 2NIPStyle
2N IP One 2NIPOne
2N IP Vario 2NIPVario
2N IP Base 2NIPBase
2N IP Force 2NIPForce
2N IP Safety 2NIPSafety
2N IP Solo 2NIPSolo
2N IP Uni 2NIPUni
Login based on a domain name is advantageous if the dynamic IP address is used. While the
dynamic IP address changes, the domain name remains the same. It is possible to generate
certificates signed by a trusted certification authority for the domain name.
Start Screen
The start screen is an introductory overview screen displayed upon login to the intercom web
interface. Use the back arrow in the left-hand upper corner of the following web interface
pages to return to this screen anytime.
The screen header includes the intercom name (refer to theDisplay Nameparameter in
theServices /Phone/SIPmenu). Use the menu in the right-hand upper corner of the web
interface for selecting the language. Click Log out in the right-hand upper corner of the screen to
log out from the device, press the question mark icon to display Help or use the bubble to
provide feedback.
The start screen is also the first menu level and quick navigation (click on a tile) to selected
intercom configuration sections. Some tiles also display the state of selected services.
Configuration Menu
The2NIPintercom configuration includes 5 main menus:State, Directory, Hardware,
ServicesandSystemincludingsubmenus; see below.
Status
Device–essentials on the intercom