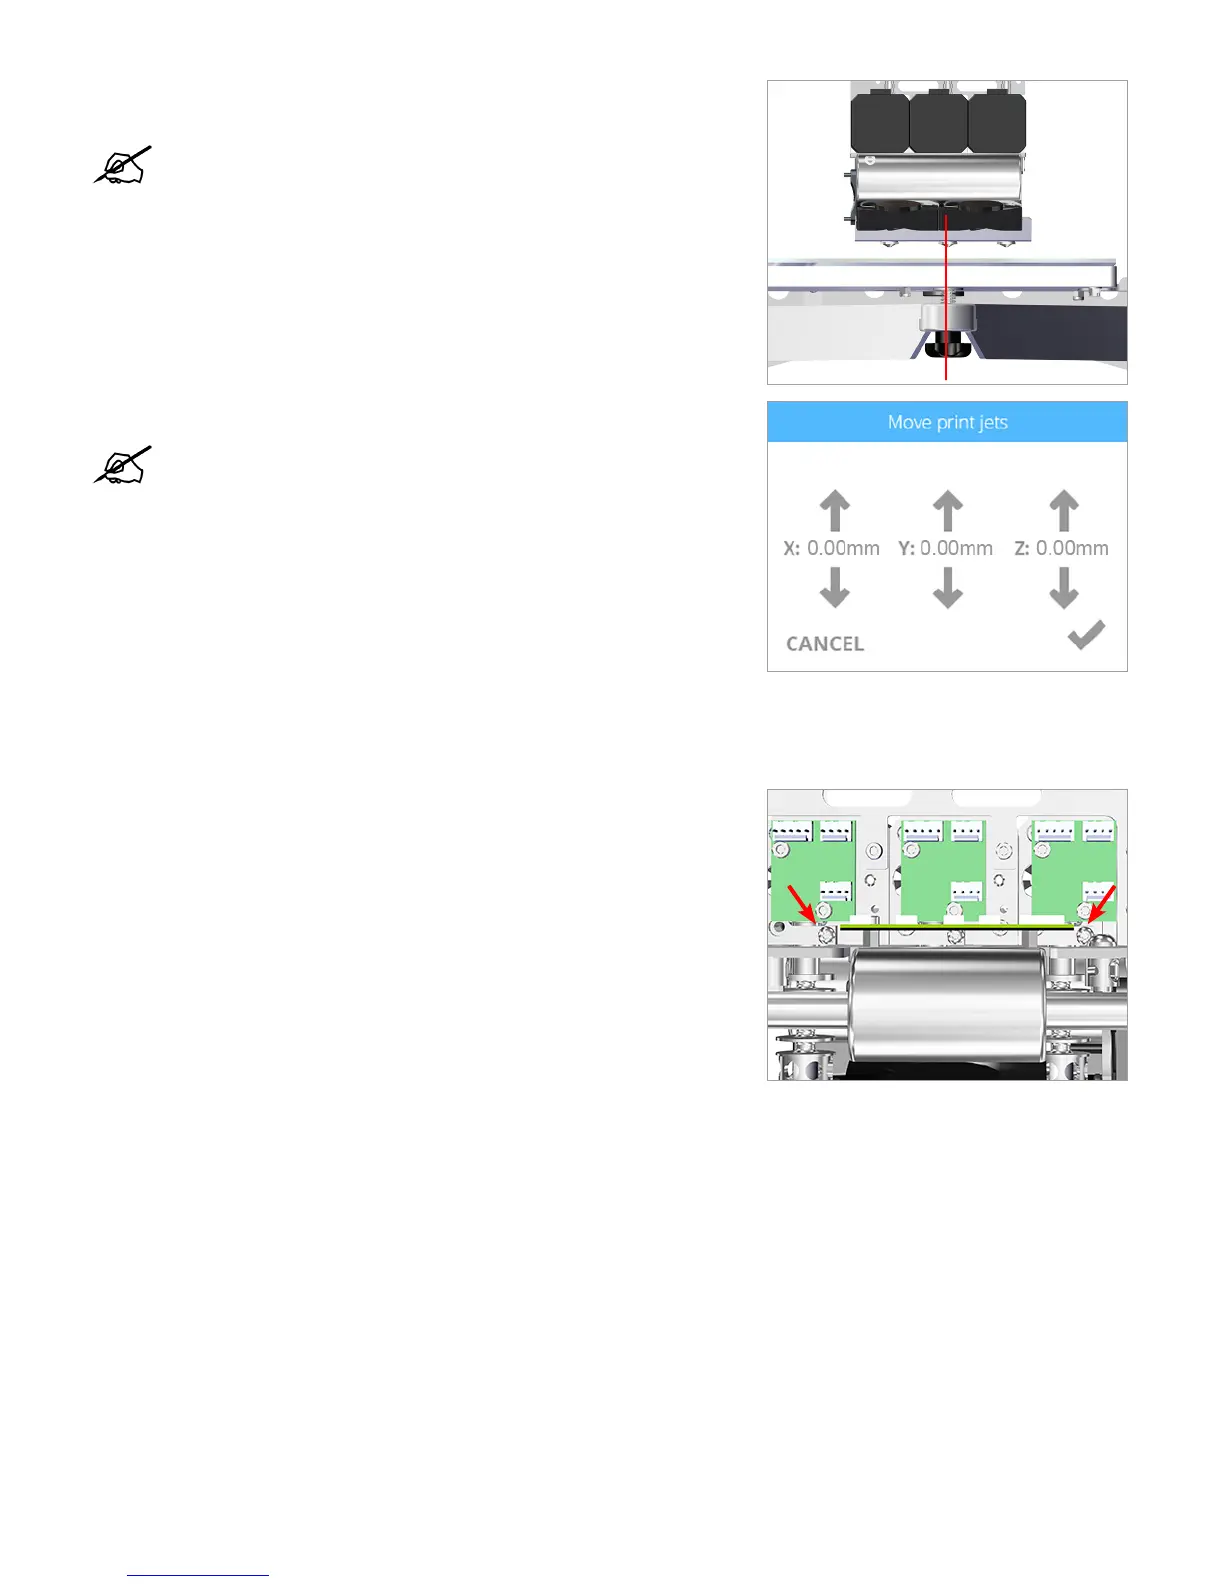
5. Press the X and Y adjustment arrows until print jet 2 is closely aligned above
the front print pad adjustment knob.
NOTE: The red line in the illustration demonstrates an
approximate alignment of print jet 2 and the front print pad
adjustment knob.
6. Press the Z: up arrow until the nozzle of print jet 2 lightly touches the print pad.
NOTE: If there is still a gap between the nozzle of print jet 2
and the print pad, and the Z: up arrow will not raise the print
pad further, rotate the front print pad adjustment knob counter-
clockwise (from the bottom side) until the nozzle lightly touches
the print pad. If the adjustment knob was turned, turn it back the
same amount and then be sure to perform the print pad leveling
procedure.
7. Verify that the nozzles of print jet 1 and print jet 3 are also touching the
printpad.
8. When all of the print jet nozzles lightly touch the print pad, power o the printer
and disconnect it from utility power.
9. Tighten the left and right print jet screws using a T10 torx driver.
10. Connect the printer to utility power and power on the printer.
11. Ensure the print pad is at its lowest position.

 Loading...


