12000 Pecos Street, Suite 290, Westminster, CO 80234 | www.3xlogic.com | (877) 3XLOGIC
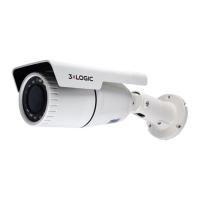
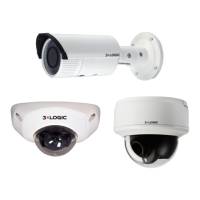
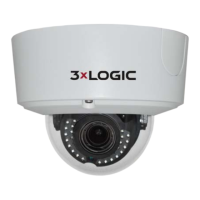
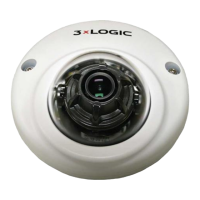
Install the Camera Body
5. Connect the video output connector to the monitor and connect the power connector to the power supply
to adjust the surveillance angle and image.
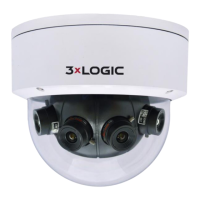
6. Adjust the surveillance angle and image according to the figures below.
1). 3-axis Adjustment
3-axis Adjustment
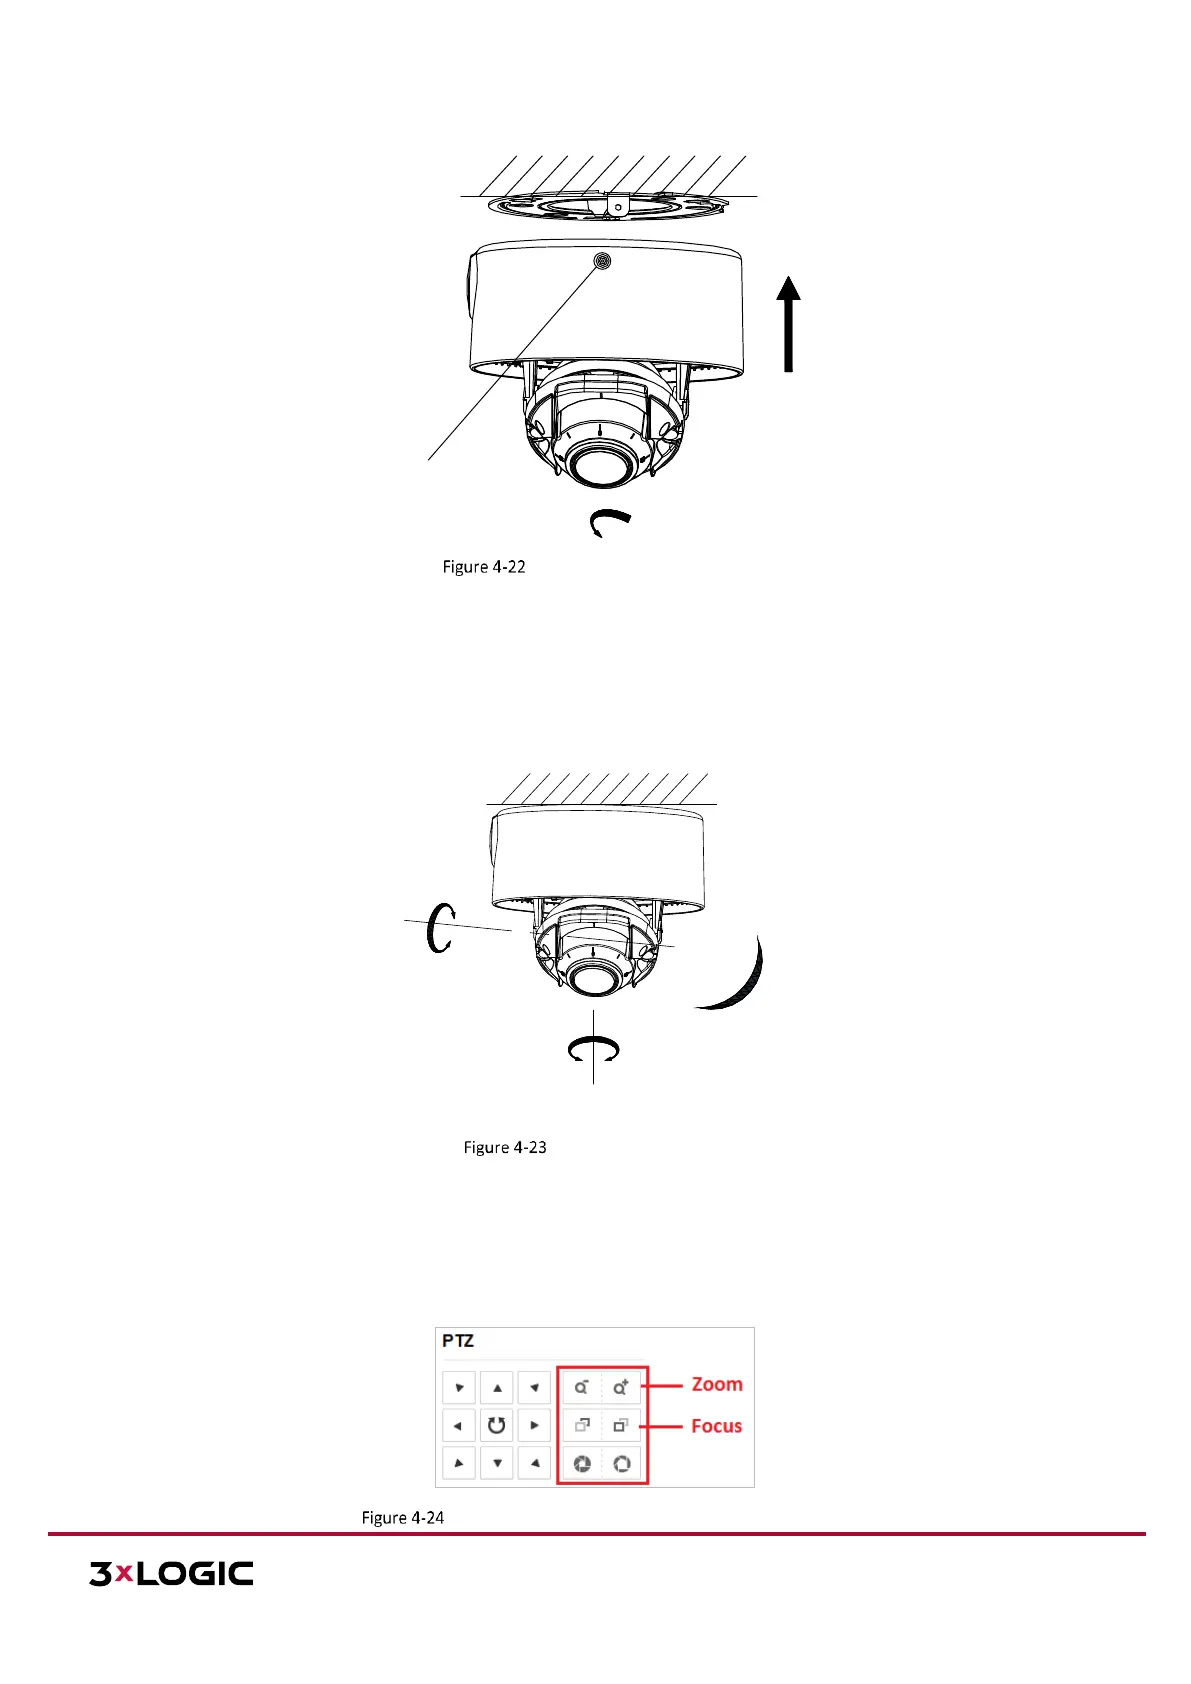
7. Zoom and Focus Adjustment: Cameras of this series are equipped with a motor-driven lens. You can adjust
the zoom and focus level on PTZ control panel by visiting the camera via web browser or client software. See
Section 2 for information on identifying and setting up the camera on your network Please reference the
VIGIL Client User Guide or the 3xLOGIc VISIX V-Series Gen II User Manual for information on adjusting zoom
and focus from VIGIL Client or from the camera browser interface respectively.
Zoom and Focus Adjustment via Web Browser
 Loading...