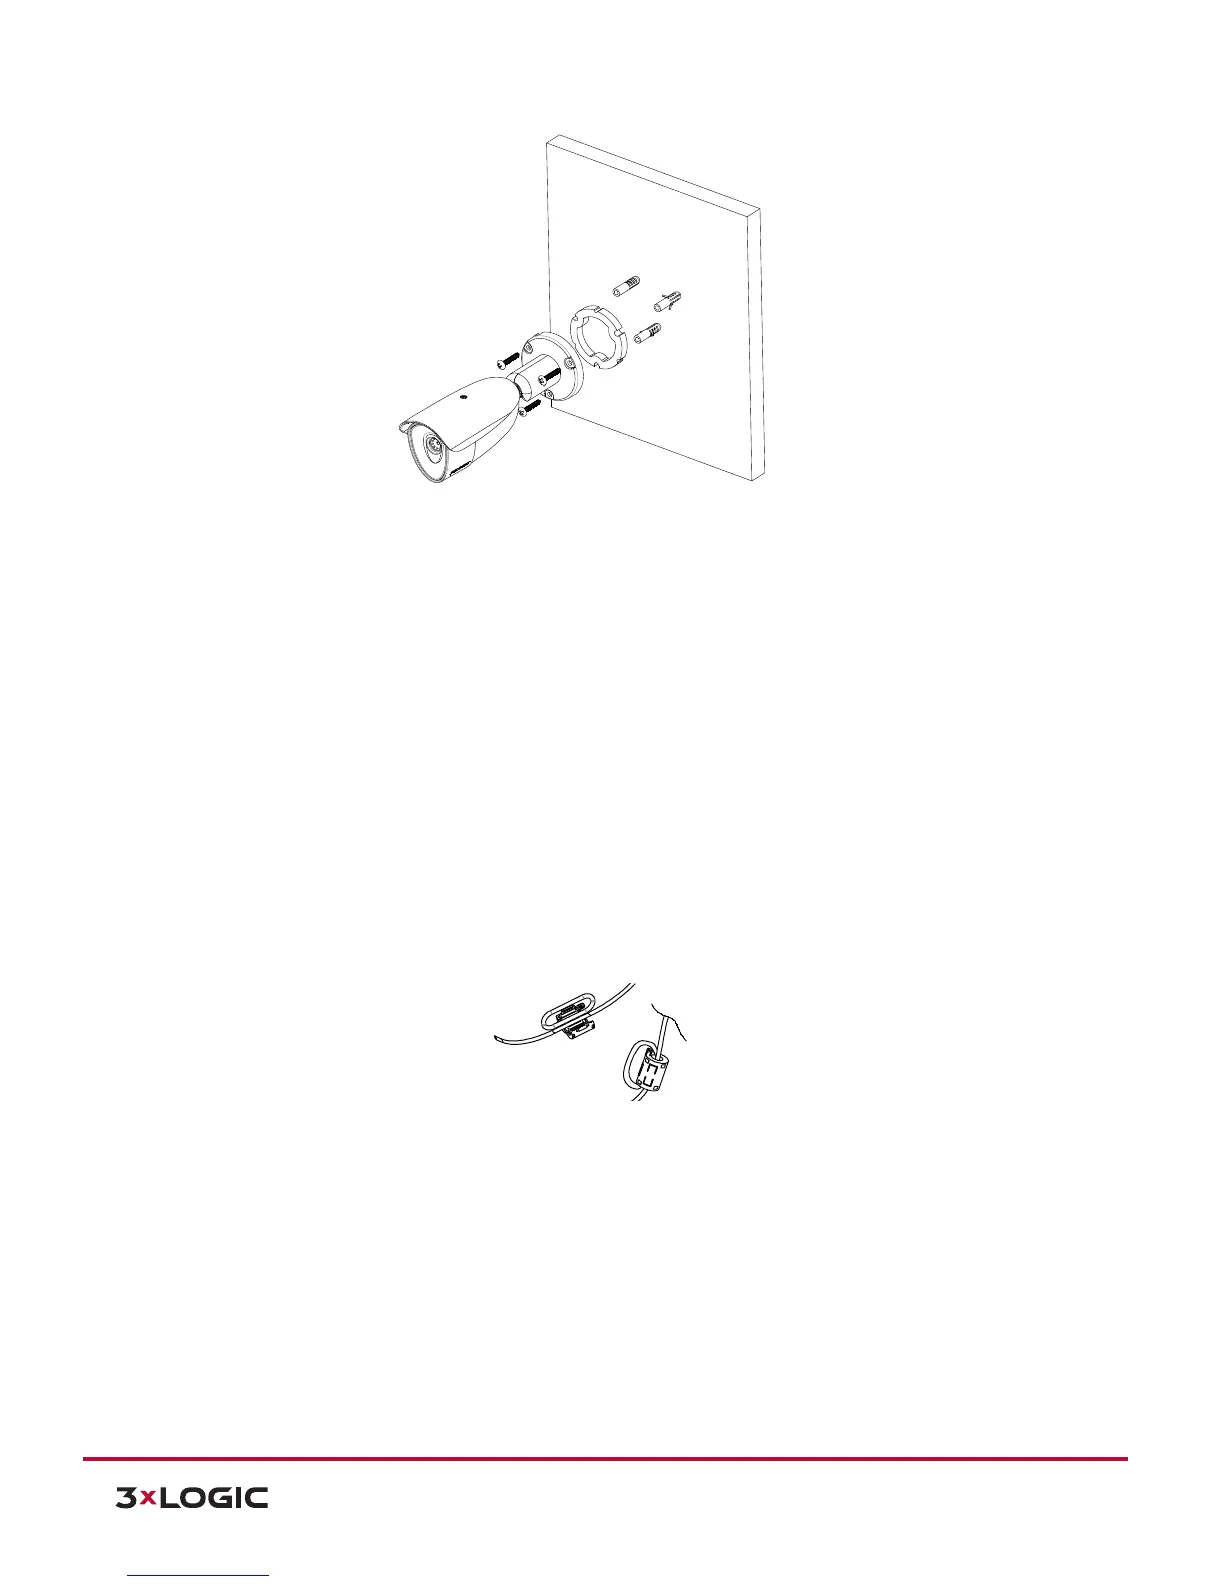
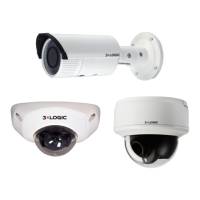
Steps:
1). Drill three holes on the installation surface based on the provided installation template.
2). Insert the plastic anchors into the holes.
3). Install the provided ferrite core on the cable by referring to the NOTE: below.
4). Attach the provided wall cushion to the bottom of the camera’s pan/tilt bracket.
5). Fix the camera to the installation surface.
a. Align the screw holes of the camera’s pan/tilt bracket and the plastic anchors.
b. Insert the provided screws(M4X35) into the plastic anchors through the screw holes of the
camera’s pan/tilt bracket.
c. Tighten the screws firmly into the plastic anchors.
6). Connect all the necessary cables by referring to Section 5.5: Connections for more
information.
7). Adjust the angle by referring to Adjust Angle of the Camera.
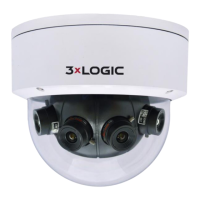
NOTE: Installing the ferrite core to a LAN cable is highly recommended to reduce high frequency noise
level. Please follow the instructions below:
Steps:
1). Open the ferrite core by lifting the clip.
2). Make one loop with the cable through the ferrite core.
3). Close the ferrite core to hold the cable loop into its place.
CAUTION: Sealing gaps is recommended as gaps may appear after the camera installation. Gaps may
cause problems such as moisture, water leakage and etc., which negatively affect the operation of the
camera if gaps remain unsealed.
CAUTION: To prevent products from damage, place the camera on a stable and non-vibrating surface. If
the stability is in doubt, consult safety personnel for reinforcements, and then proceed with the
installation.