Repairs Axis 6
Product Manual IRB 640 41
9. Mount the gear on the motor <9/4>. Use a new O-ring <9/2>. Turn the gear so
that the screw hole and magnetic oil plug come in the right position. Torque 35
Nm.
10. Move the sync plates and connector holder on the resolver side over to the new
motor. When replacing the gear, the sync plate <9/11> on the gear is glued.
Clean the surface careful before mounting (a new sync plate must be fitted).
11. Mount the drive unit in the tilt housing <7/4>.
12. Mount screws <7/6> and washers <7/7>. Tightening torque 70 Nm.
13. Mount shaft <7/5>, screws <7/13>, tightening torque 24 Nm.
14. Pour grease into axis 6 as described in the Maintenance Manual IRB 640.
15. Calibrate the robot as described in Chapter 9, Calibration.
Tightening torque:
Screw joint motor/gear, 9/4: 35 Nm
Screw joint, drive unit/shaft, 7/13: 24 Nm
Screw joint tilt housing/drive unit, 7/6: 70 Nm
7.3 Checking play in axis 6
Axis 6
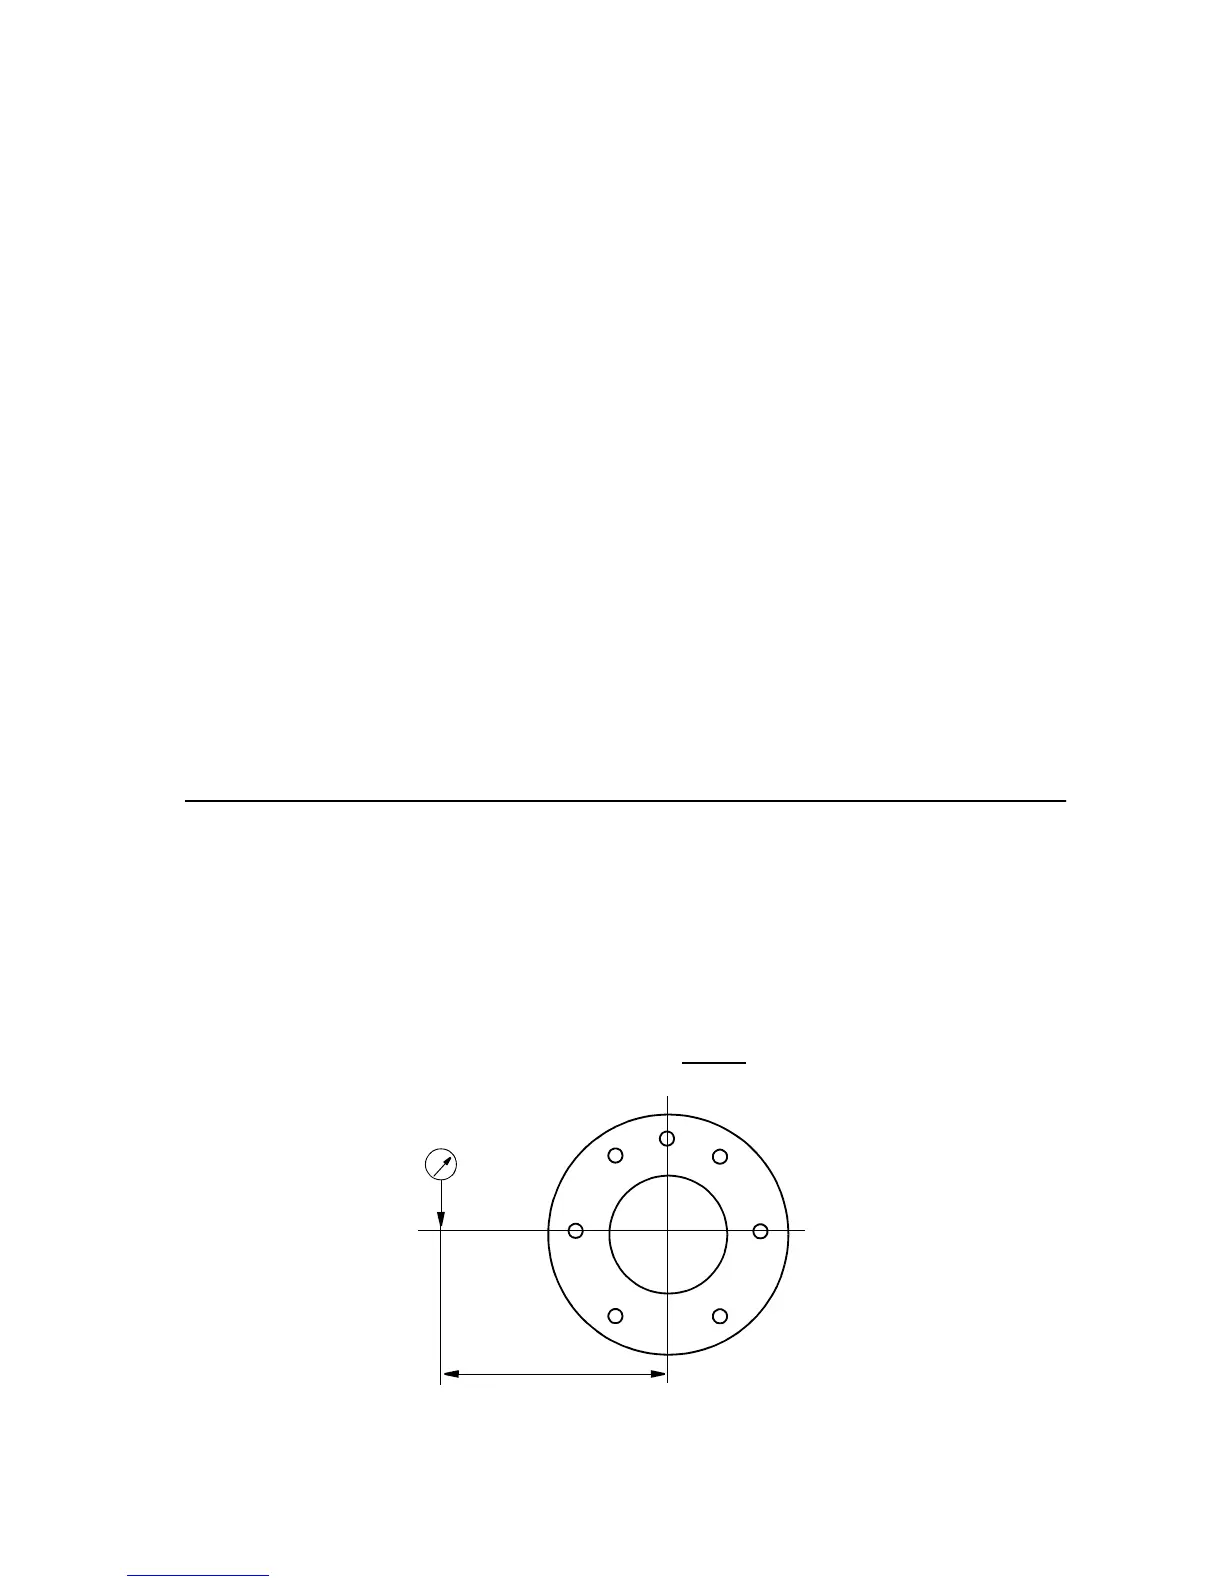
1. Check the play in axis 6 with tool 6896 134-CF.
2. Measure with a PEK dial indicator against the tool. See Figure 7.
3. Max. play 0.06 mm at a distance of 190 mm from the centre of axis 6.
Comment: The play in the gear unit cannot
be adjusted. If necessary, the gear
unit must be replaced, see Chapter 7.2, Replacing motor/gear axis 6.
Figure 7 How to measure the play in the wrist.
190
Axis 6